
What you’ll need
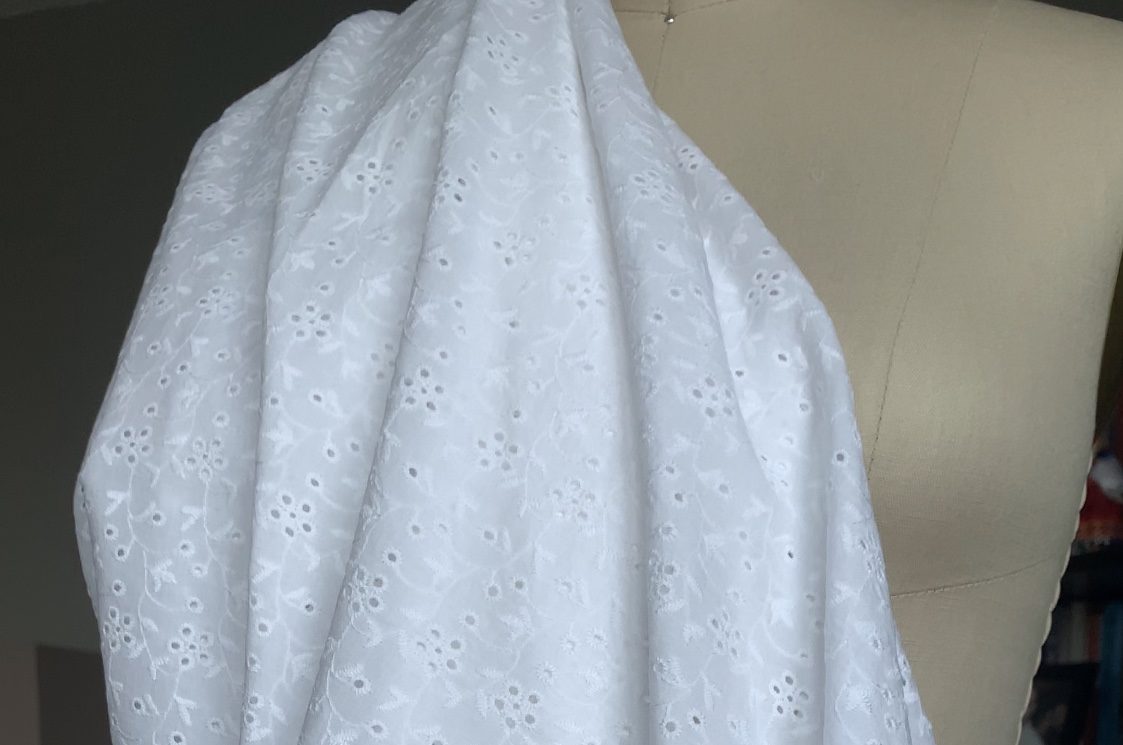
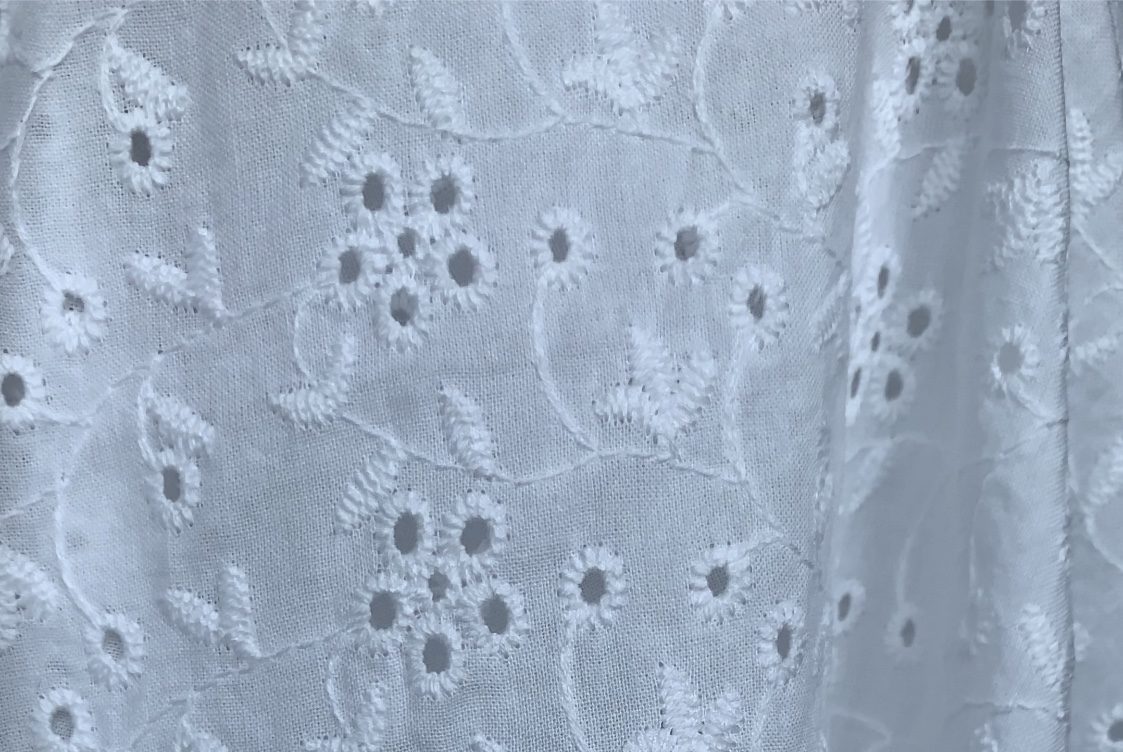
- ~4 yds. fabric (I used a cotton eyelet)
- 3 yds. lining fabric (I used a soft cotton muslin)
- matching thread
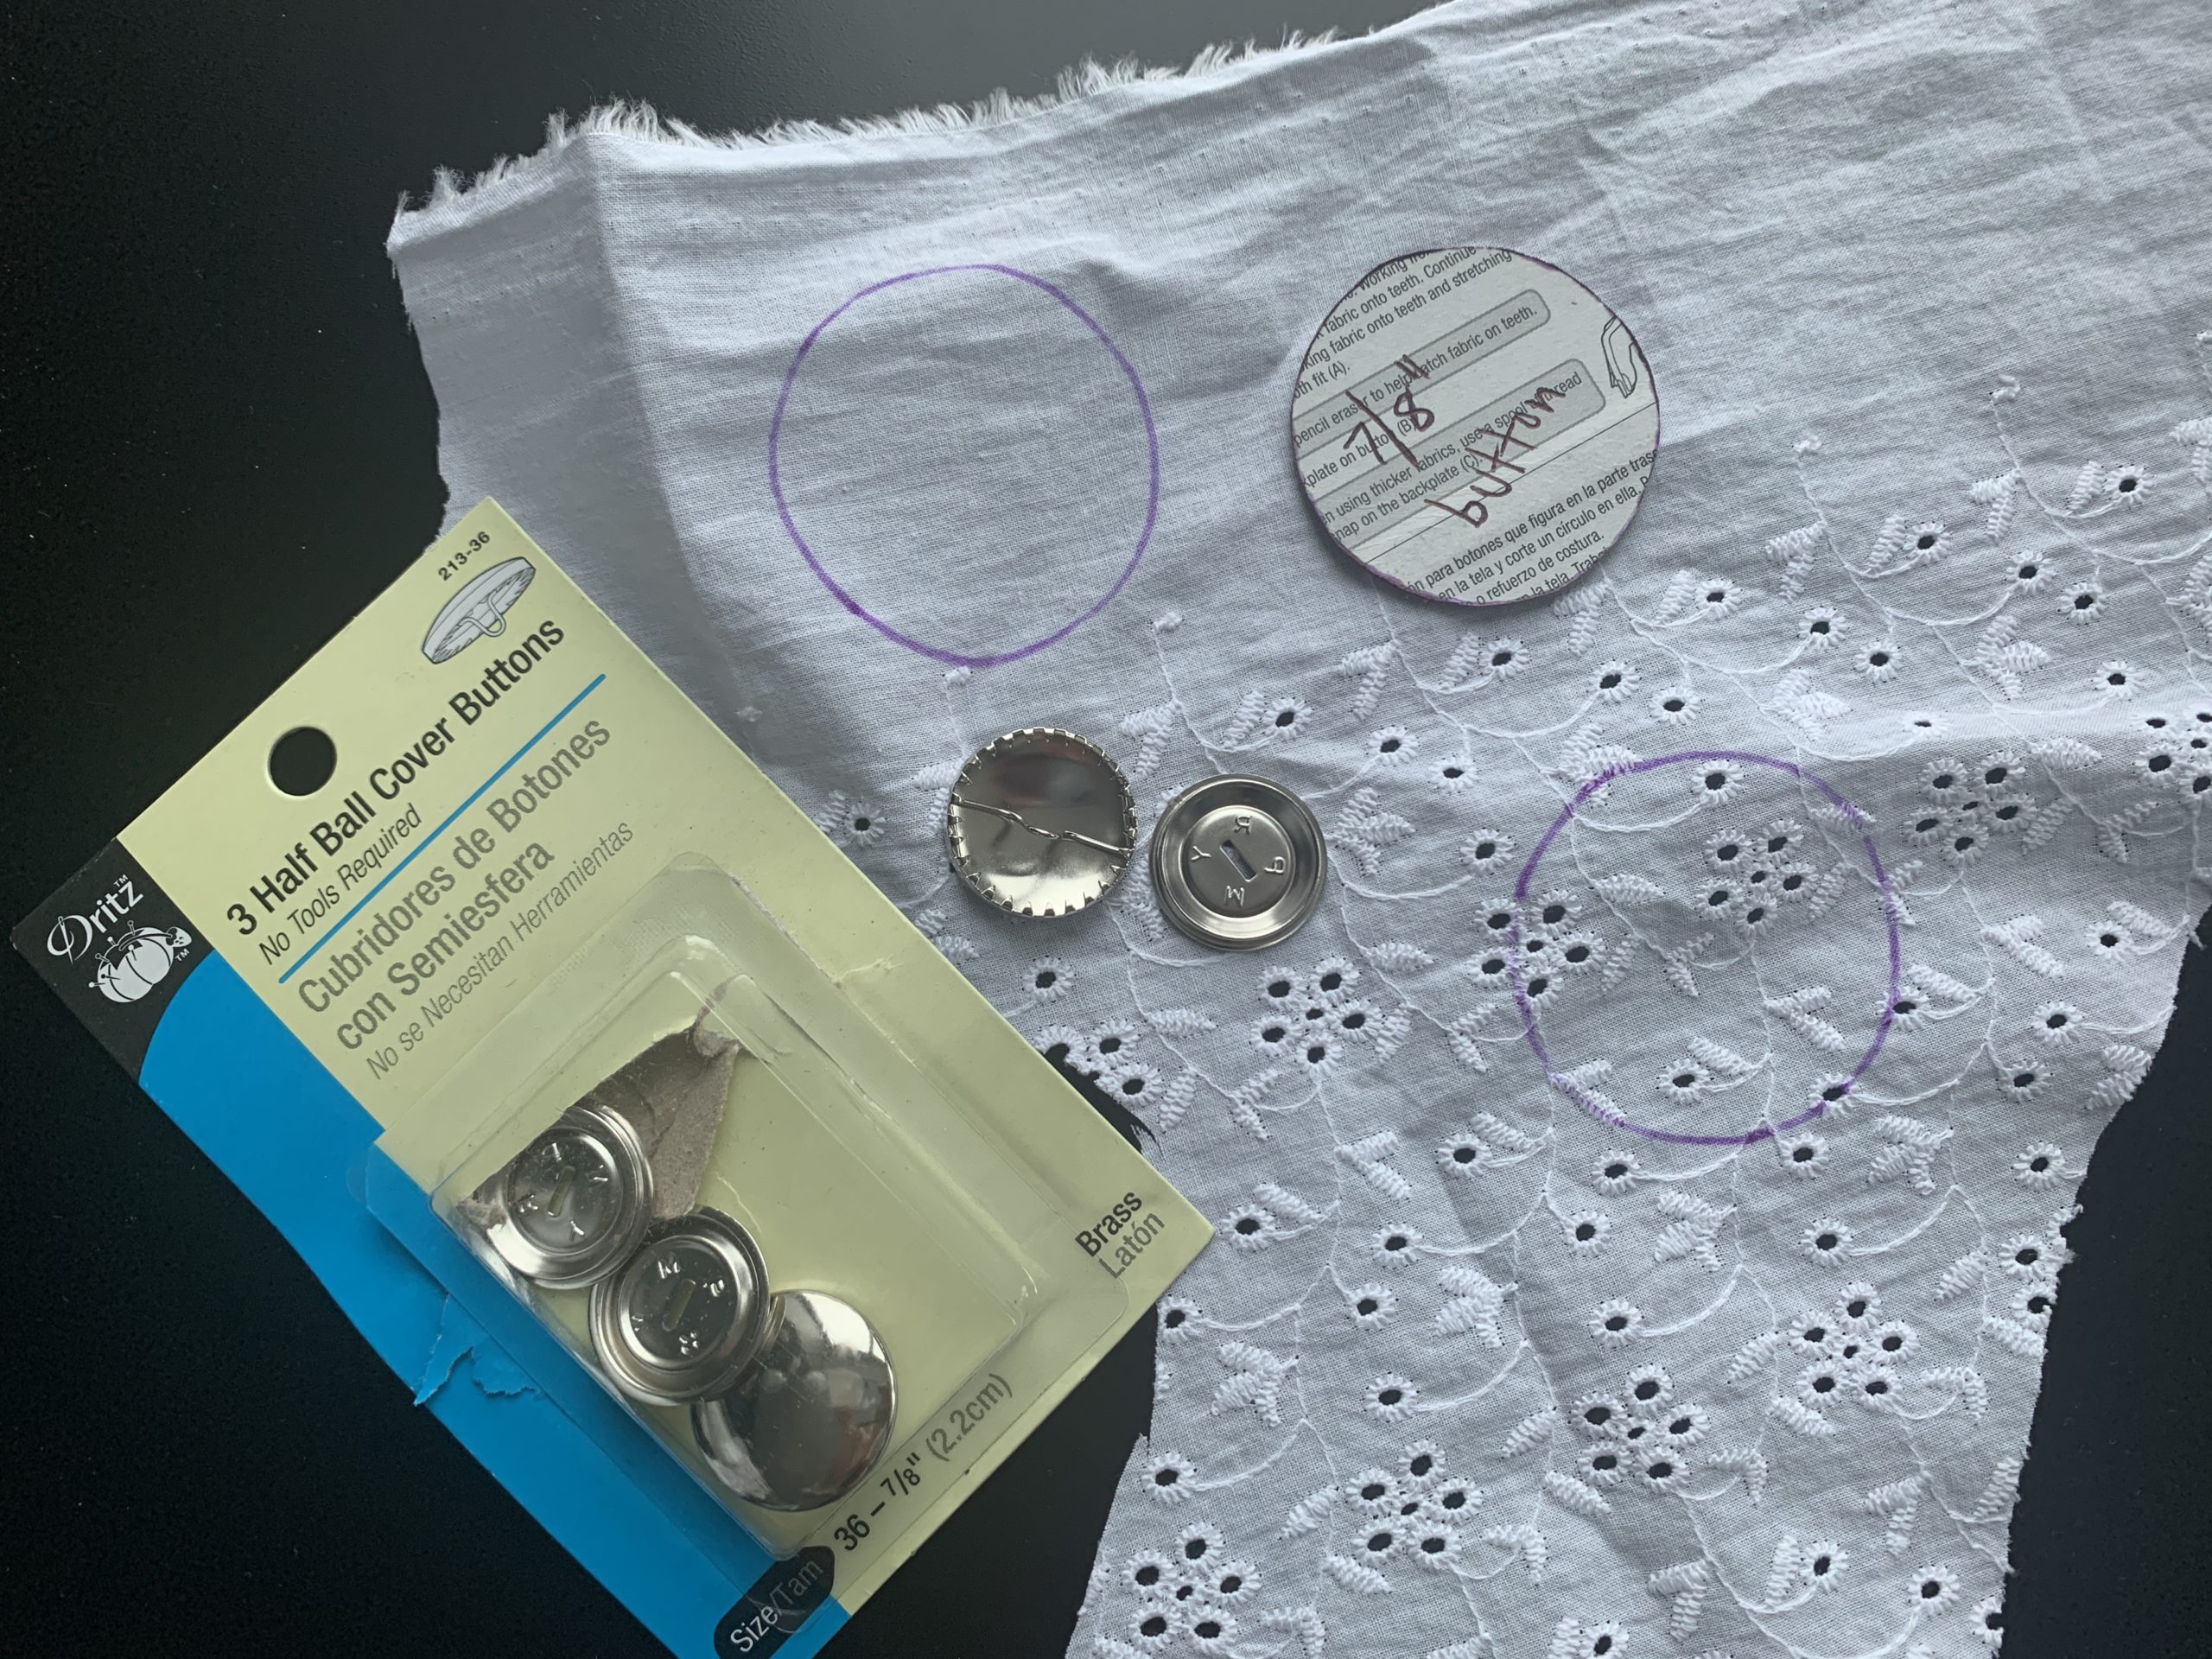
- 3 sets of half ball cover buttons (will need about 6 – 7 buttons)
What it cost me
- $32 for 4 yds. cotton eyelet
- $15 for 3 yds. cotton muslin lining
- $3 white cotton thread
- $9 buttons (3 sets of 3)
- TOTAL = $59
Notes & Tips
- Pay attention the direction and design of any patterned fabric.
- Use pinking shears or a serger on all raw edges to avoid fraying, even on enclosed edges.
- I sewed everything using a 1/2″ seam allowance.
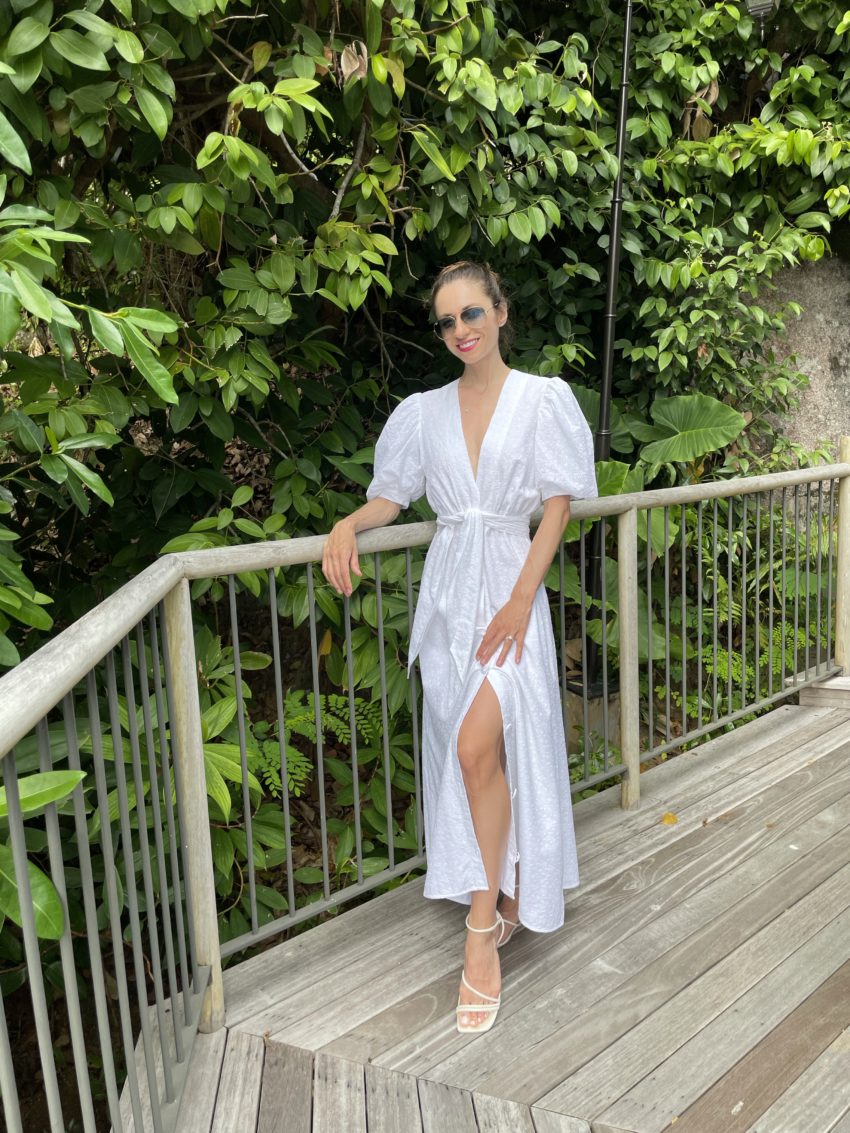
From the moment I saw the Poppy Dress pattern on Mood Sewciety, I knew I had to make it. I bought a gorgeous white cotton eyelet fabric on super sale for $8 a yard from Joann Fabrics last summer, and have been waiting for a fabulous project to use it on. And the Poppy Dress was it!
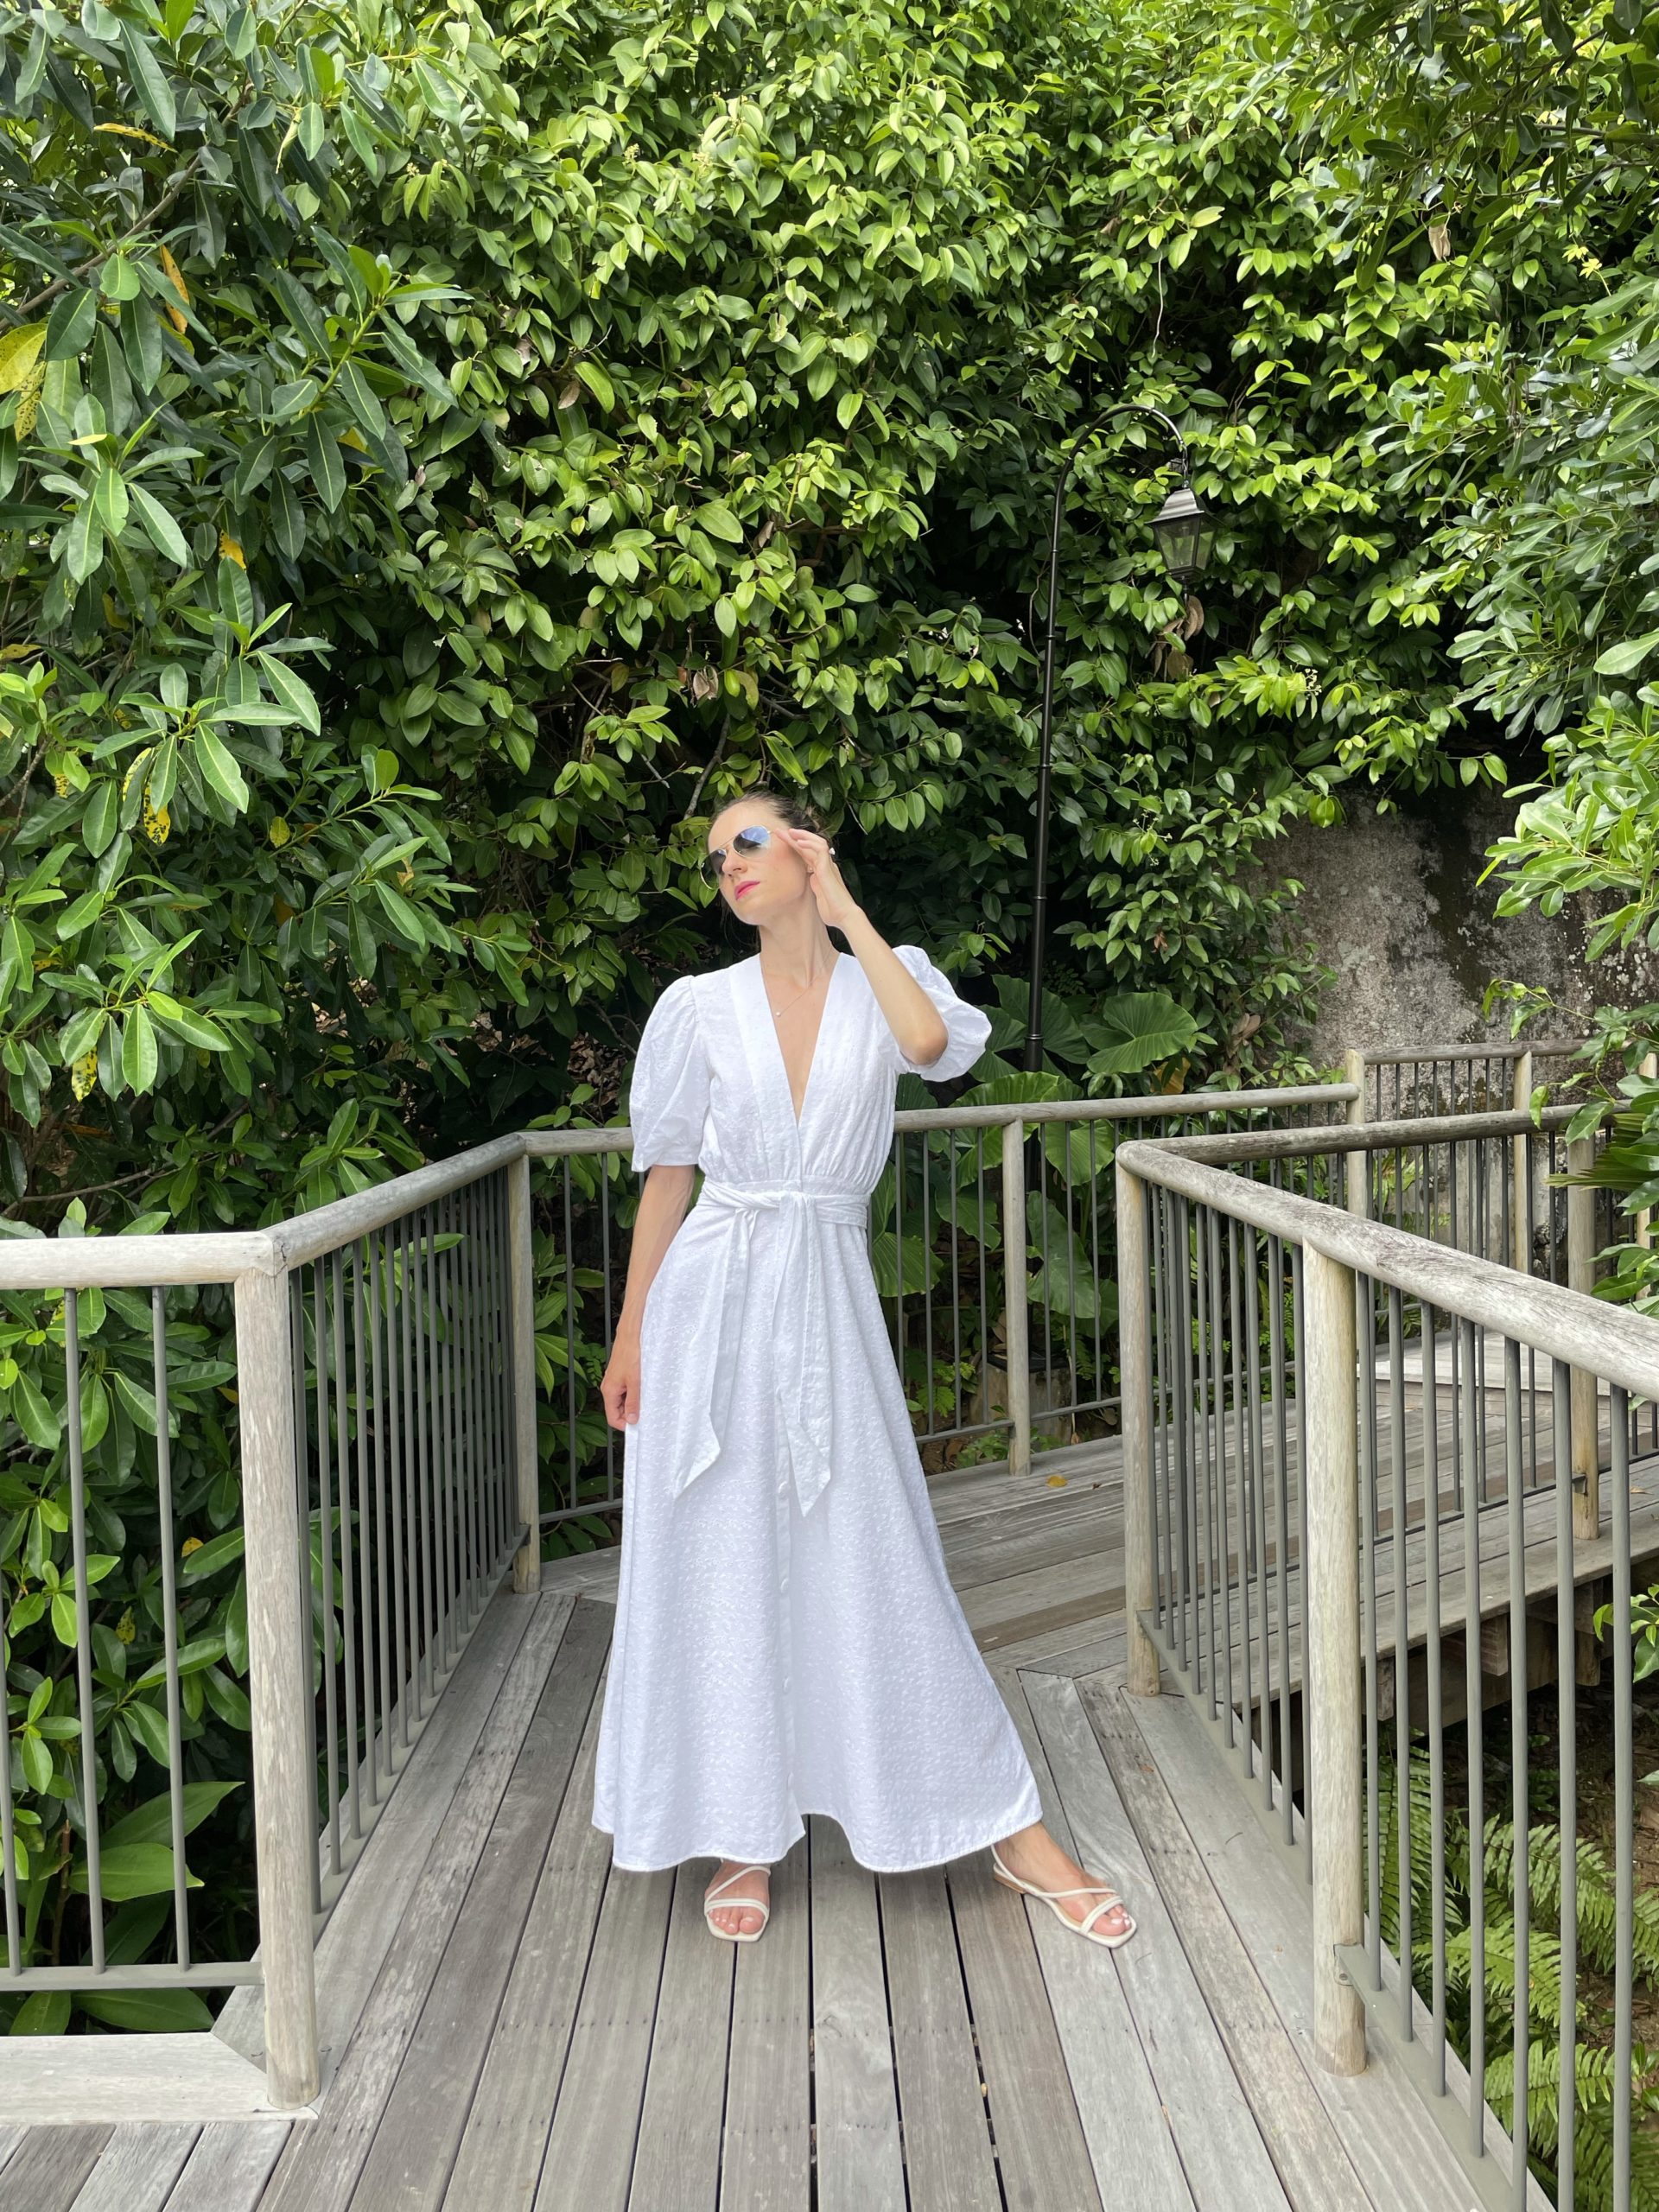
The dress came out beautifully. And it definitely came with me to our honeymoon in the Seychelles!
I love Mood Fabrics sewing patterns but often find the instructions to be super lacking in detail and instruction. Luckily, Mood created a few Instagram videos for a sew-along that really helped me in the process. I highly recommend following the videos, because parts of the dress are actually super tricky and confusing to sew! But for those who want more detailed visual instructions, I’ve included them below.
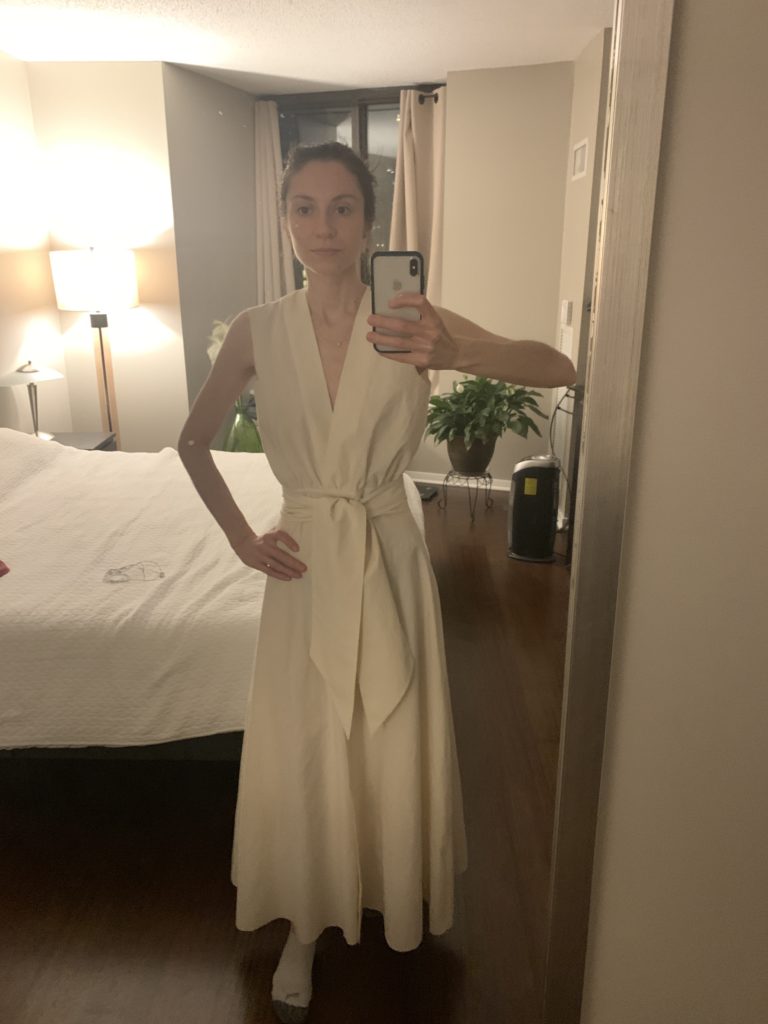
I ended up cutting a size 4 and sewing a quick muslin to ensure a good fit. The size 4 was a bit large on my waist but perfect everywhere else, so I went with it since there was a tie that would synch the dress at my waist anyway.
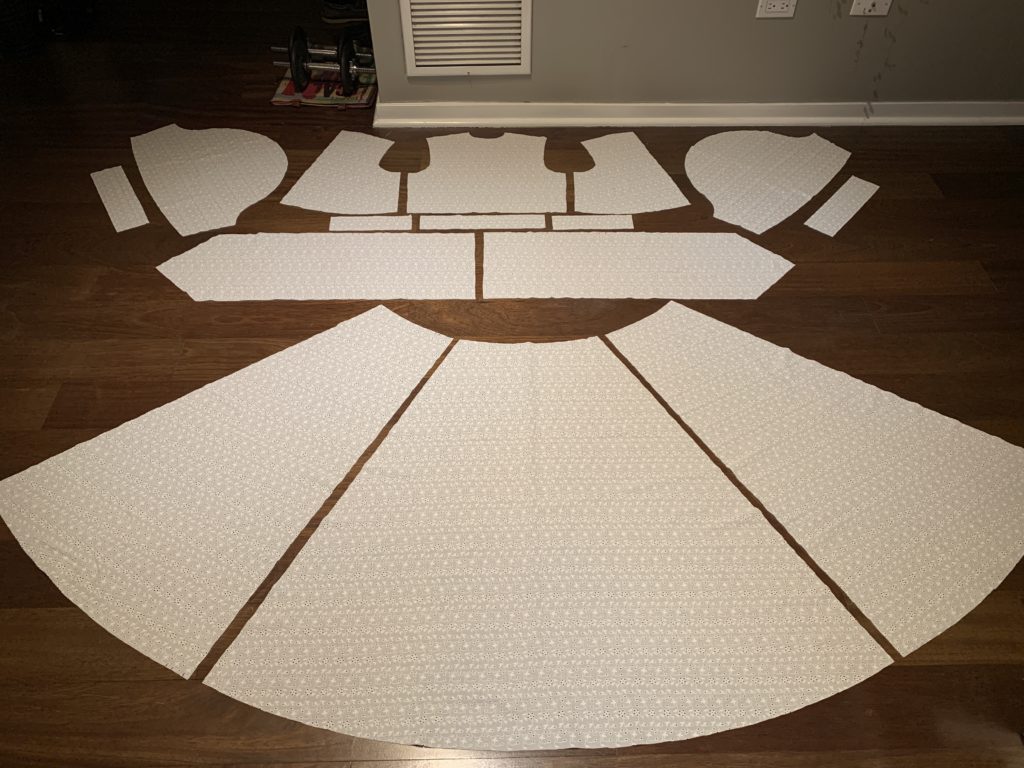
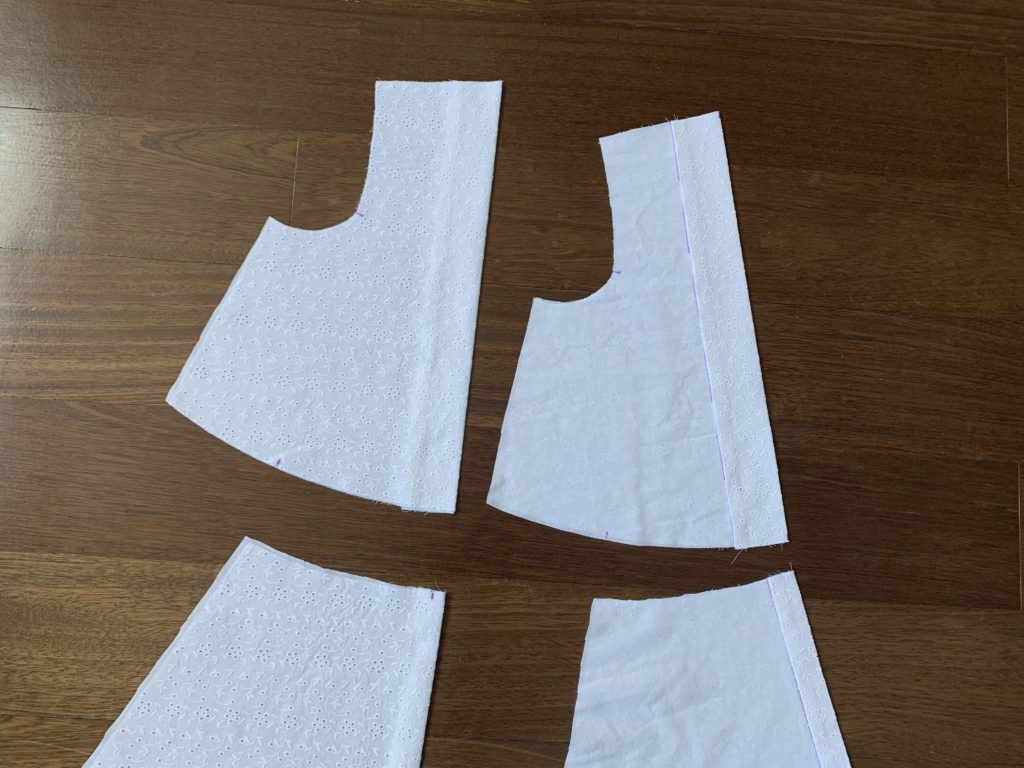
And then it was time to cut the actual fabric! I turned on a movie and cut away until I had all the pieces ready. Because the fabric is so sheer, I ended up flatlining it with a soft white cotton muslin. I ended up treating the pieces of cotton eyelet + cotton muslin together as one piece of fabric for simplicity…and laziness. It’s not the proper lining technique but oh well, still turned out great!
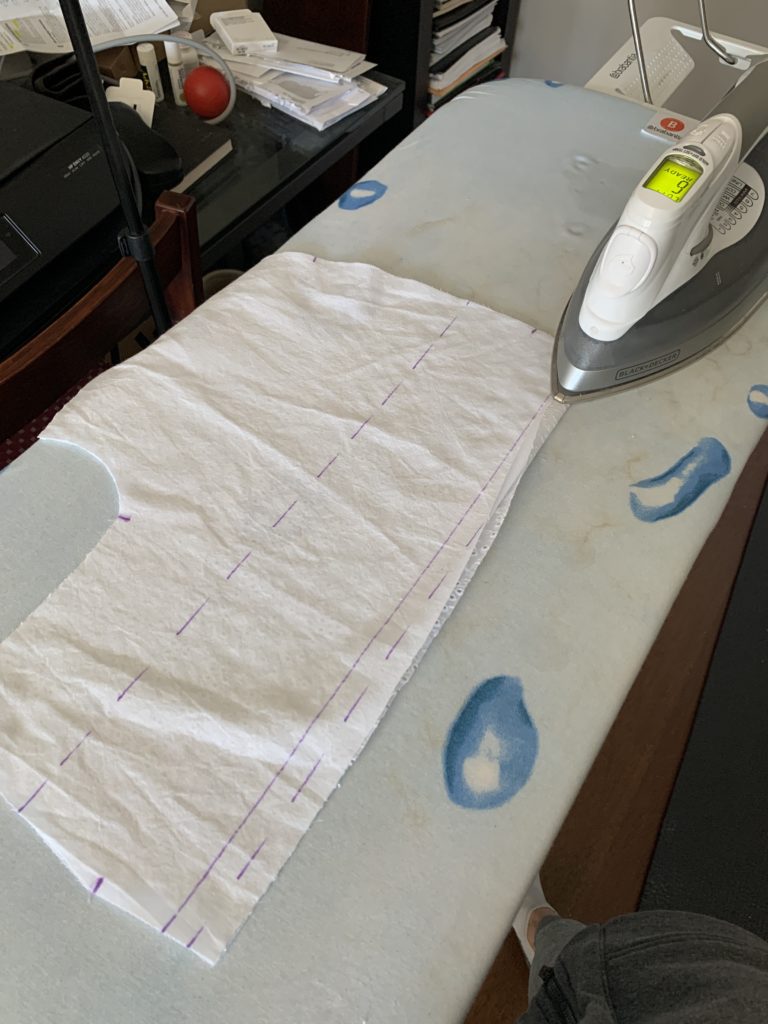
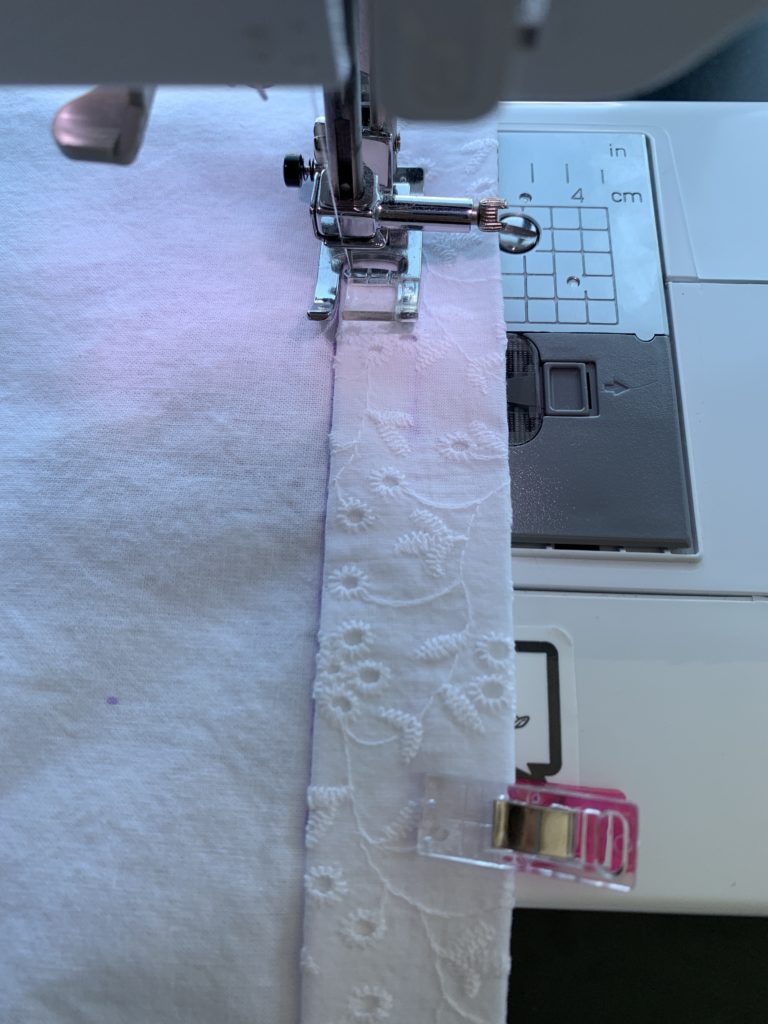
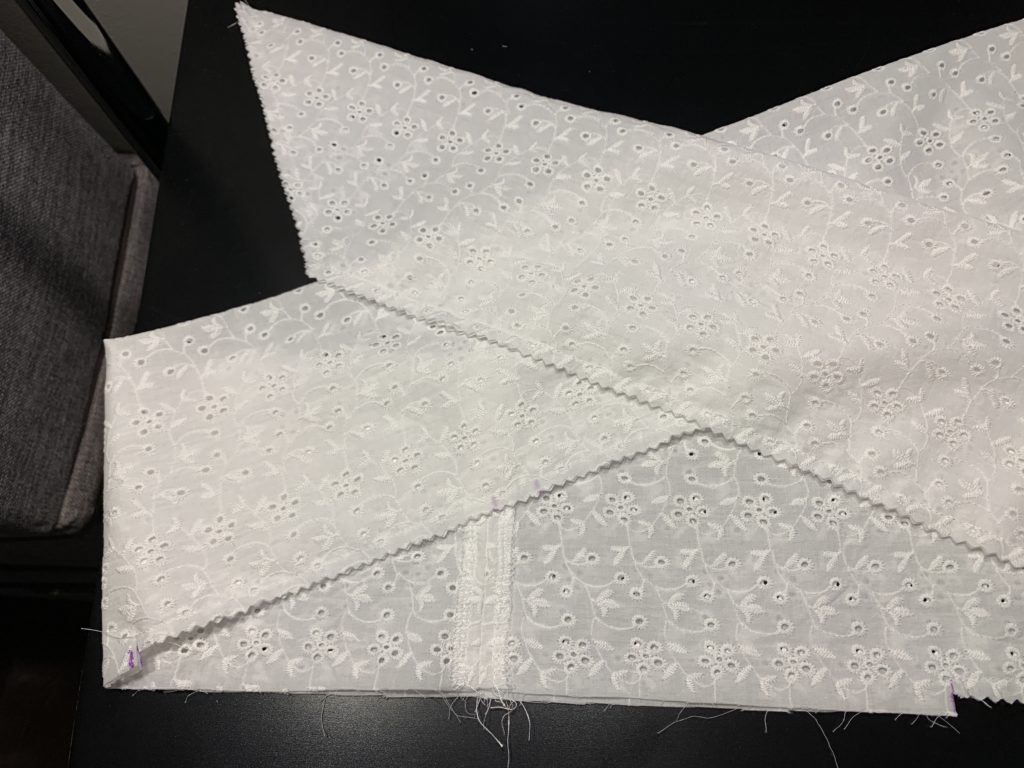
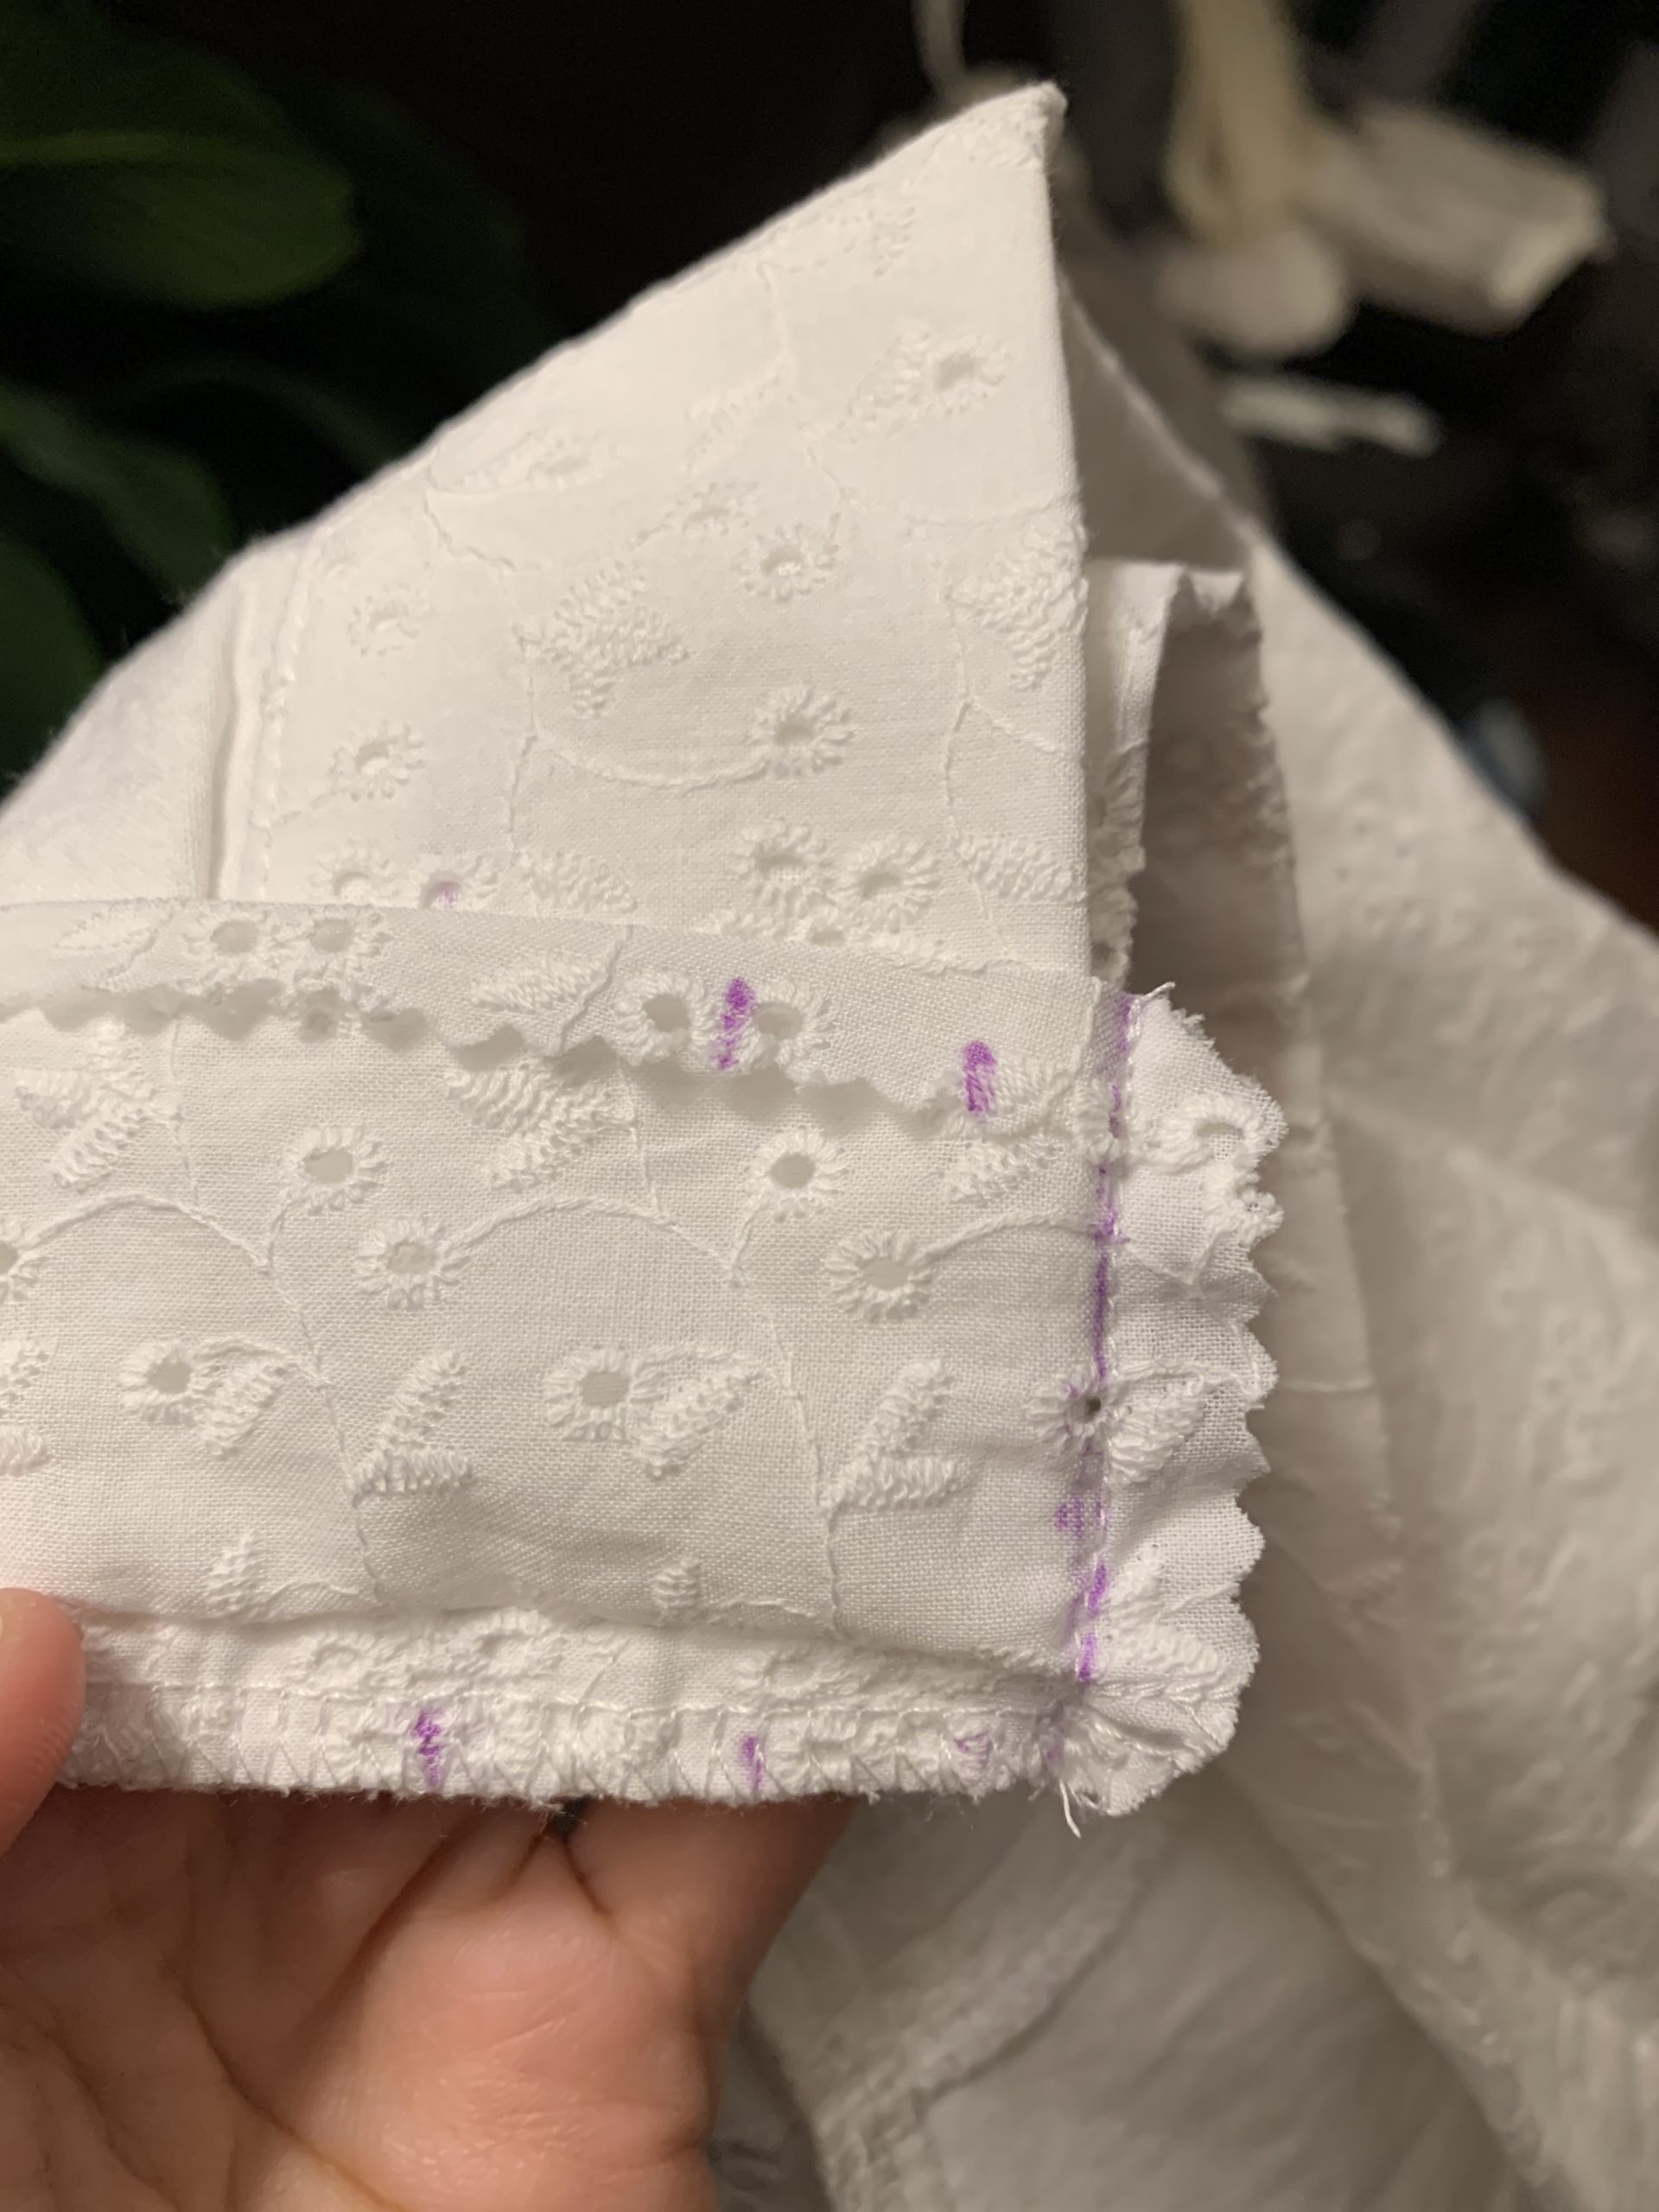
I first made the plackets down the front of the bodice and skirt. The bodice placket ended up being 1.5” and the skirt placket was 1”.
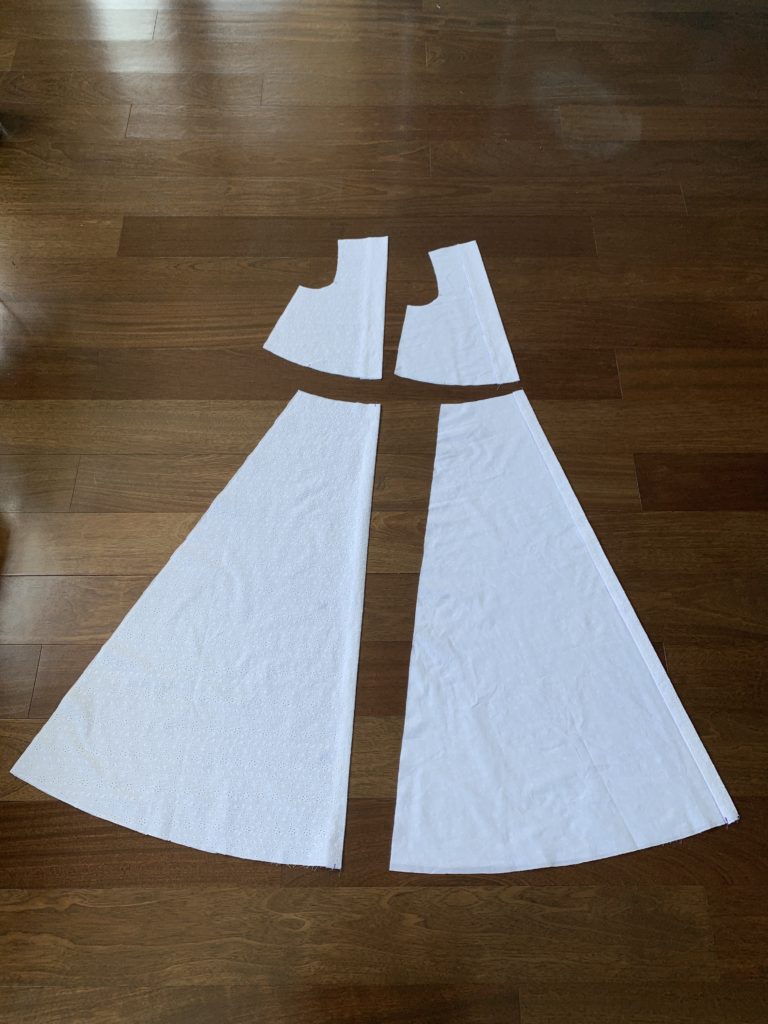

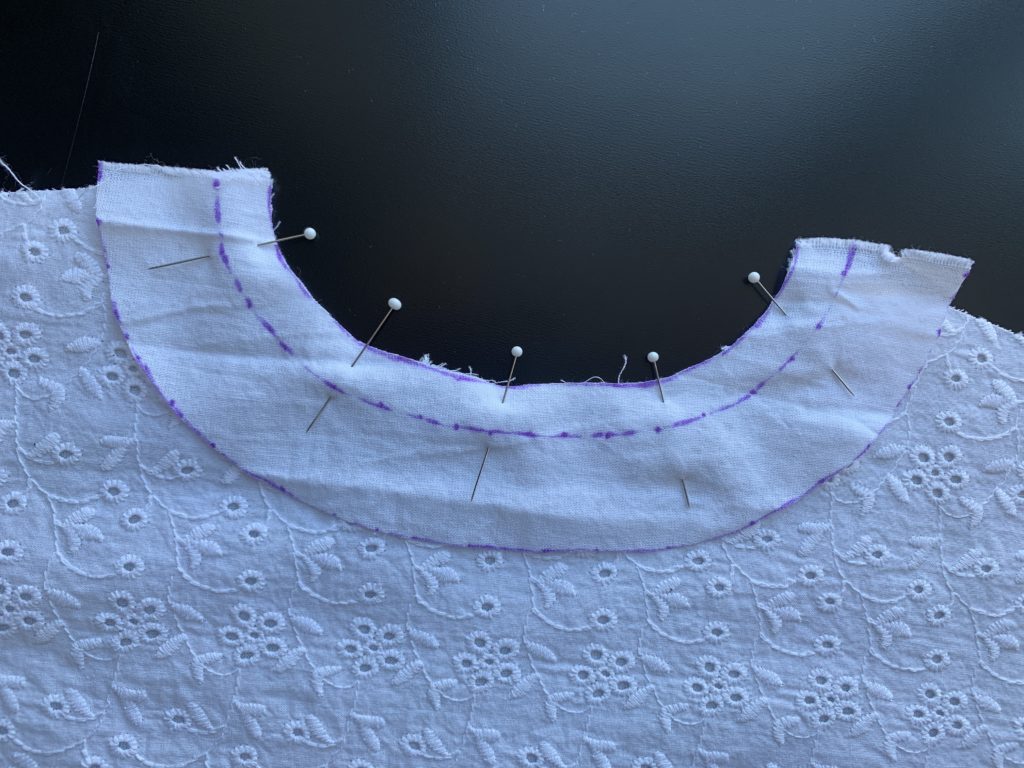
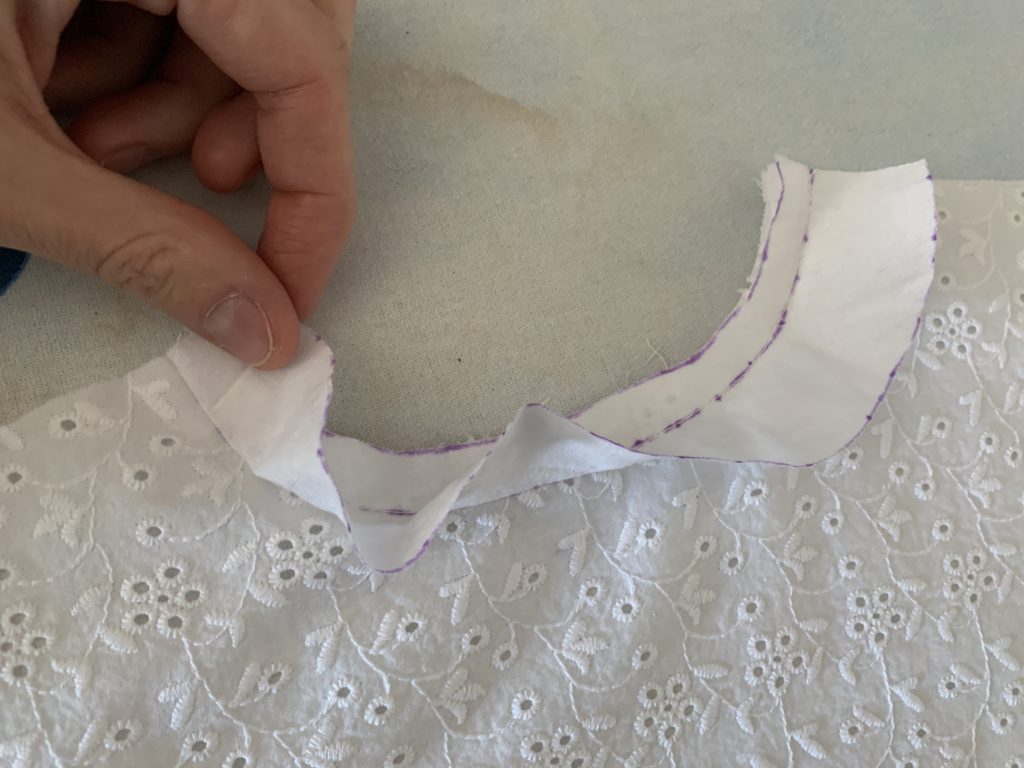
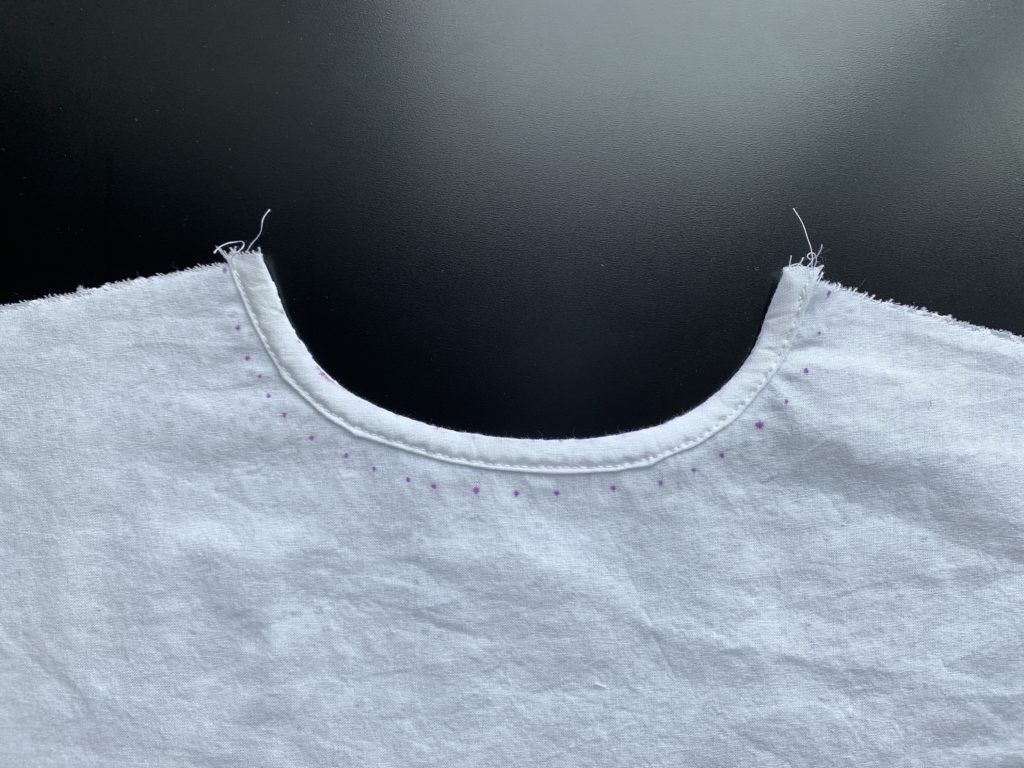
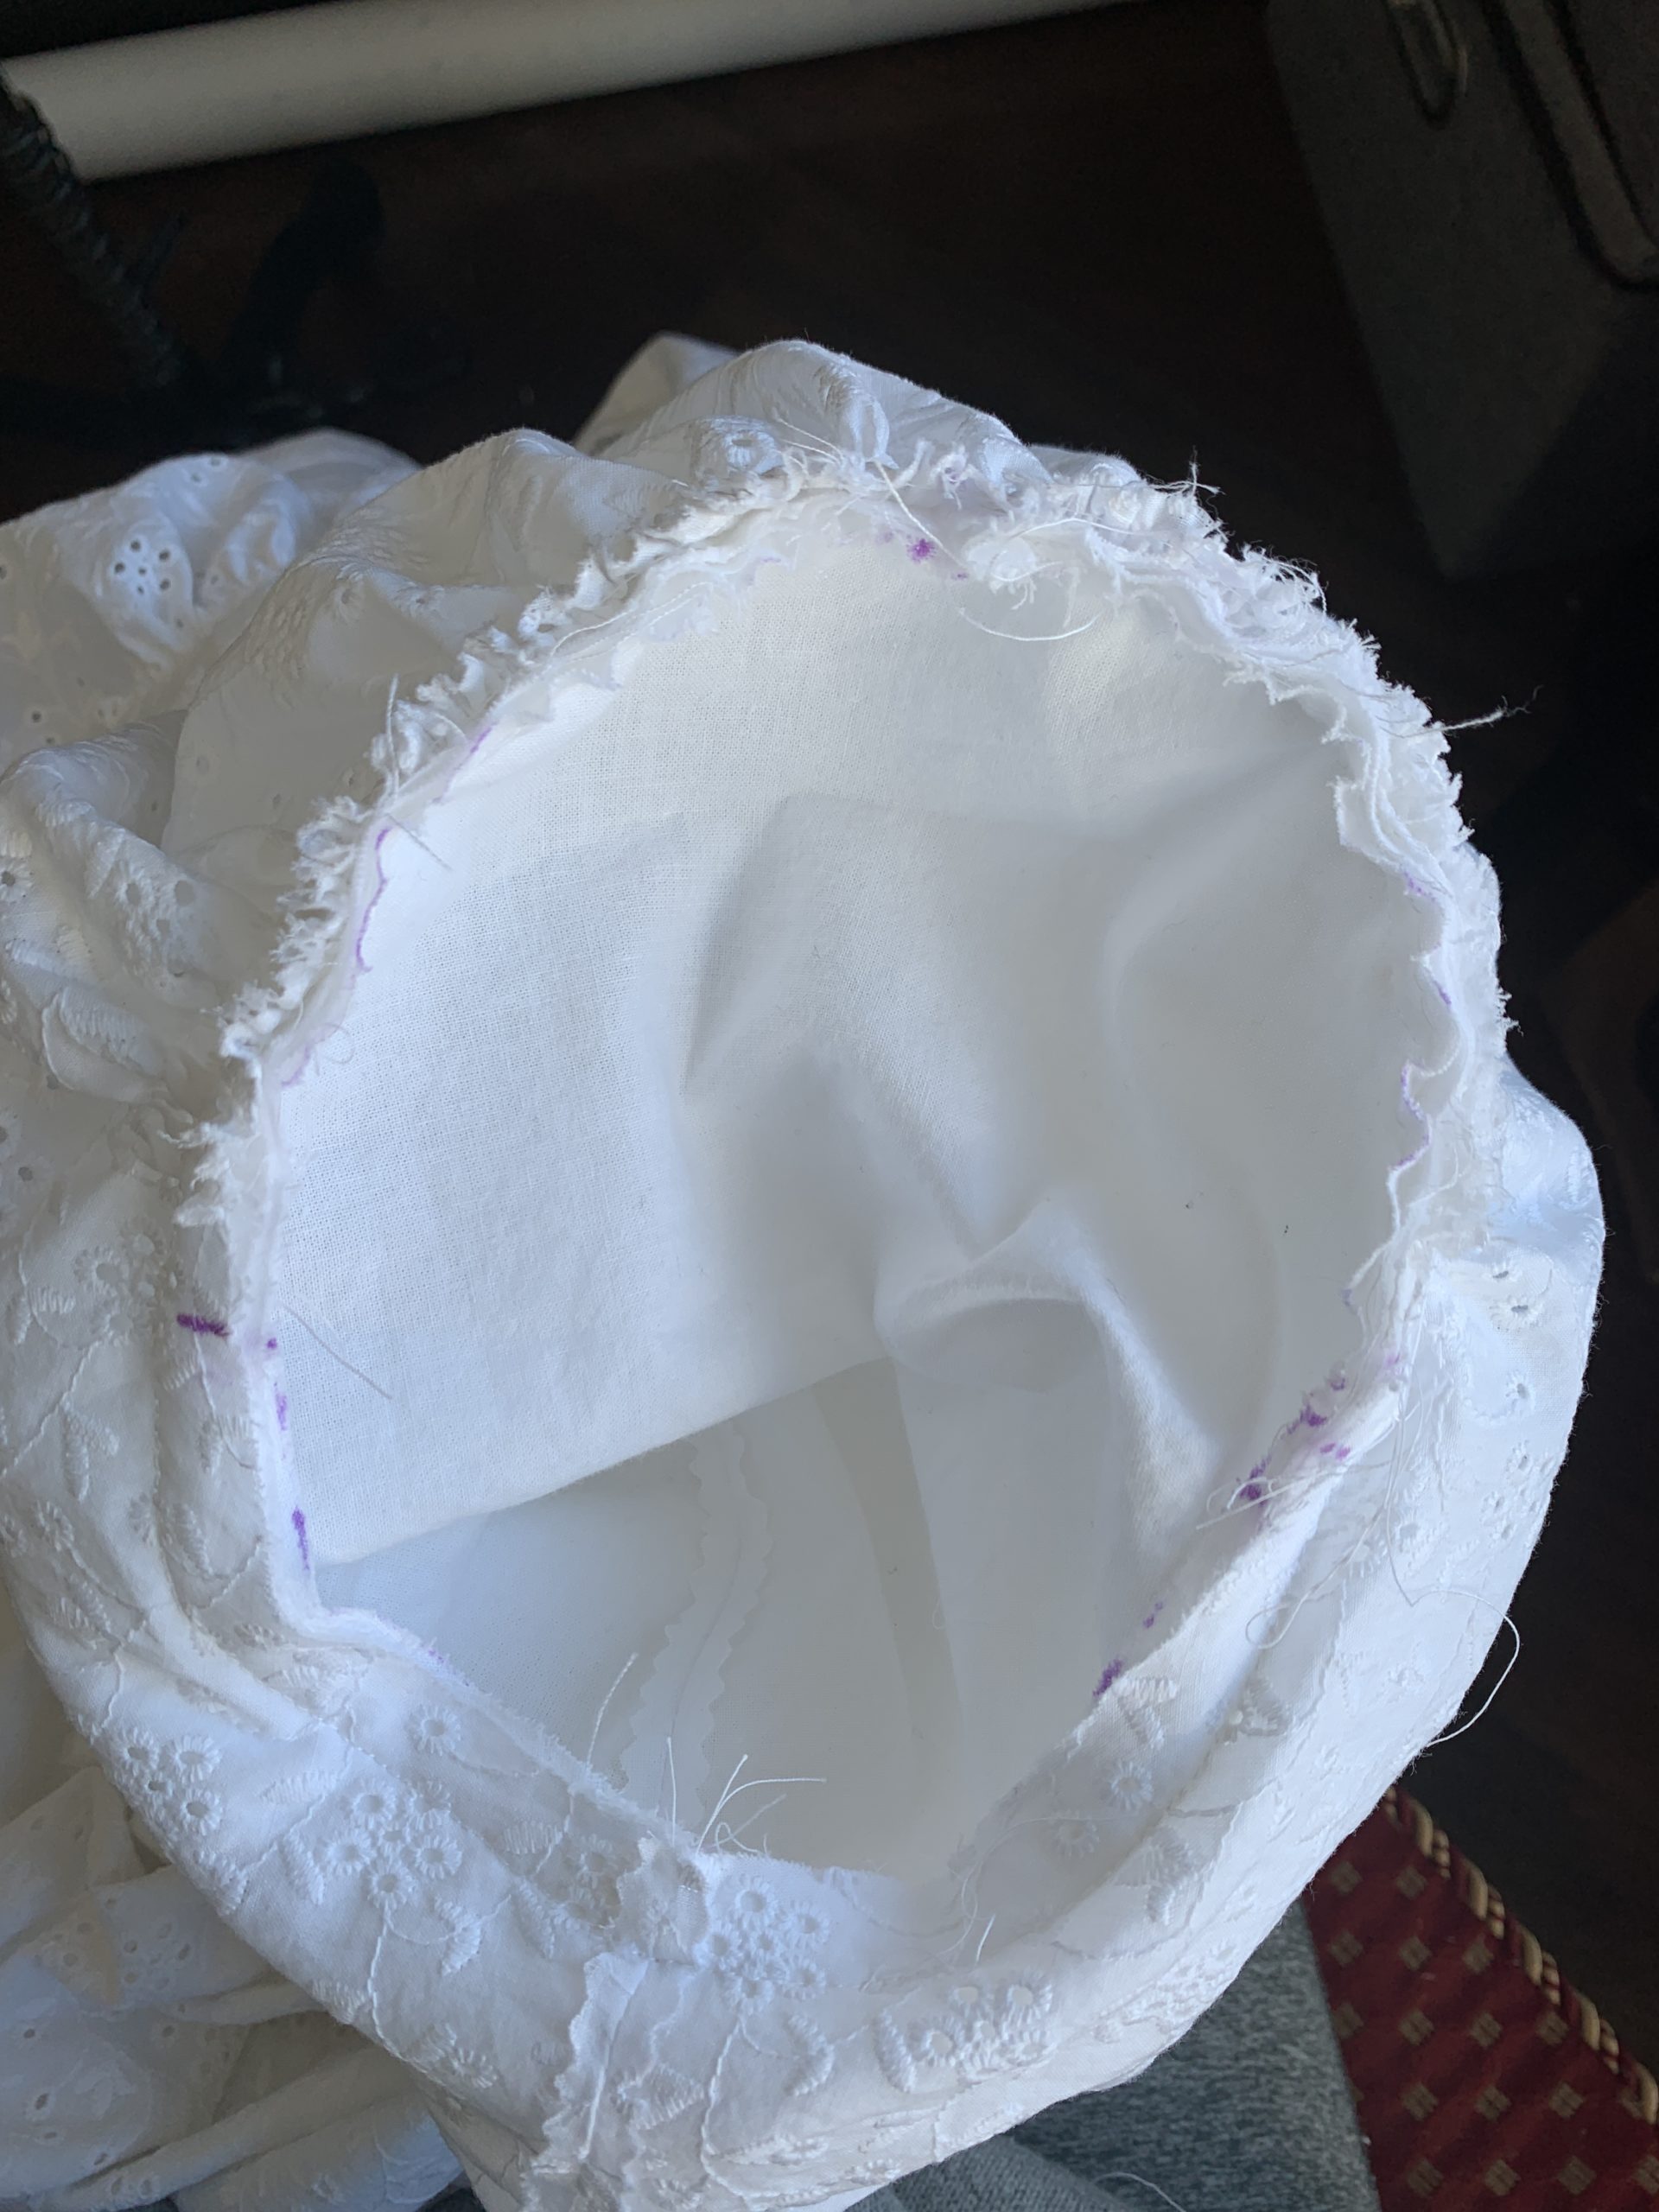
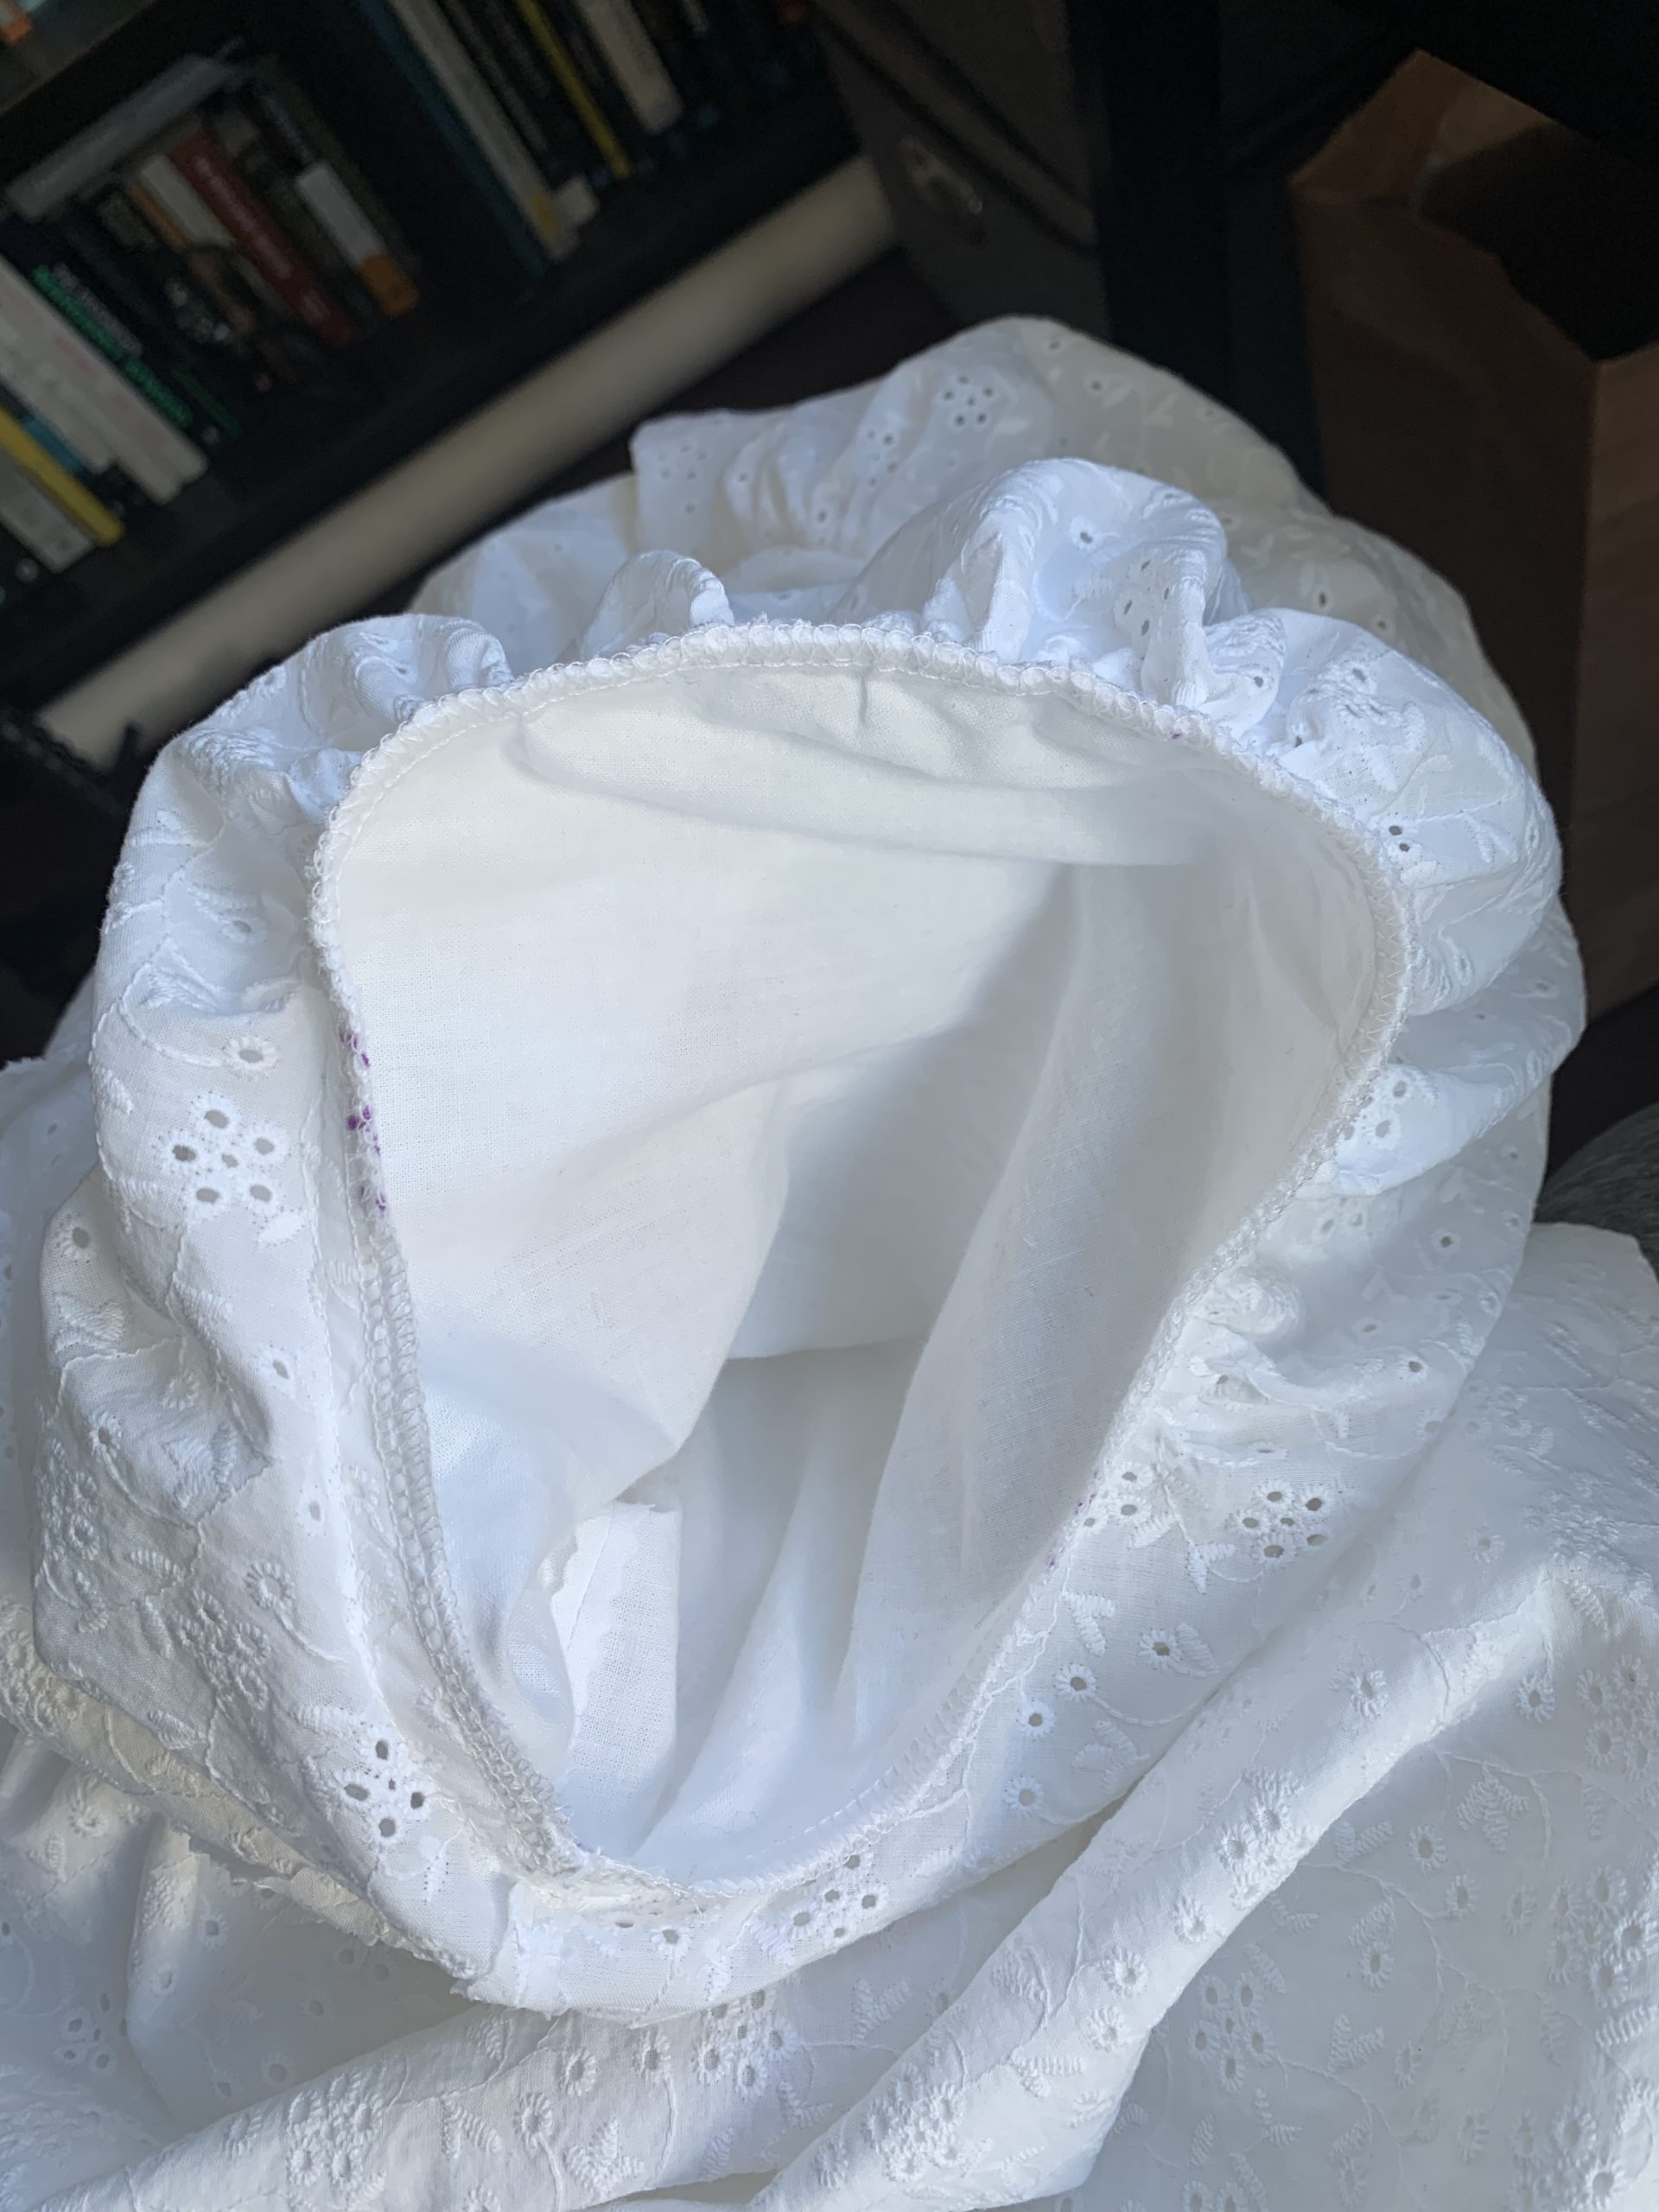
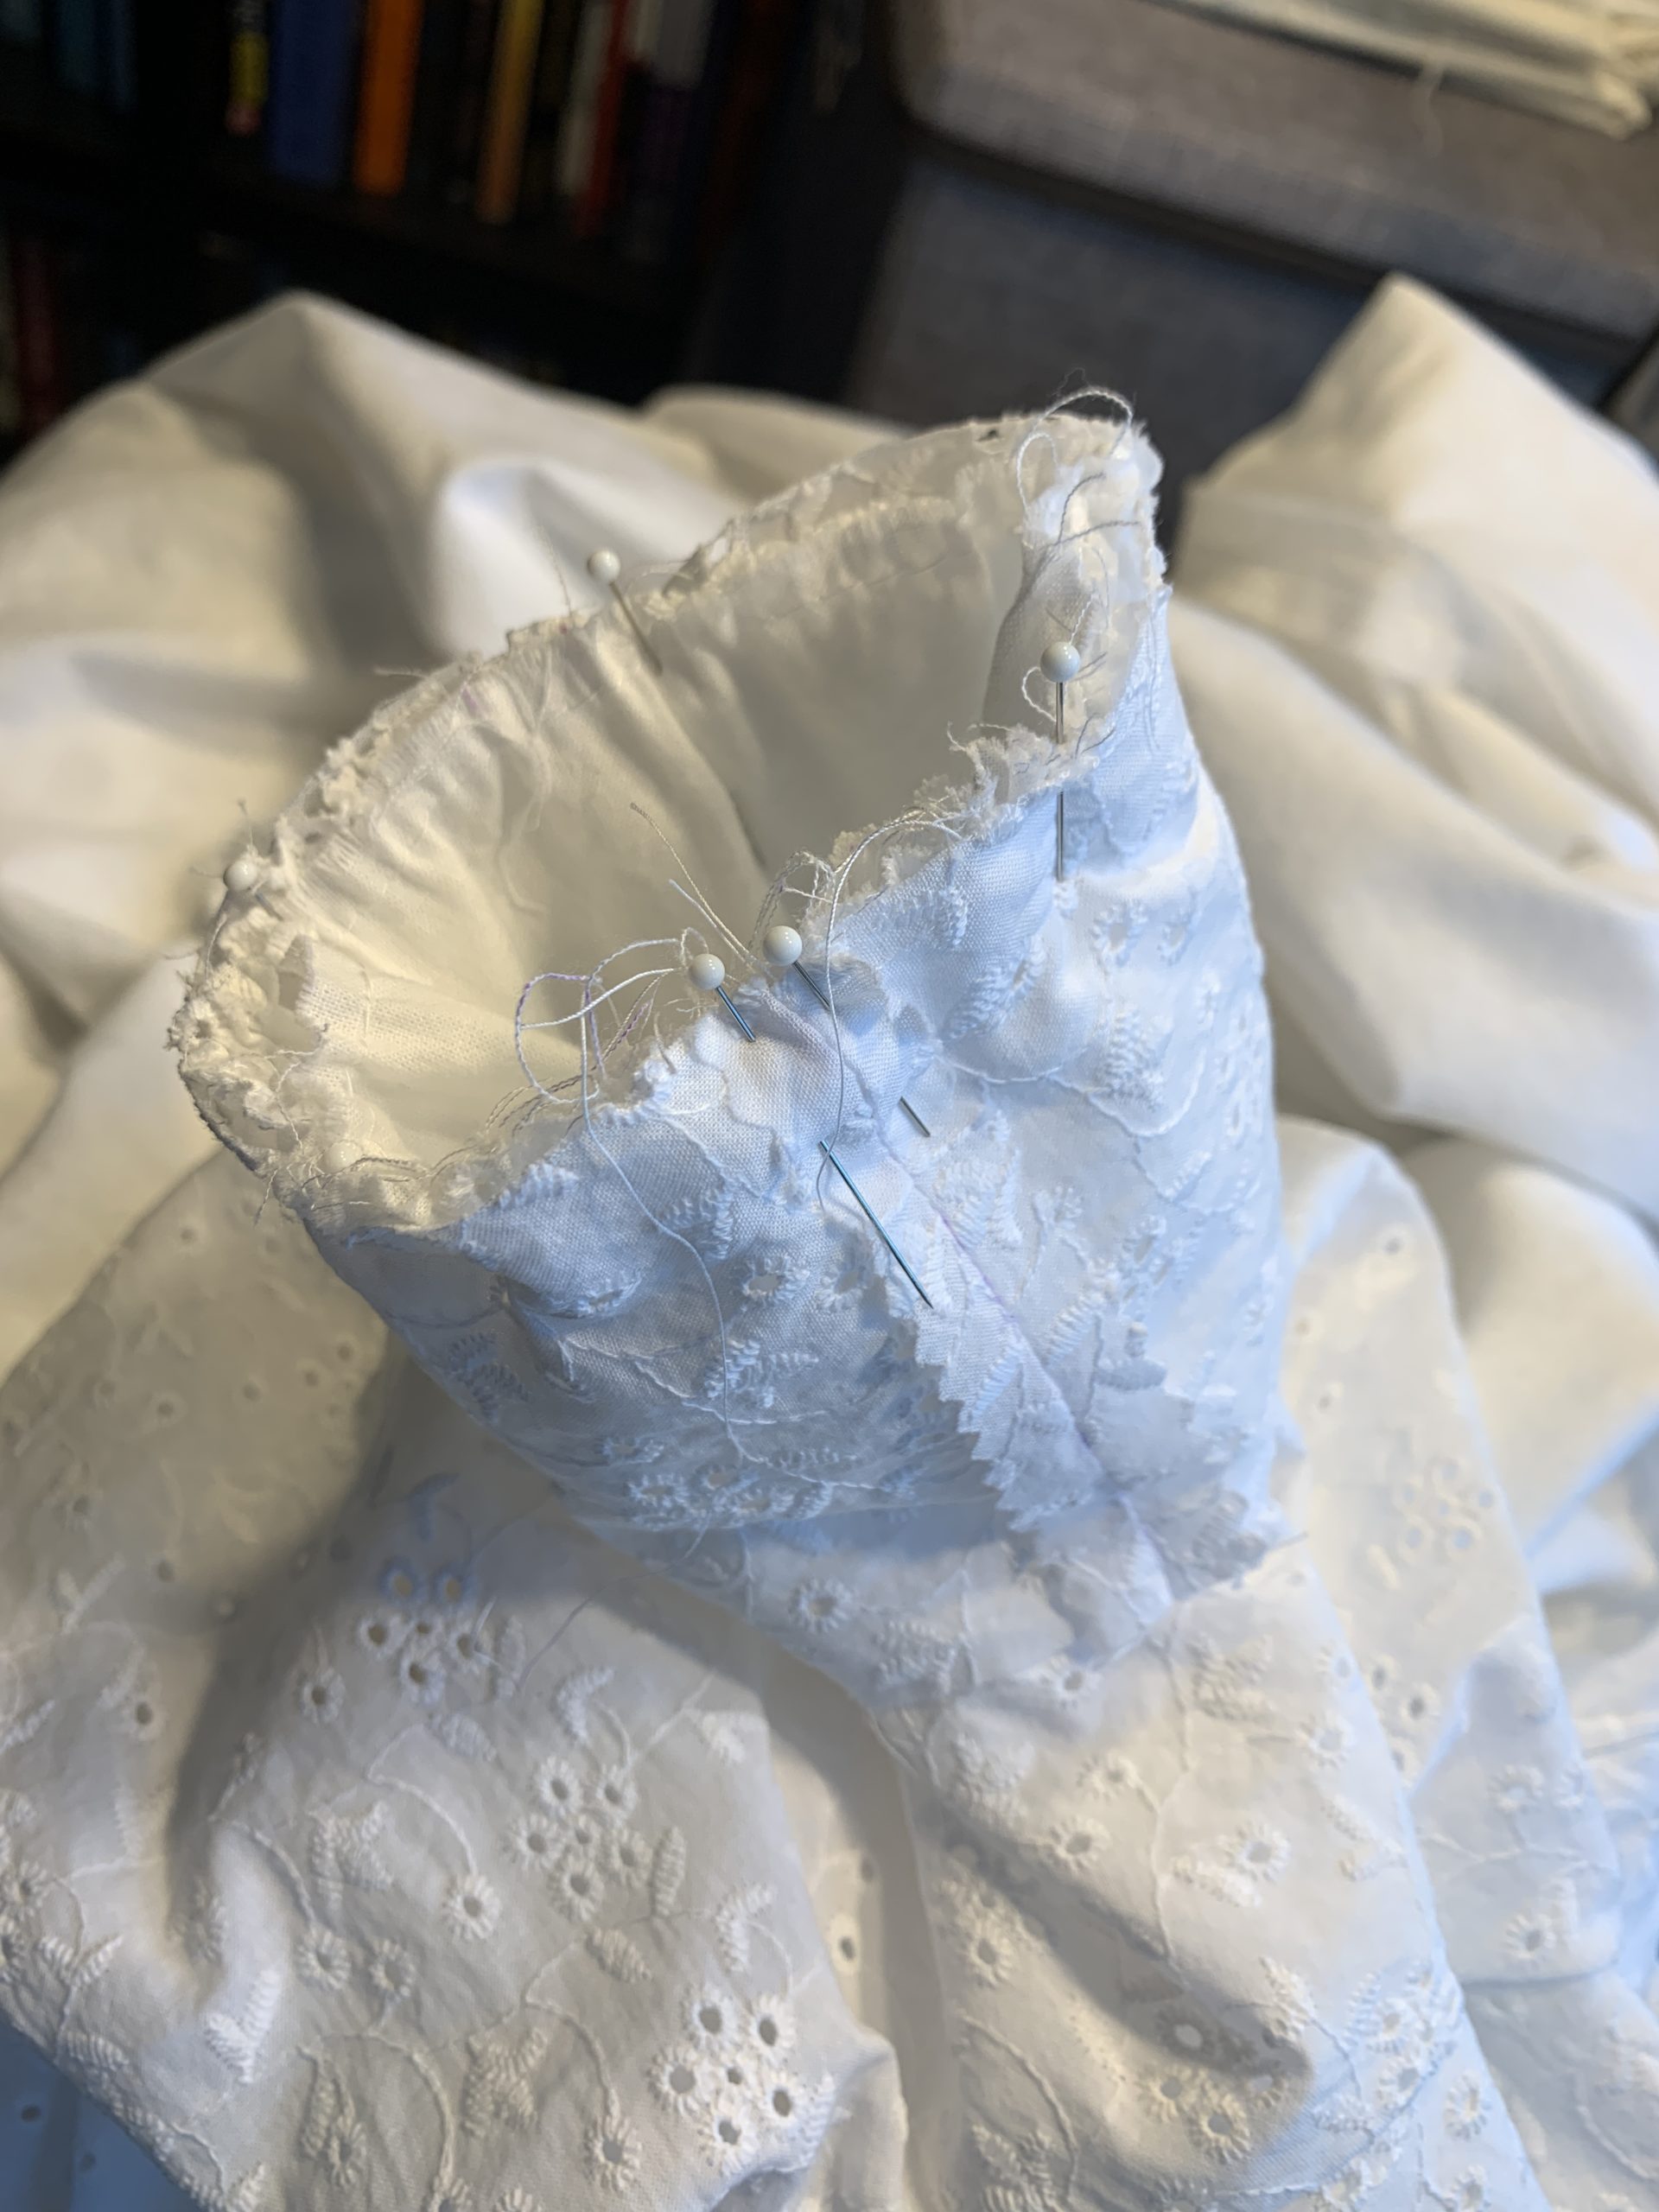
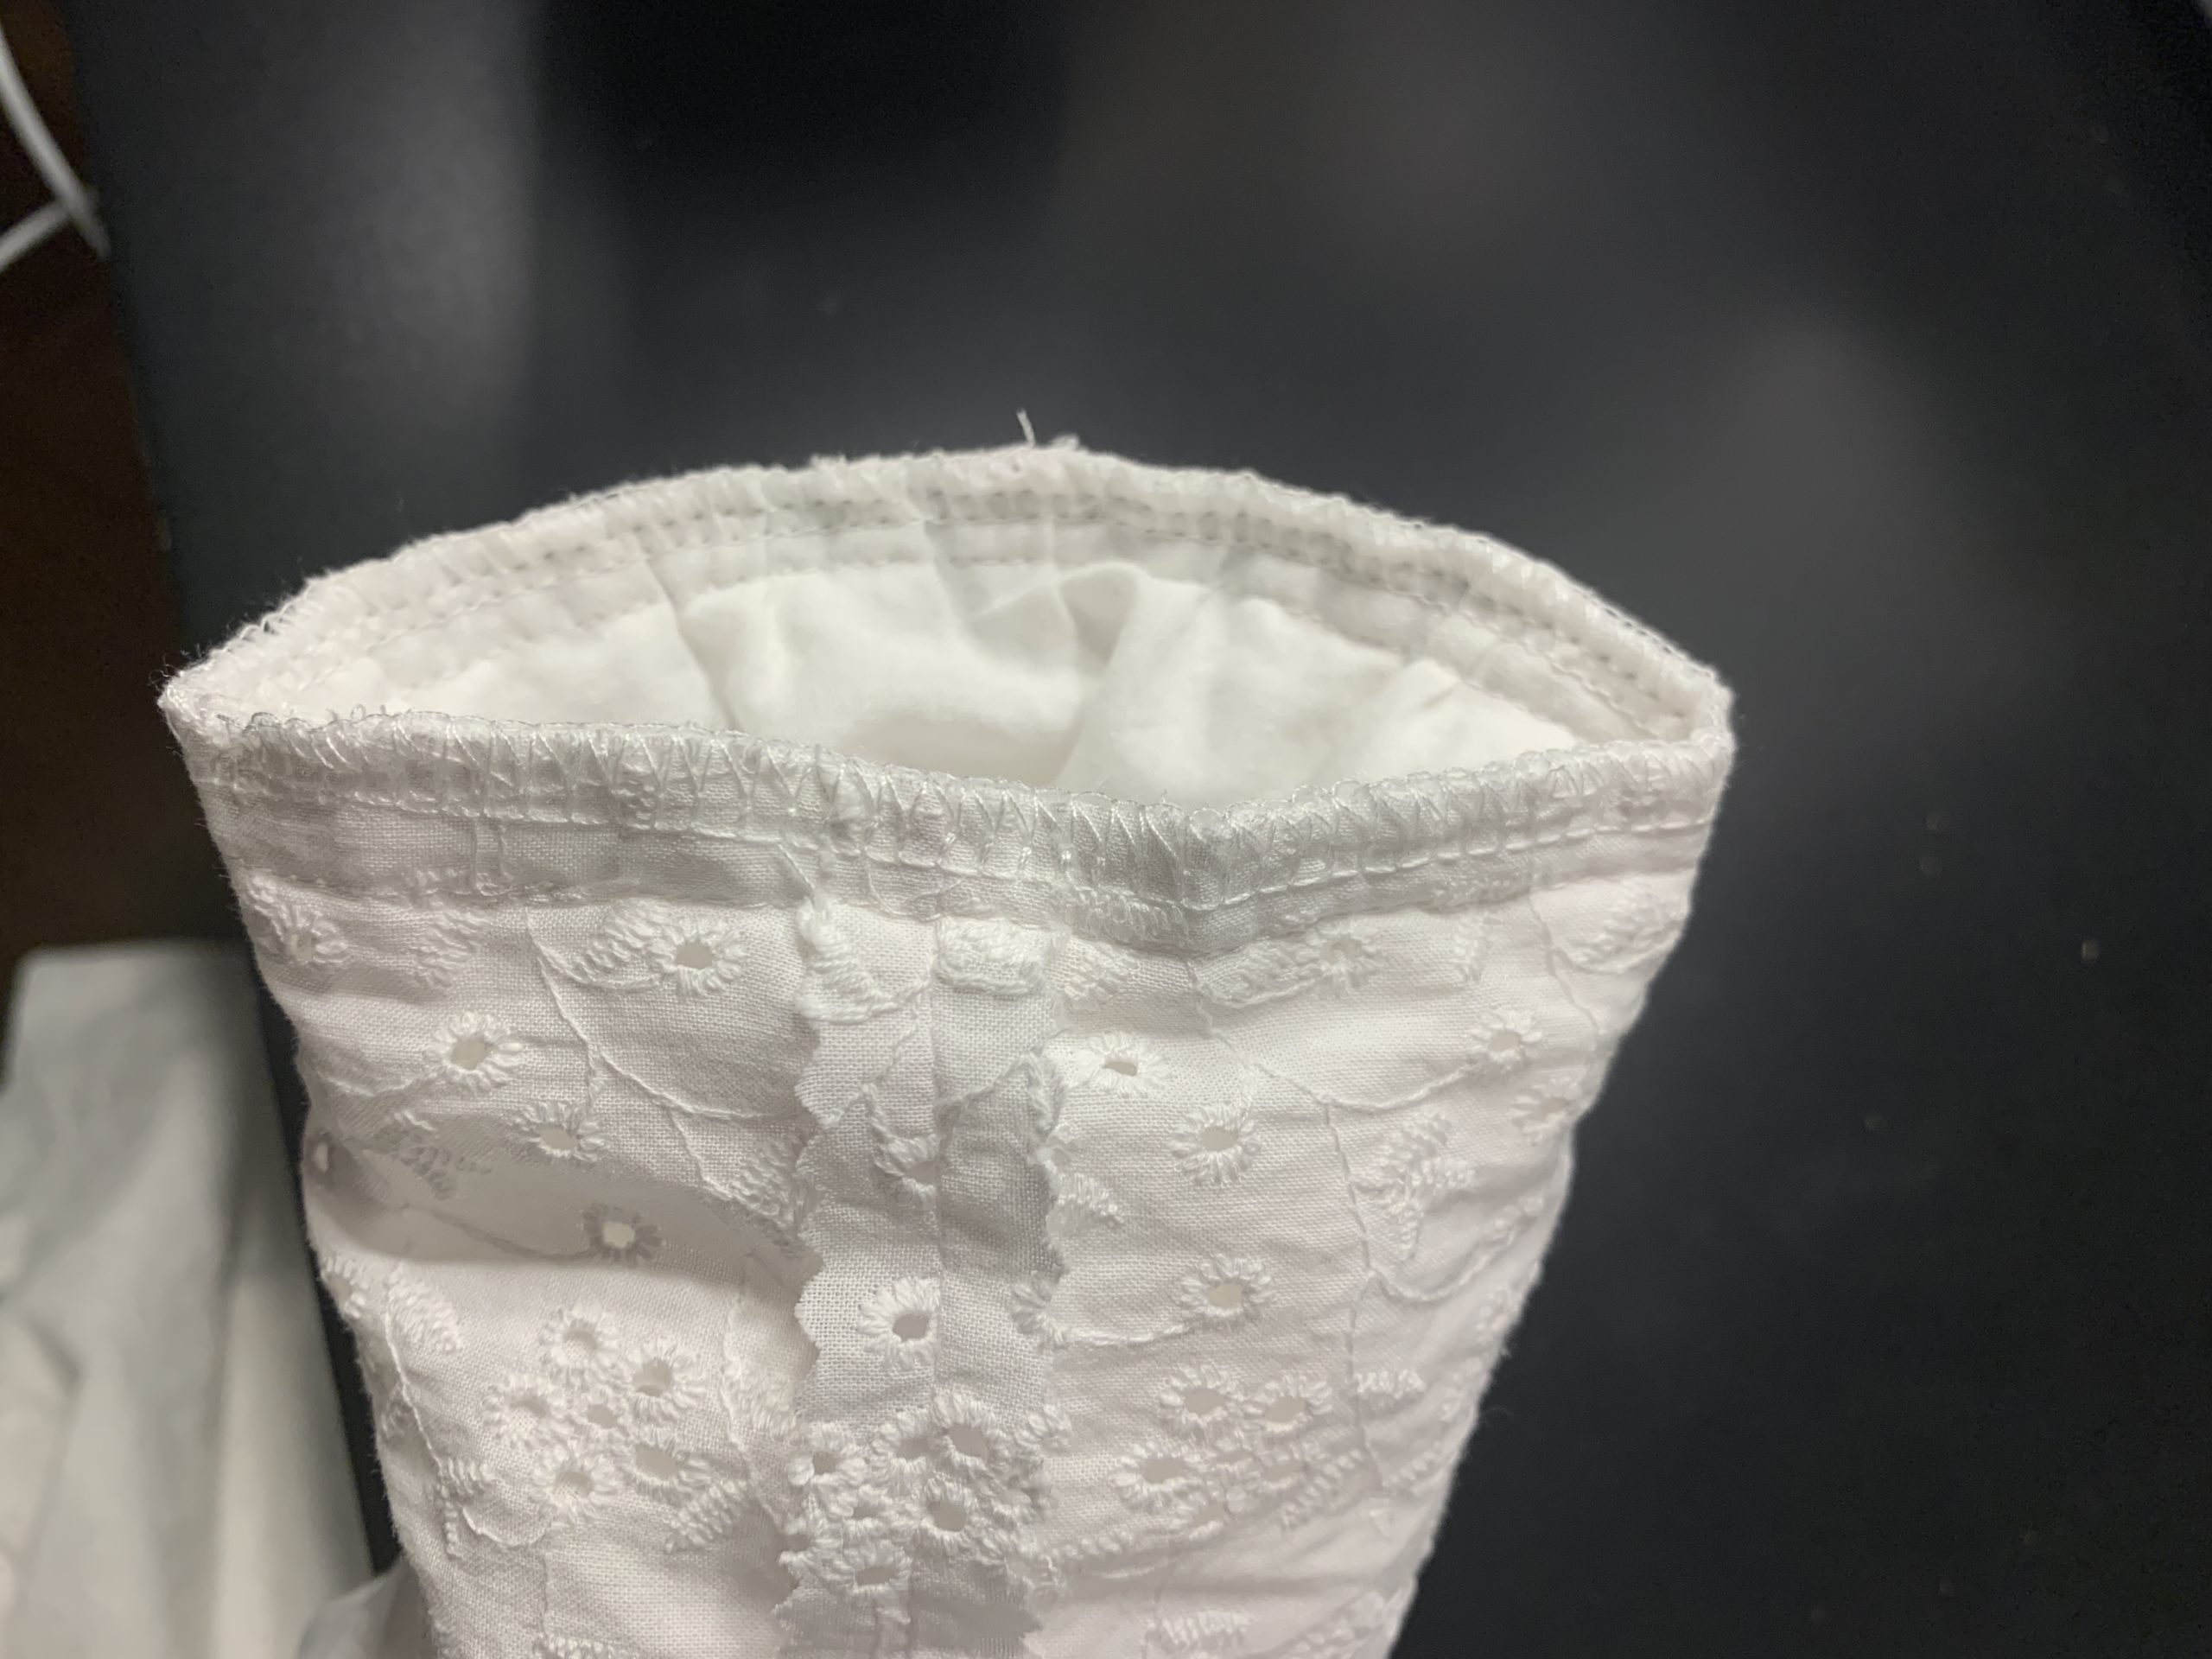
I had to finish off the back neckline before sewing the bodice together, so I drafted a quick collar piece that I sewed on with a 1/2” seam allowance, which I then folded over and ironed down once again to enclose the raw edges. I then sewed along the edge to make a nice clean neckline.
I then serged all the raw edges that would be un-enclosed in the final product for simplicity. This included the side seams of the skirt pieces, and the side and shoulder seams of the bodice.
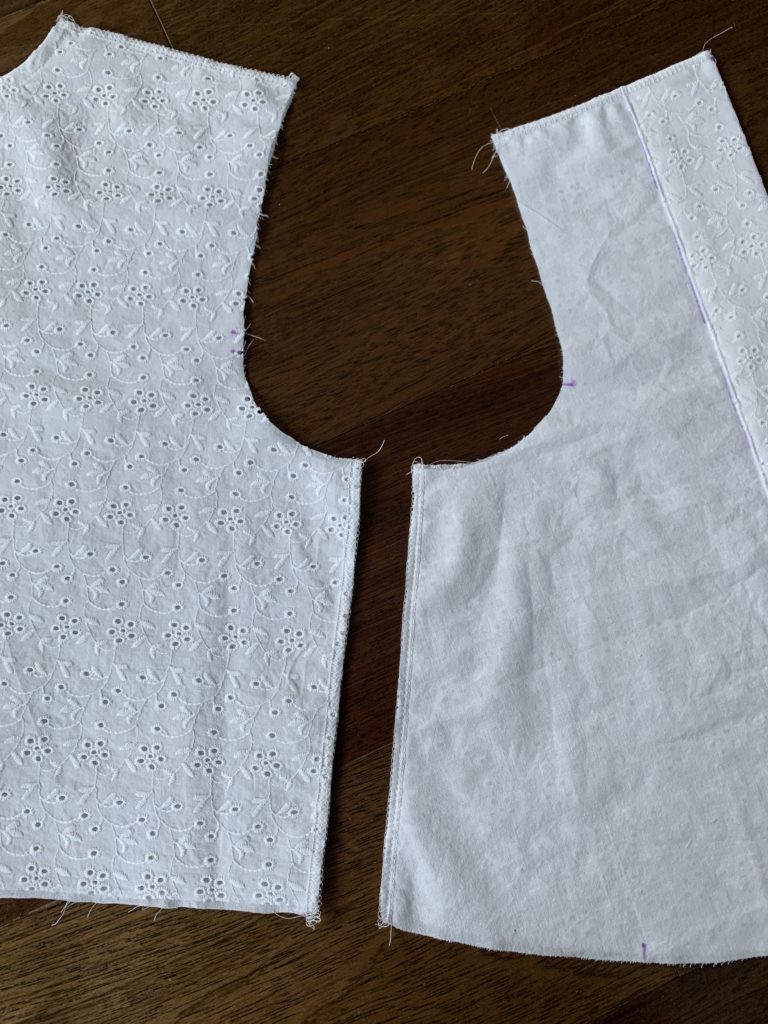
And then I sewed the front and back bodice pieces together to finish off the bodice. I sewed at the shoulder seams and side seams.
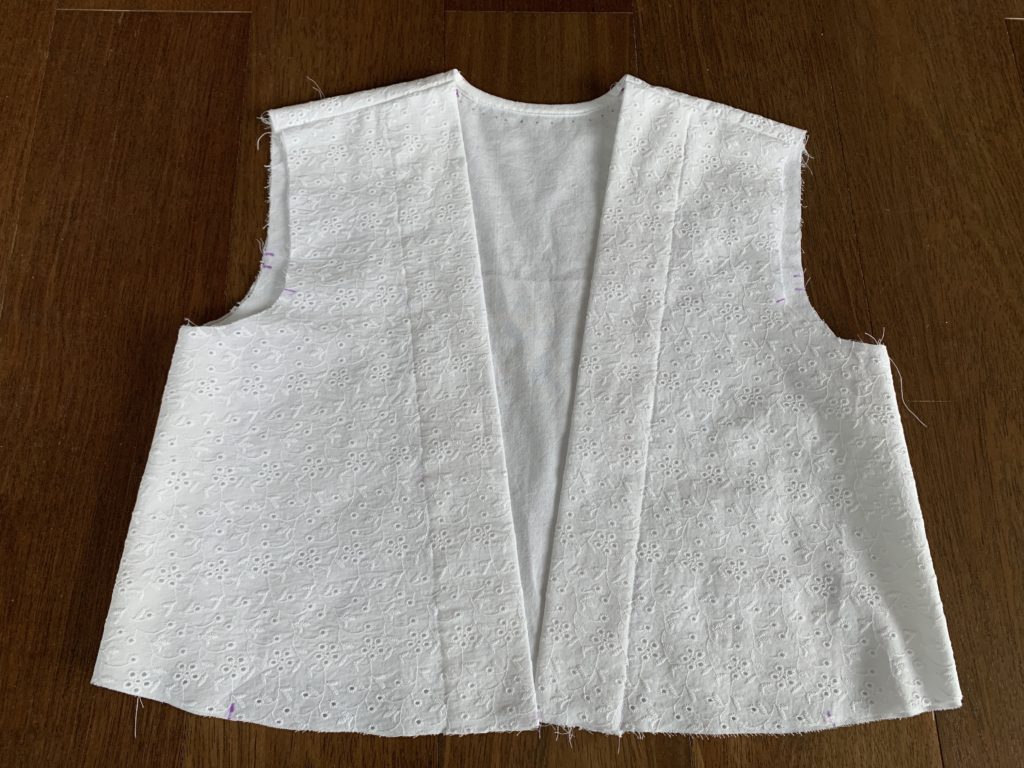
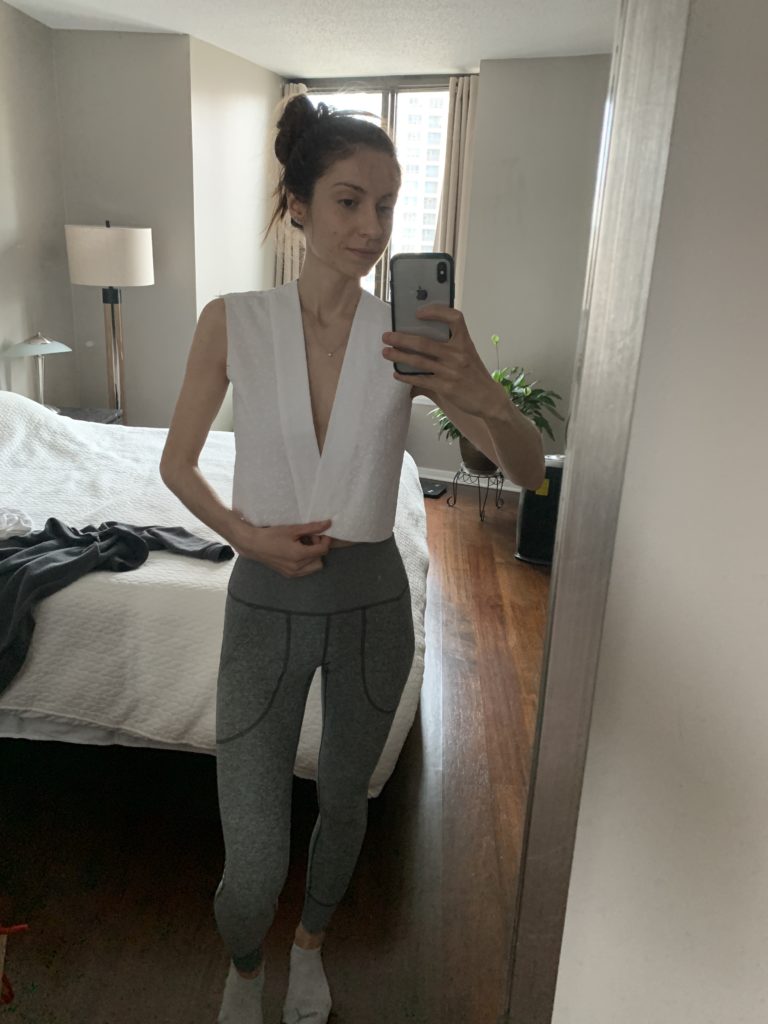
I quickly tried on the bodice and it fit perfectly! The deep low cut neckline is SO my style.
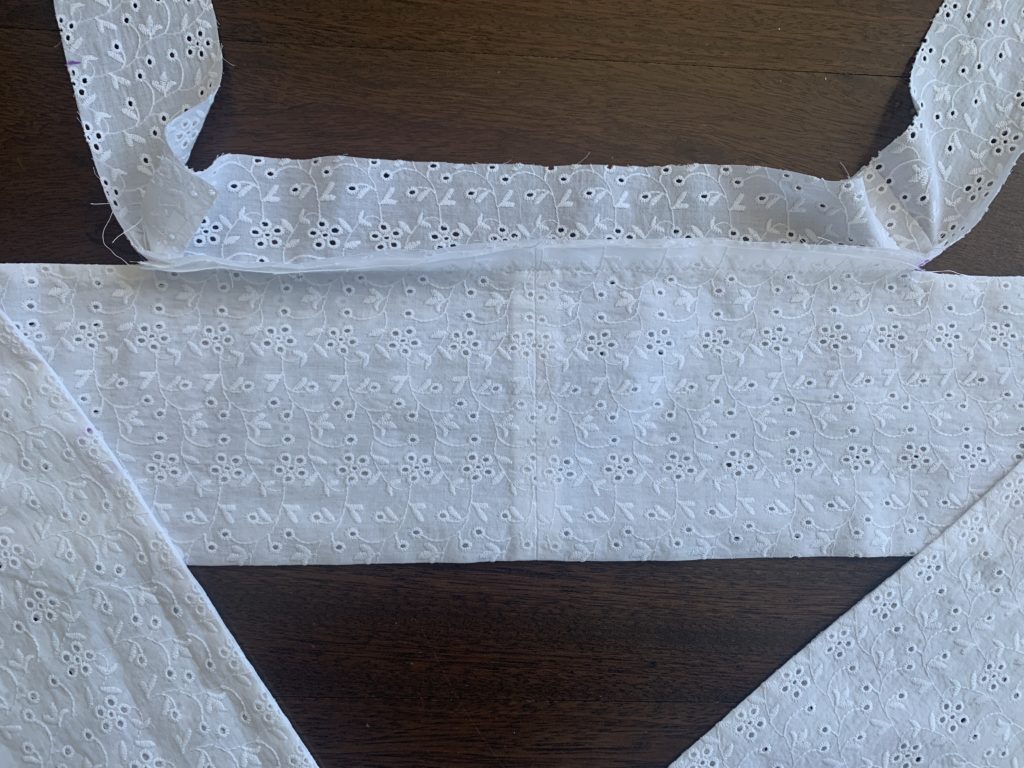
I sewed the waistband together, leaving a hole open in the middle, cut down the seam allowance using linking shears everywhere except at the opening, and turned it right side out. I then ironed it and pulled the seam allowance fabric out at the opening – this is where/how the belt will be sewn to the rest of the dress. In the photo below, you can see that I snipped the seam allowance fabric at the sides to ensure I was able to pull it out and have it lay flat.
It was then time to attach the belt to the waistband. Note that the waistband consists of 3 pieces, which I sewed together earlier (not pictured), and 2 layers that will be sewn together at the end. First, I lined up the seam allowance of the belt to one layer of the waistband, pinned, and sewed only along the seam allowance portion with a 1/2” seam allowance.

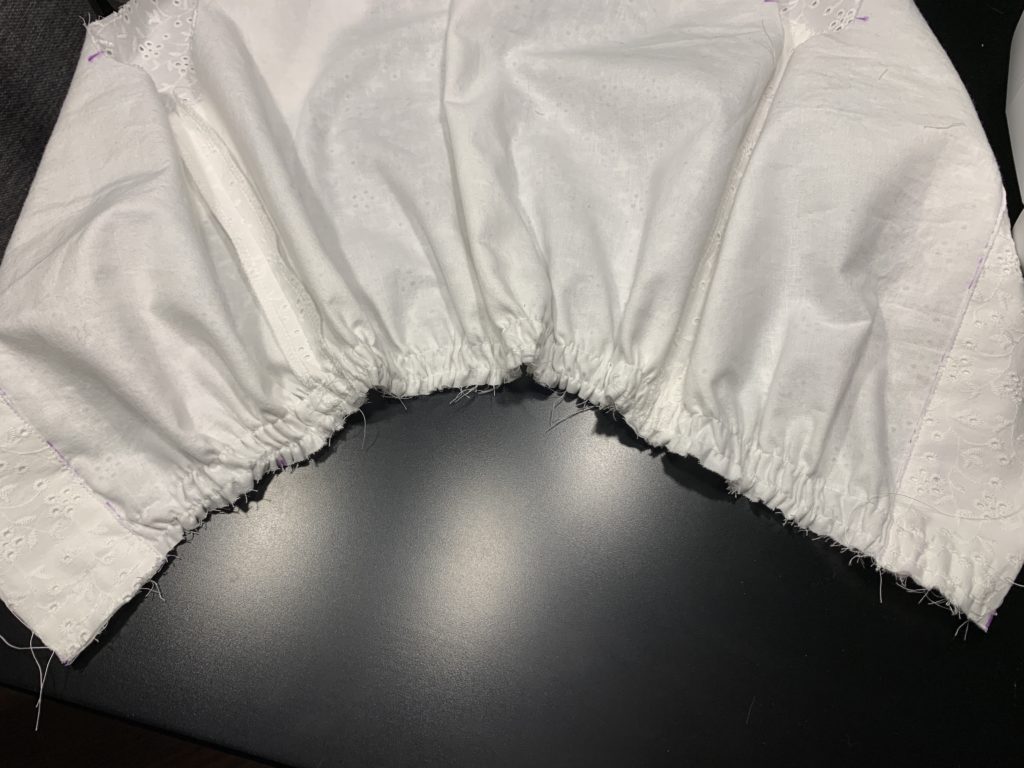
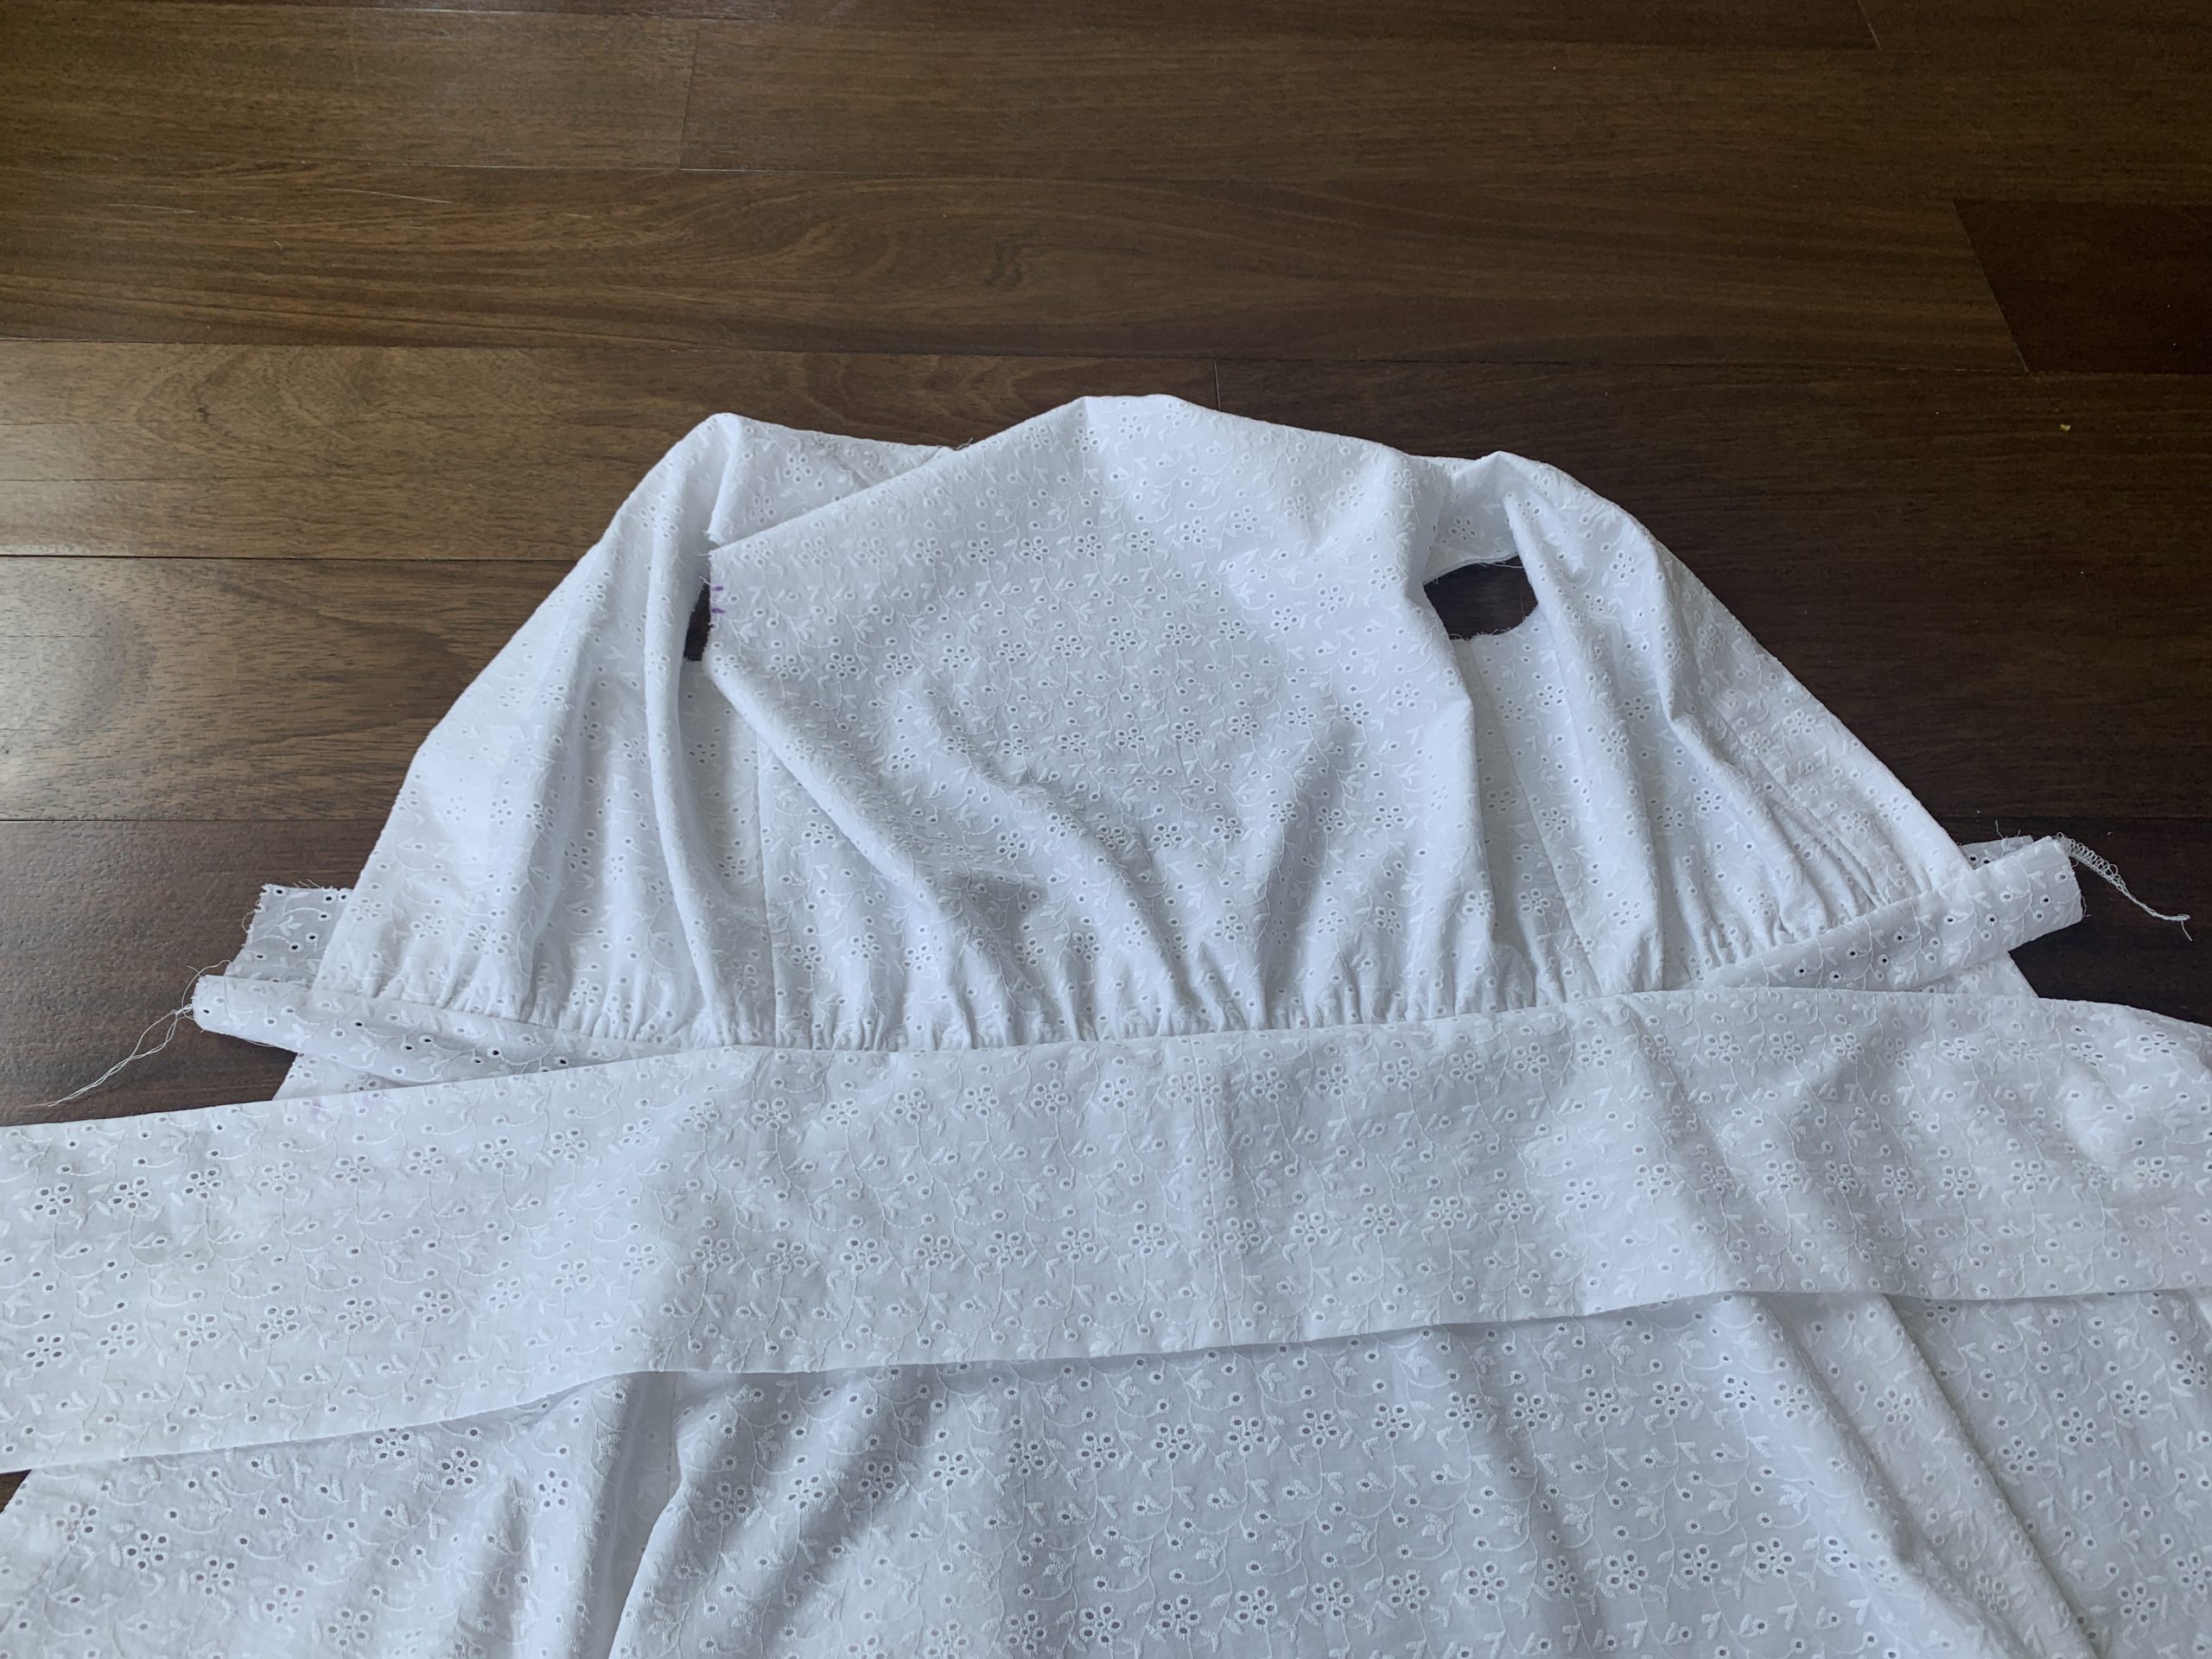
And then it was time to attach this belt/waistband combo to the bodice. This part is super tricky, and I had to rewatch the sew-along multiple times to finally grasp how to do it. I used gathering stitches along the entire bottom edge of the bodice and gathered it to the same length as the waistband.
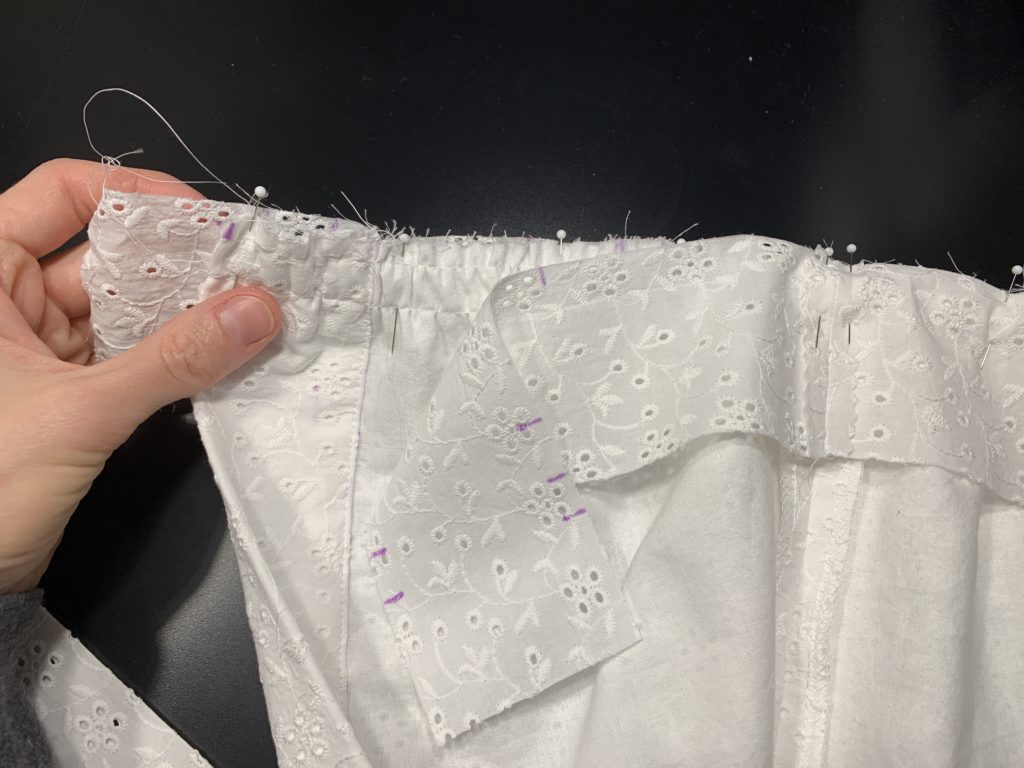
I then pinned the belt/waistband to the bodice, aligning the edge of the bodice to the notches on the waistband, right sides together and sewed with a 1/2” seam allowance to connect the pieces. Note that the waistband is meant to be slightly longer than the bodice, as shown in the photo below.
I then took the second layer of the waistband and pinned it to the other (inside) part of the bodice. This sandwiched in the bodice between the belt/waistband sitting along the outside of the bodice, and the waistband sitting along the inside of the bodice.
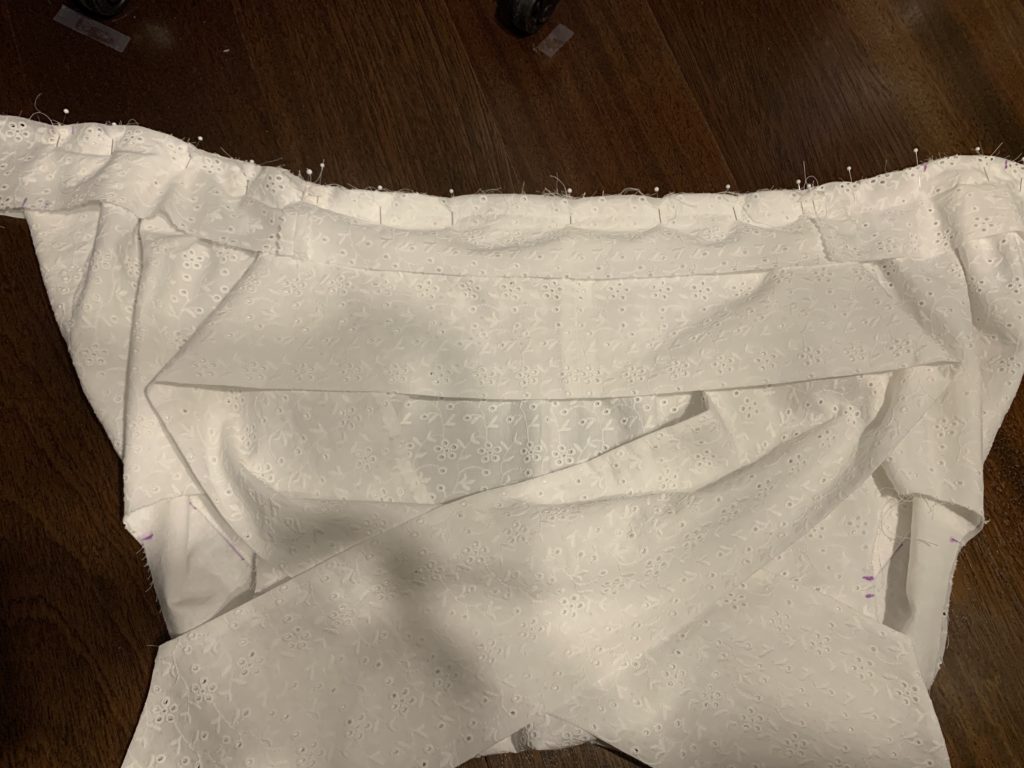
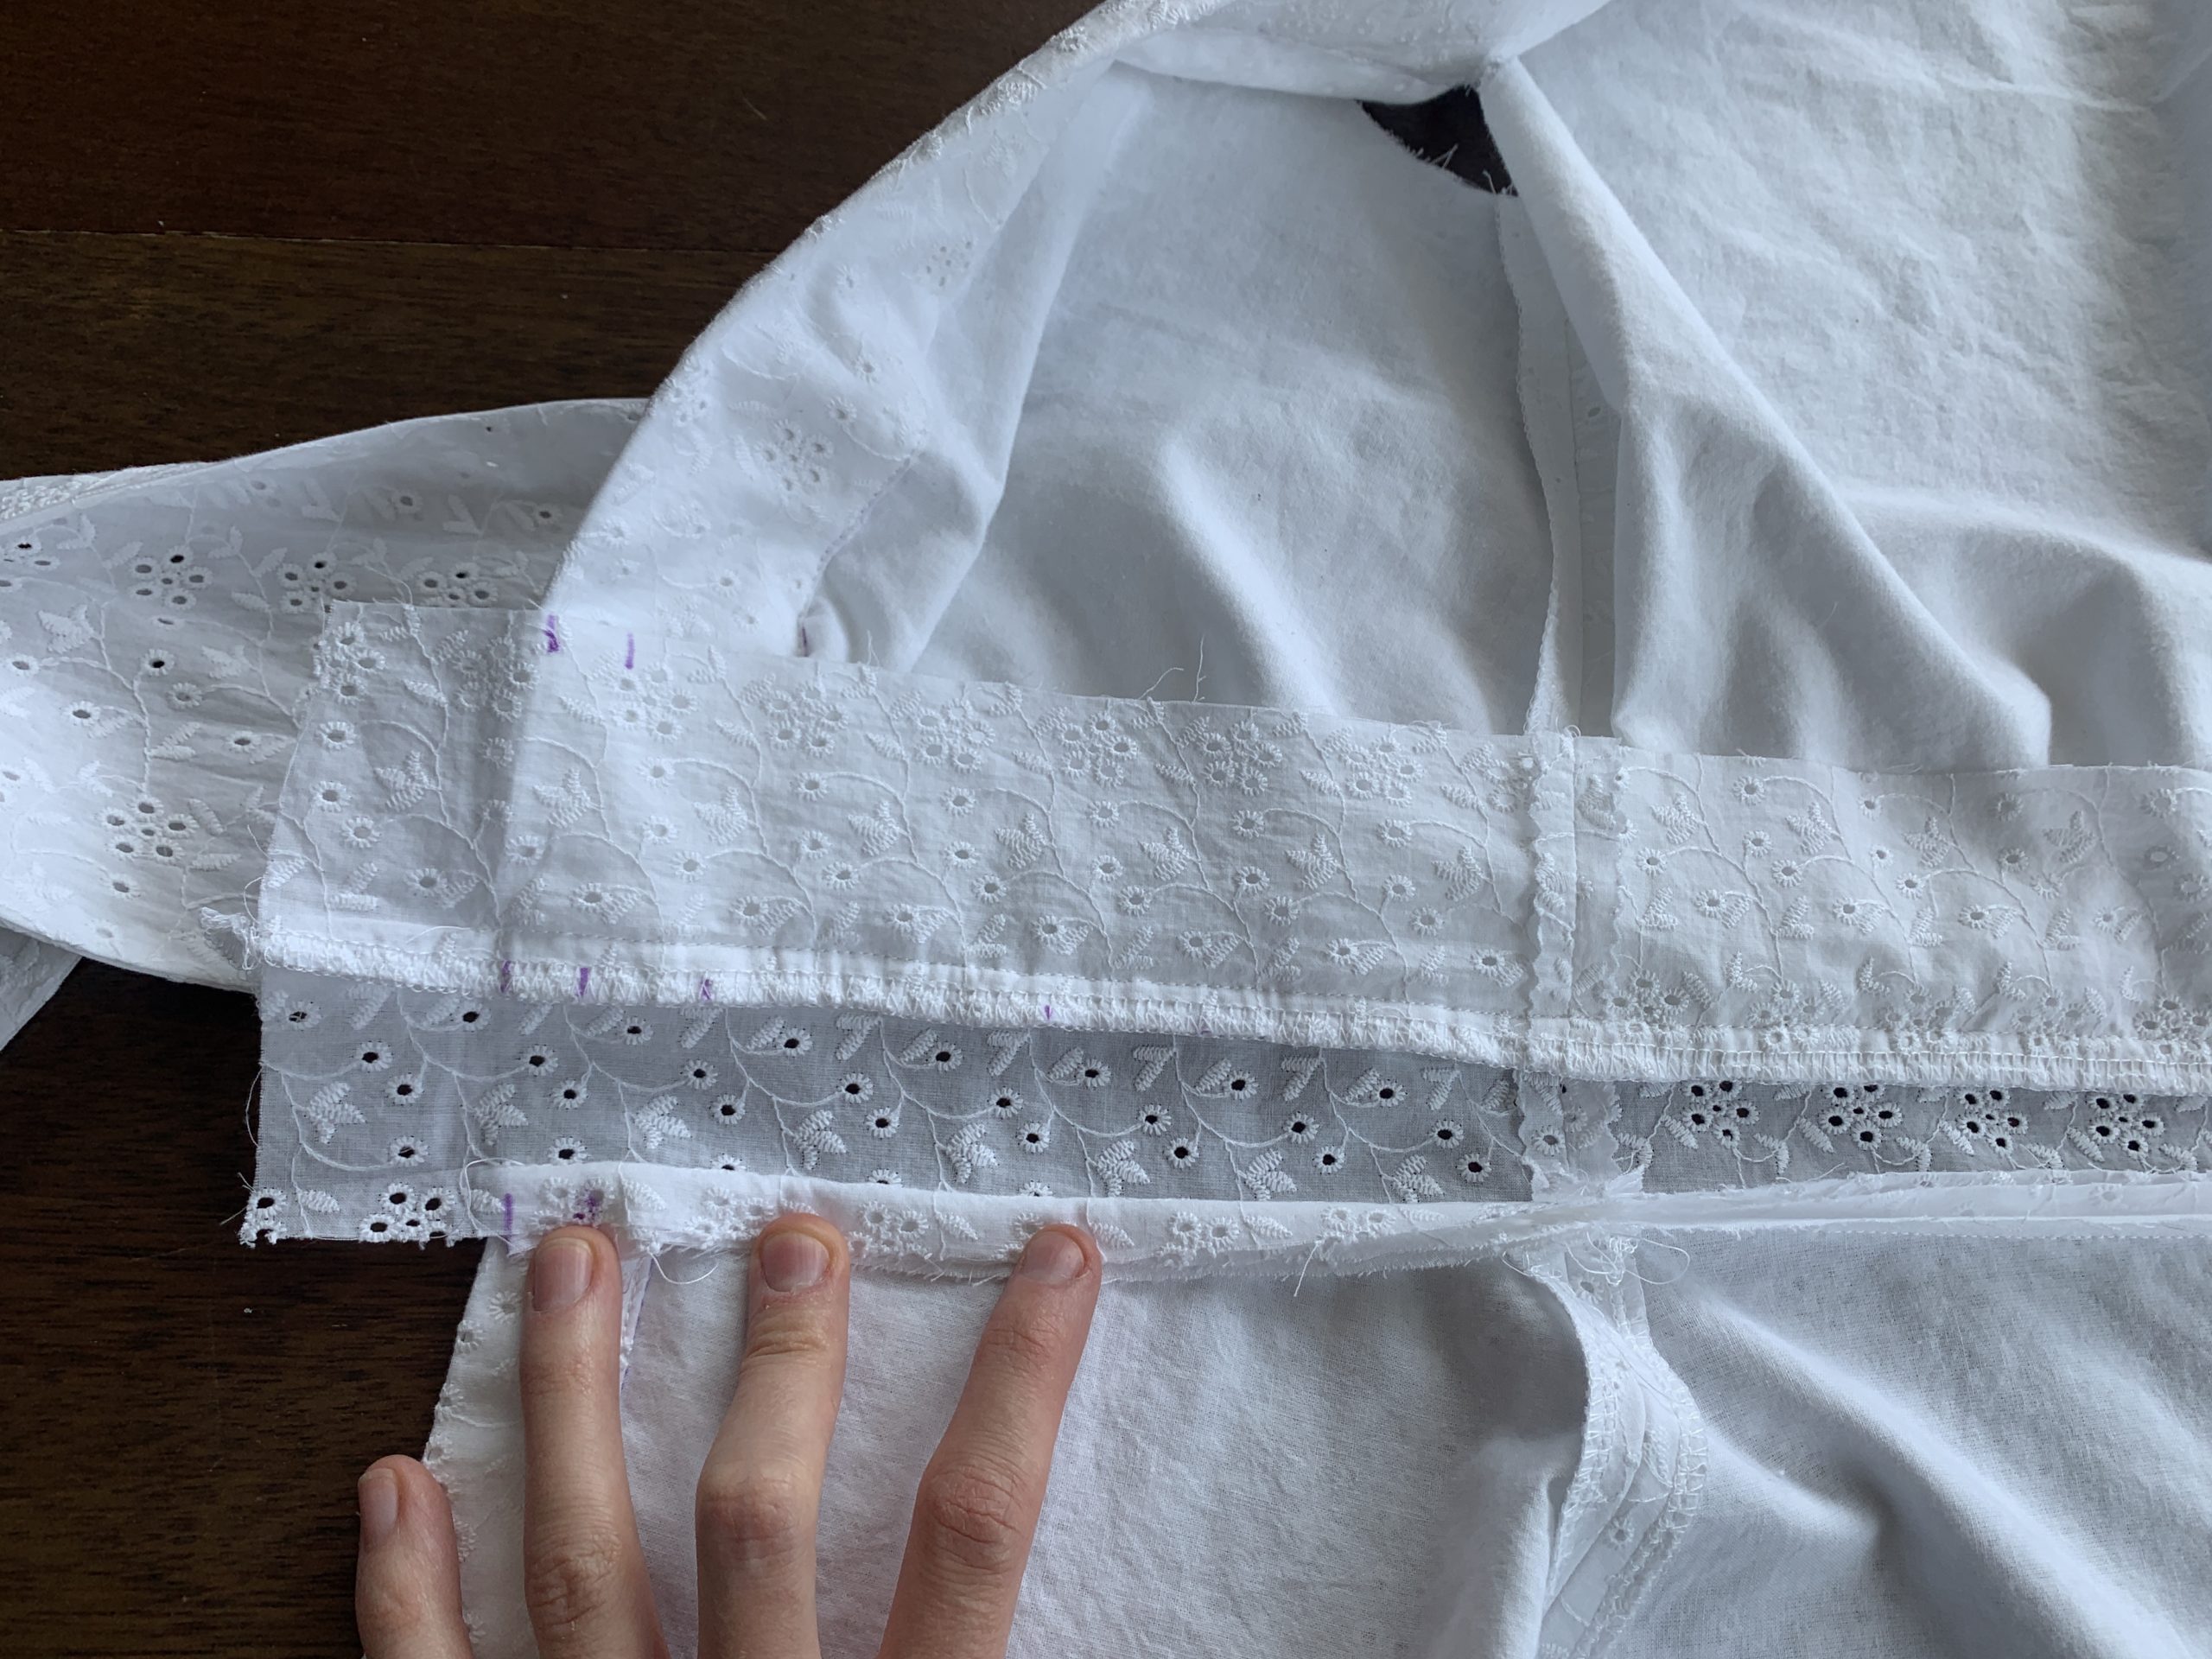
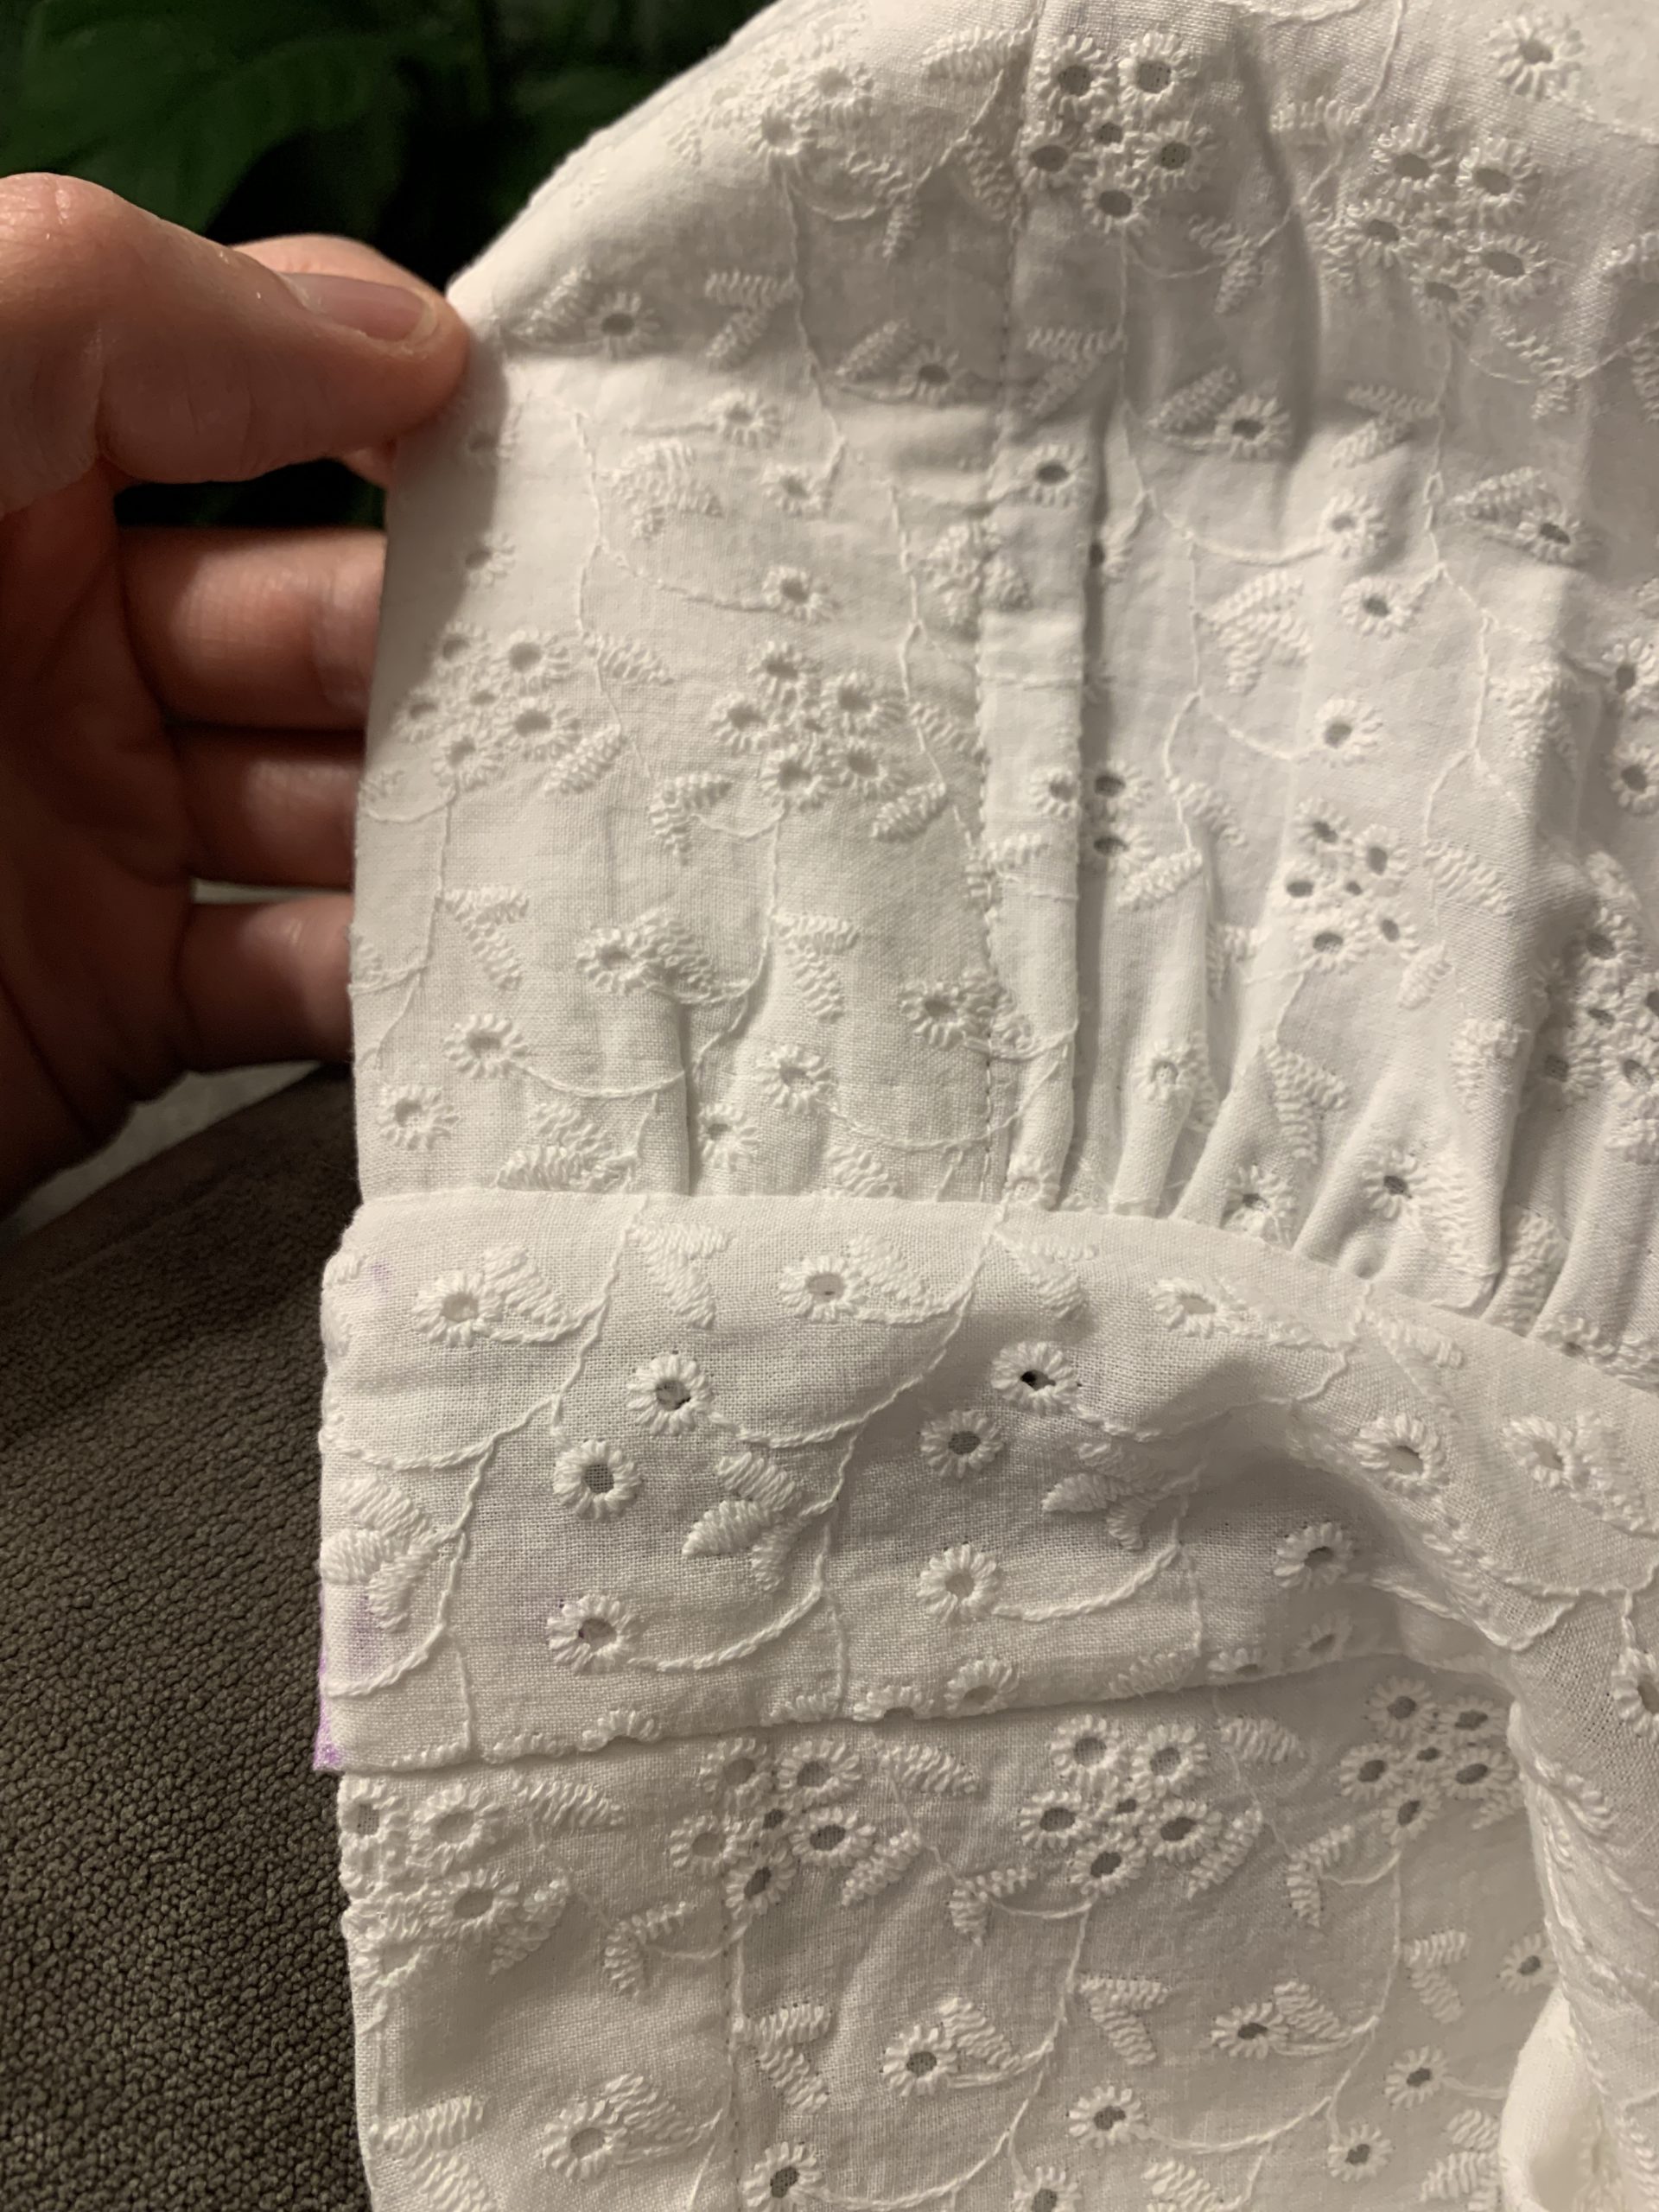
Up next I attached the skirt to the bodice / belt. To do this, I took the front waistband and pinned it right sides together to the top of the skirt, then sewed the full length.

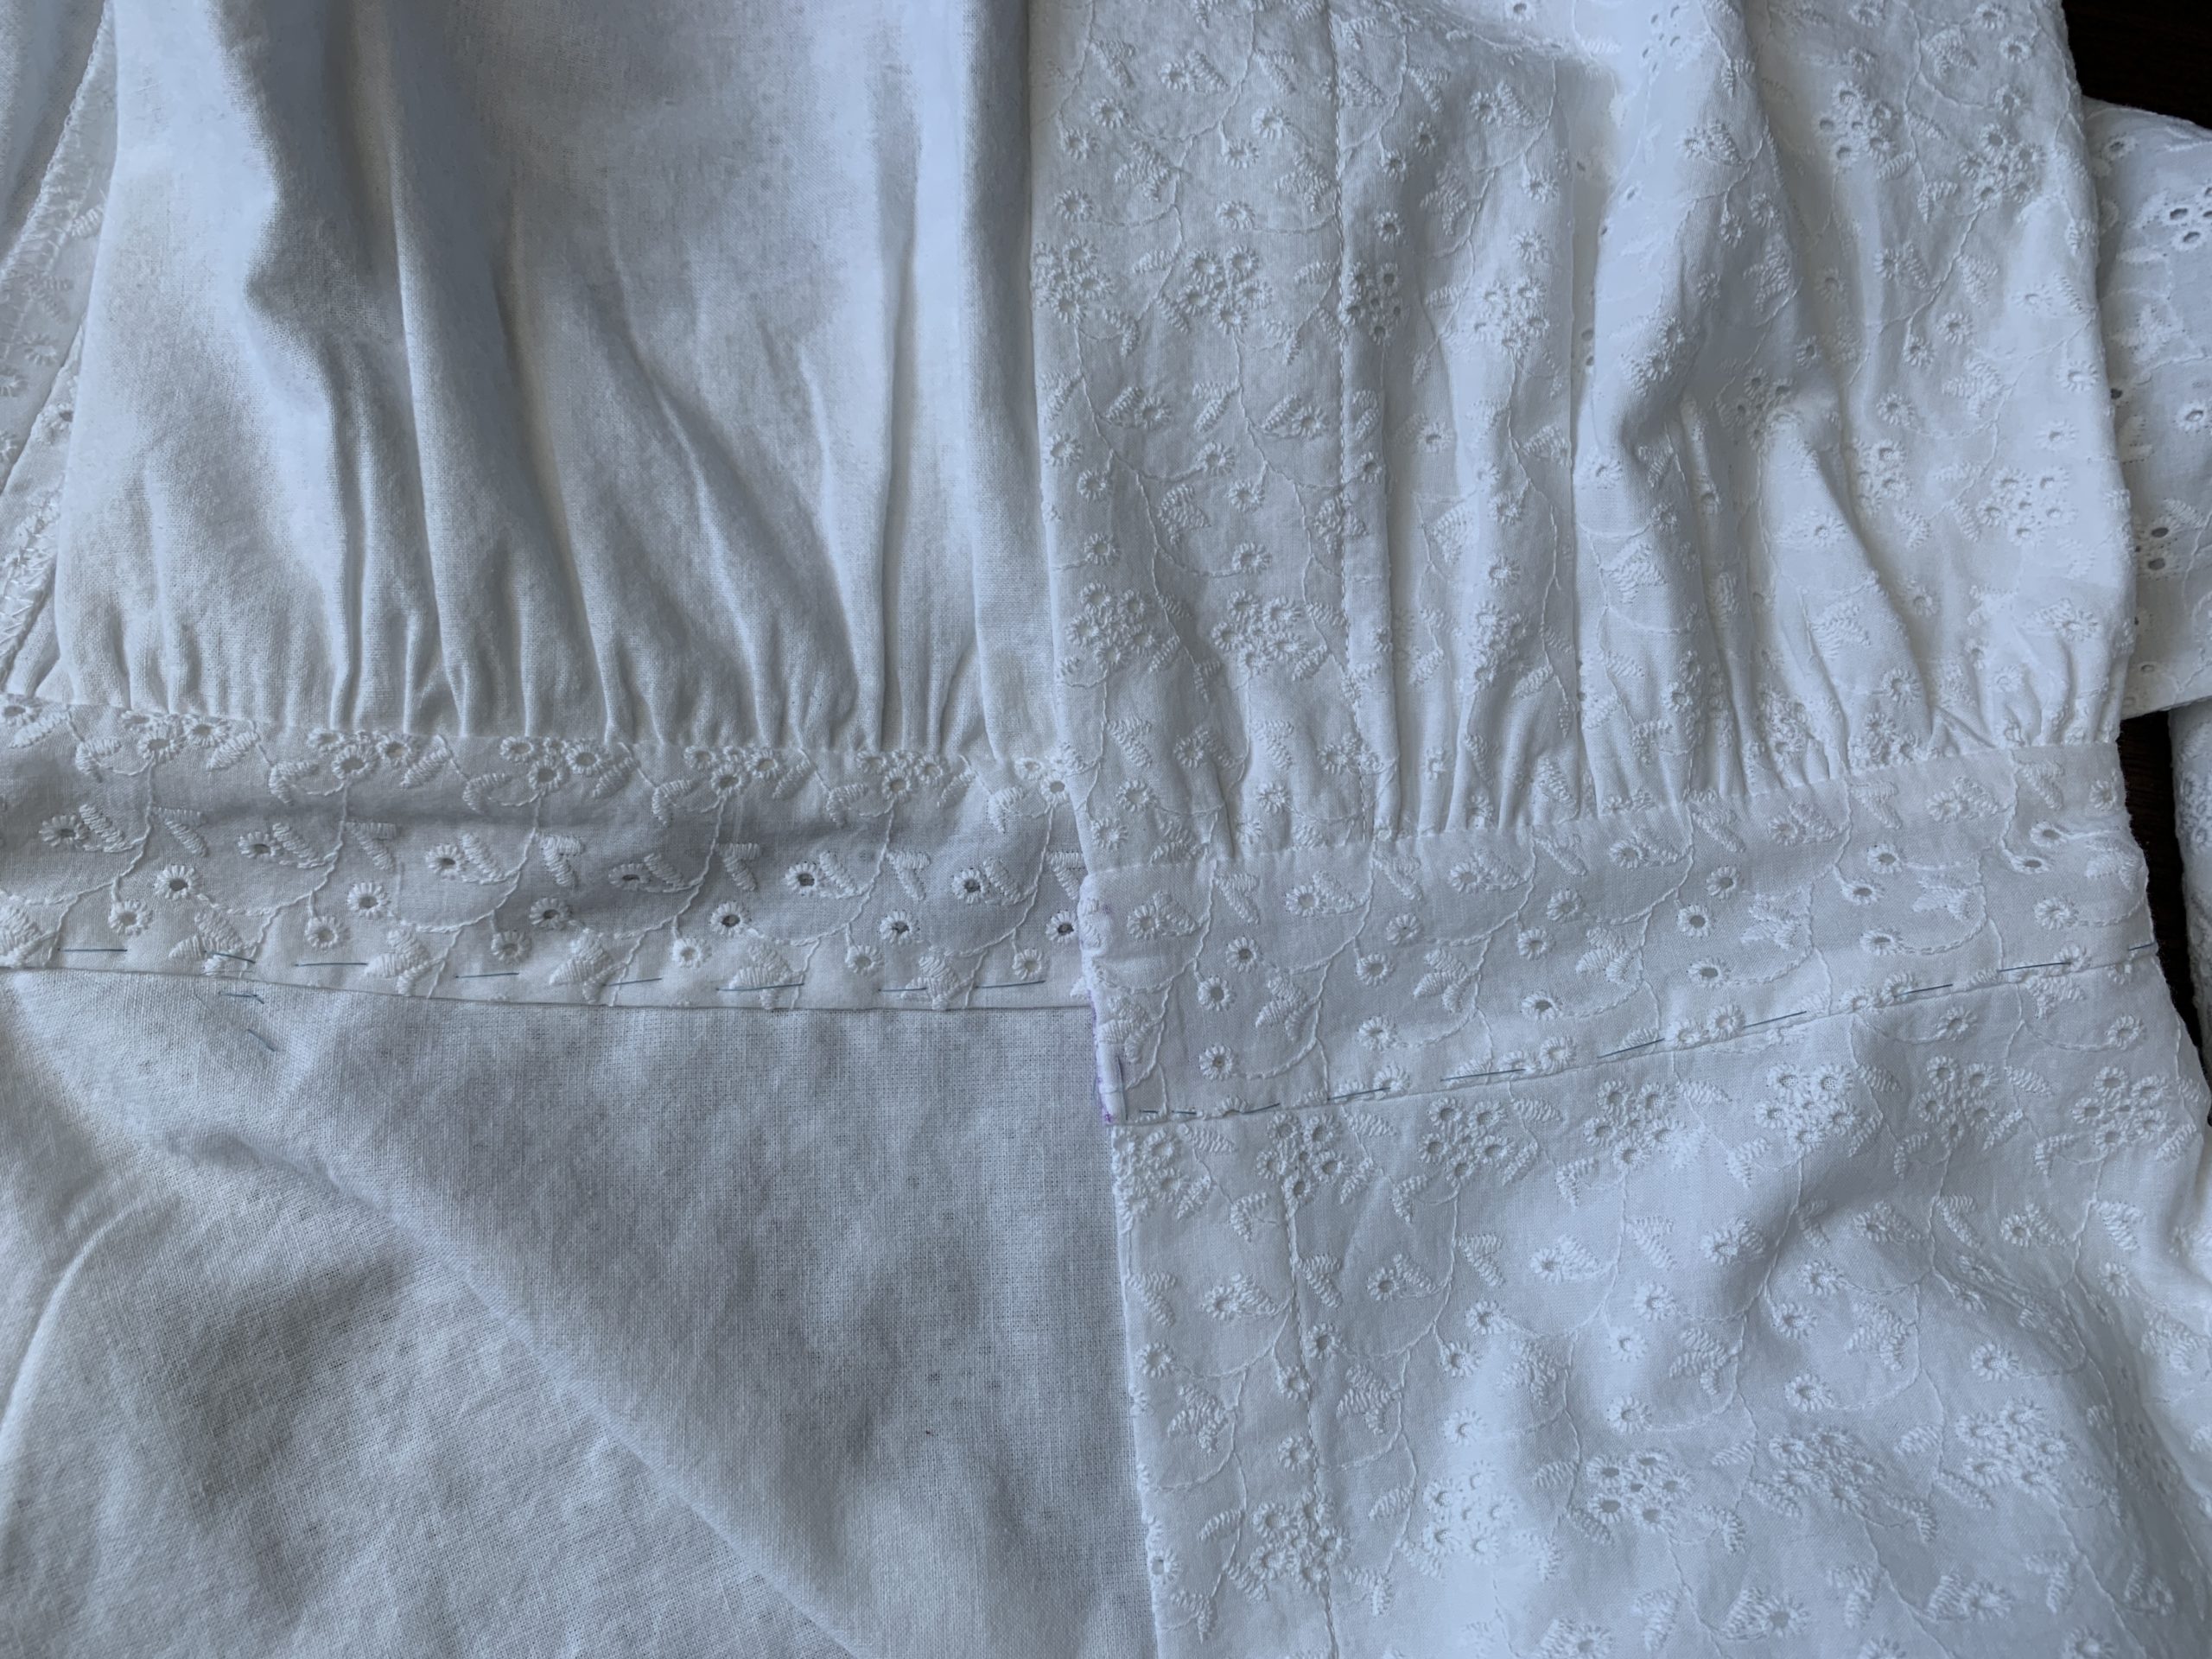
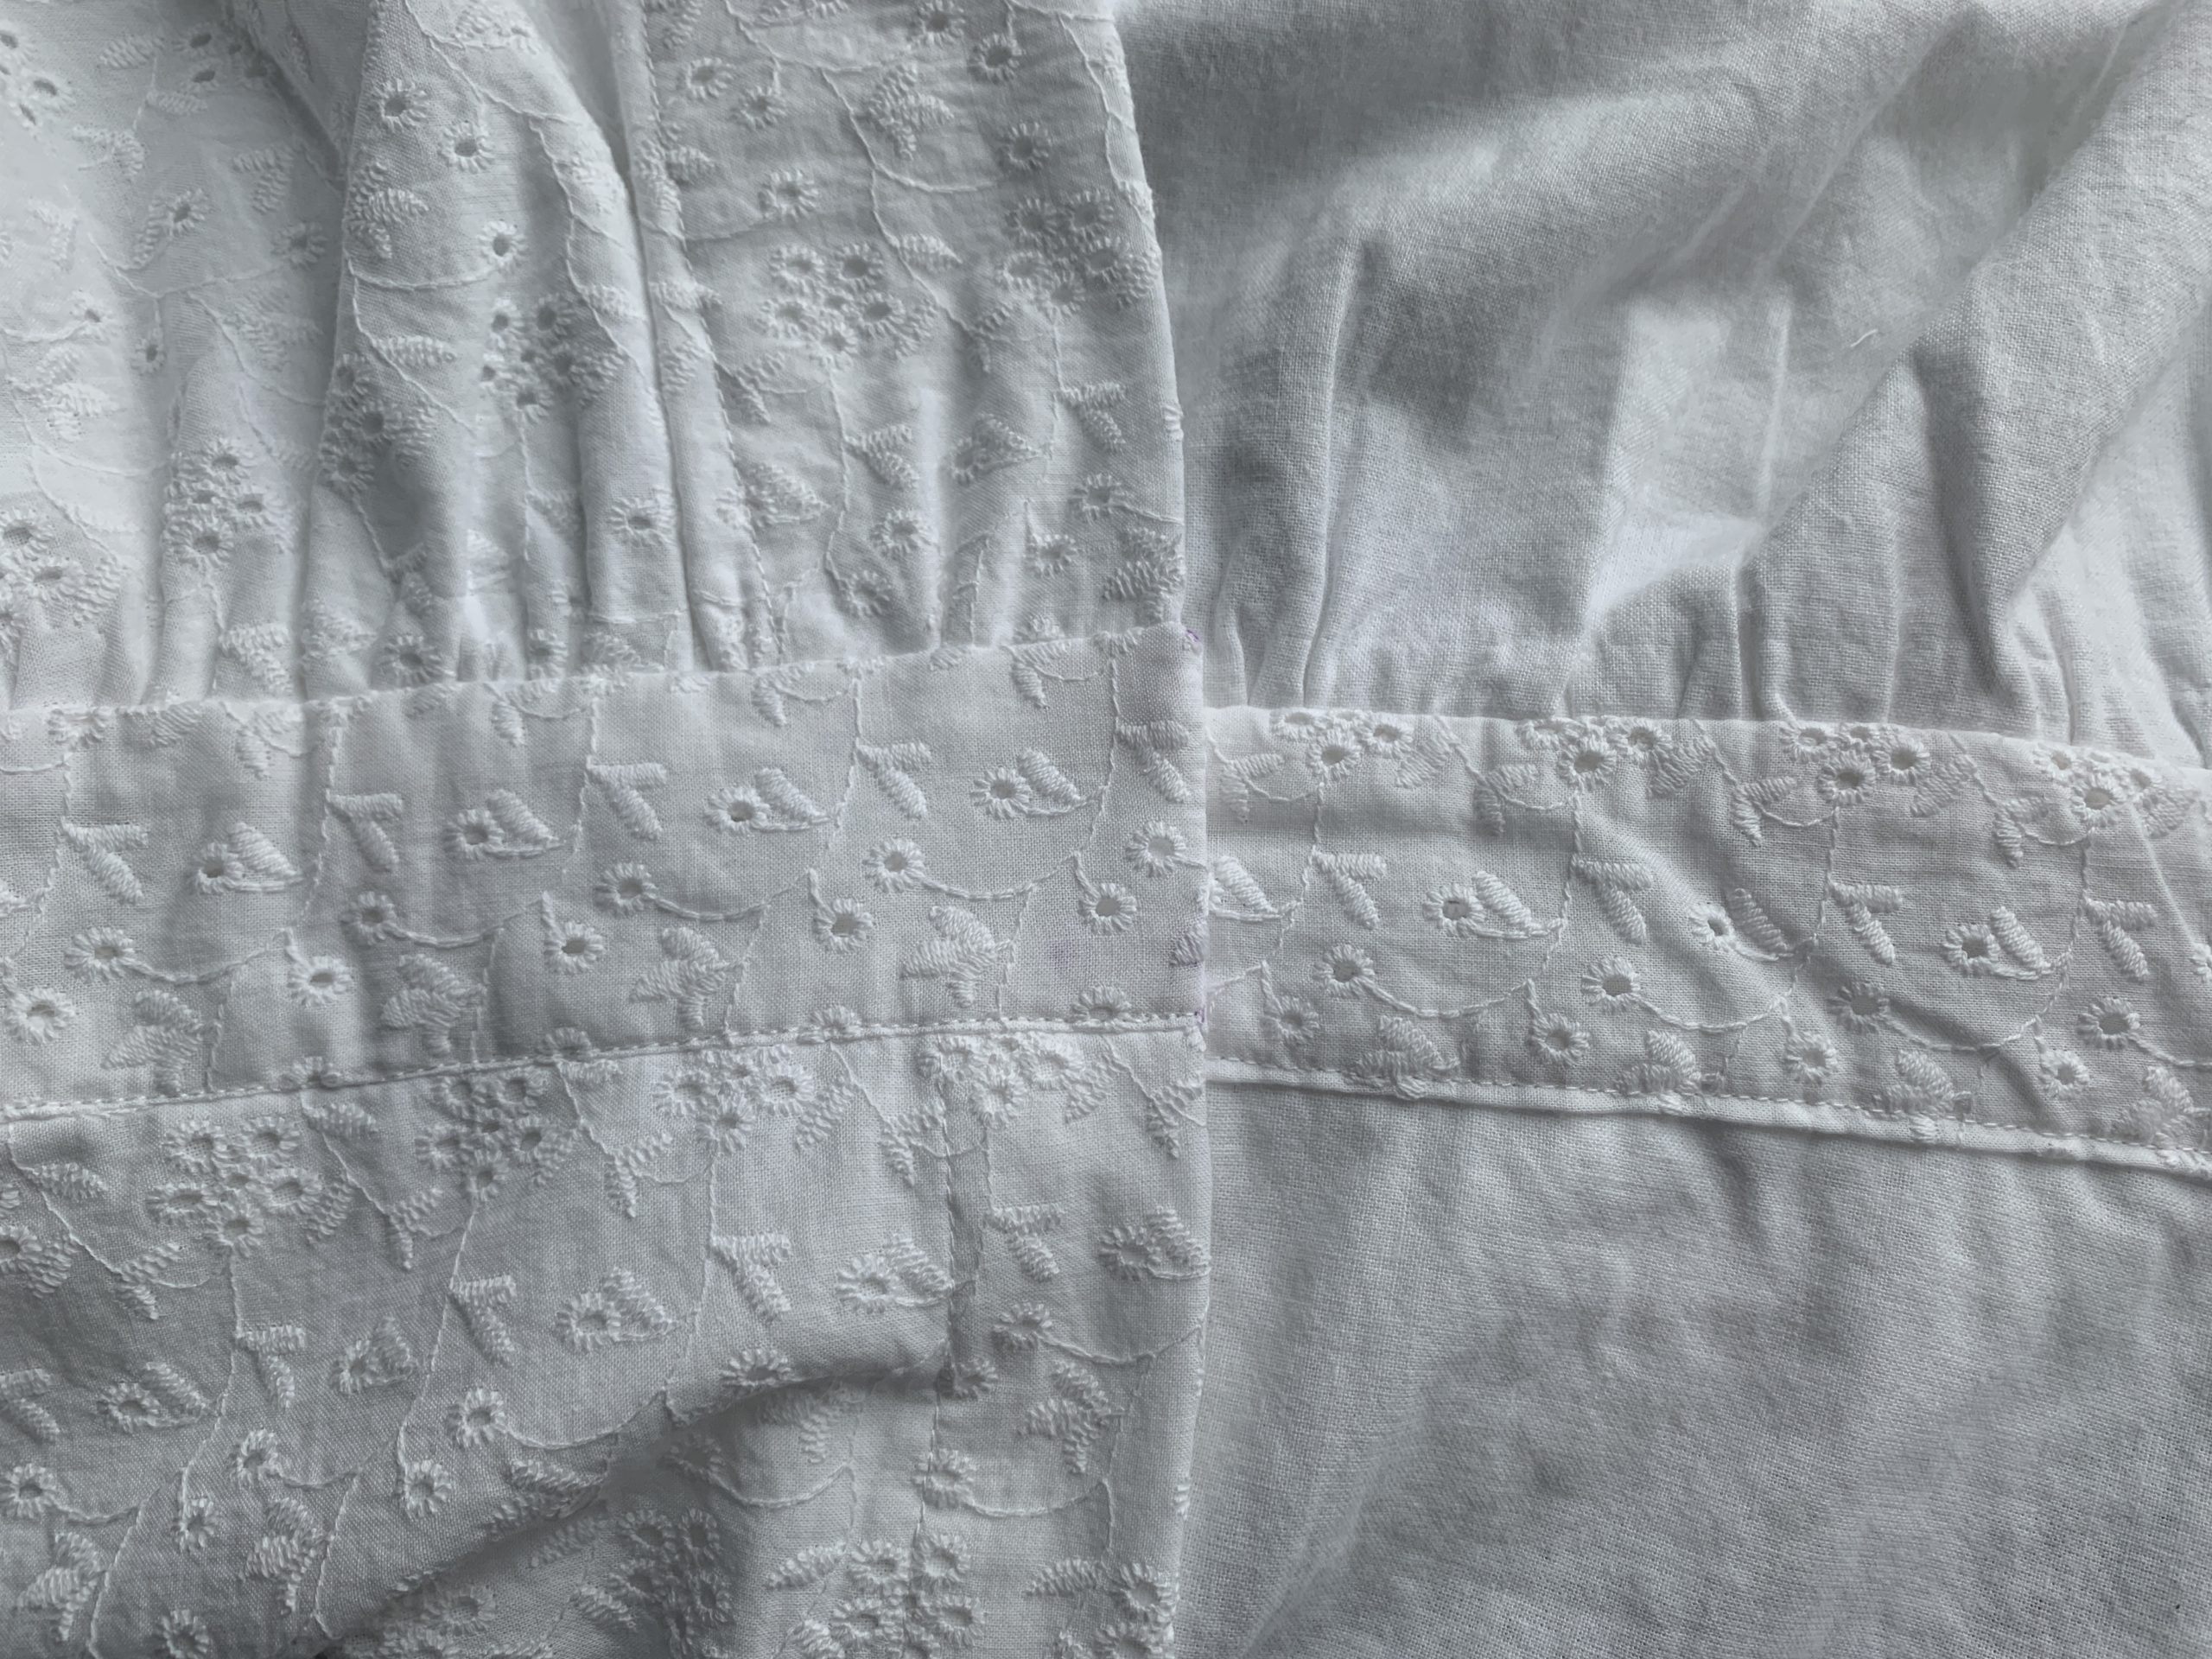
Here is a photo of what this attachment looks like from the outside of the dress:

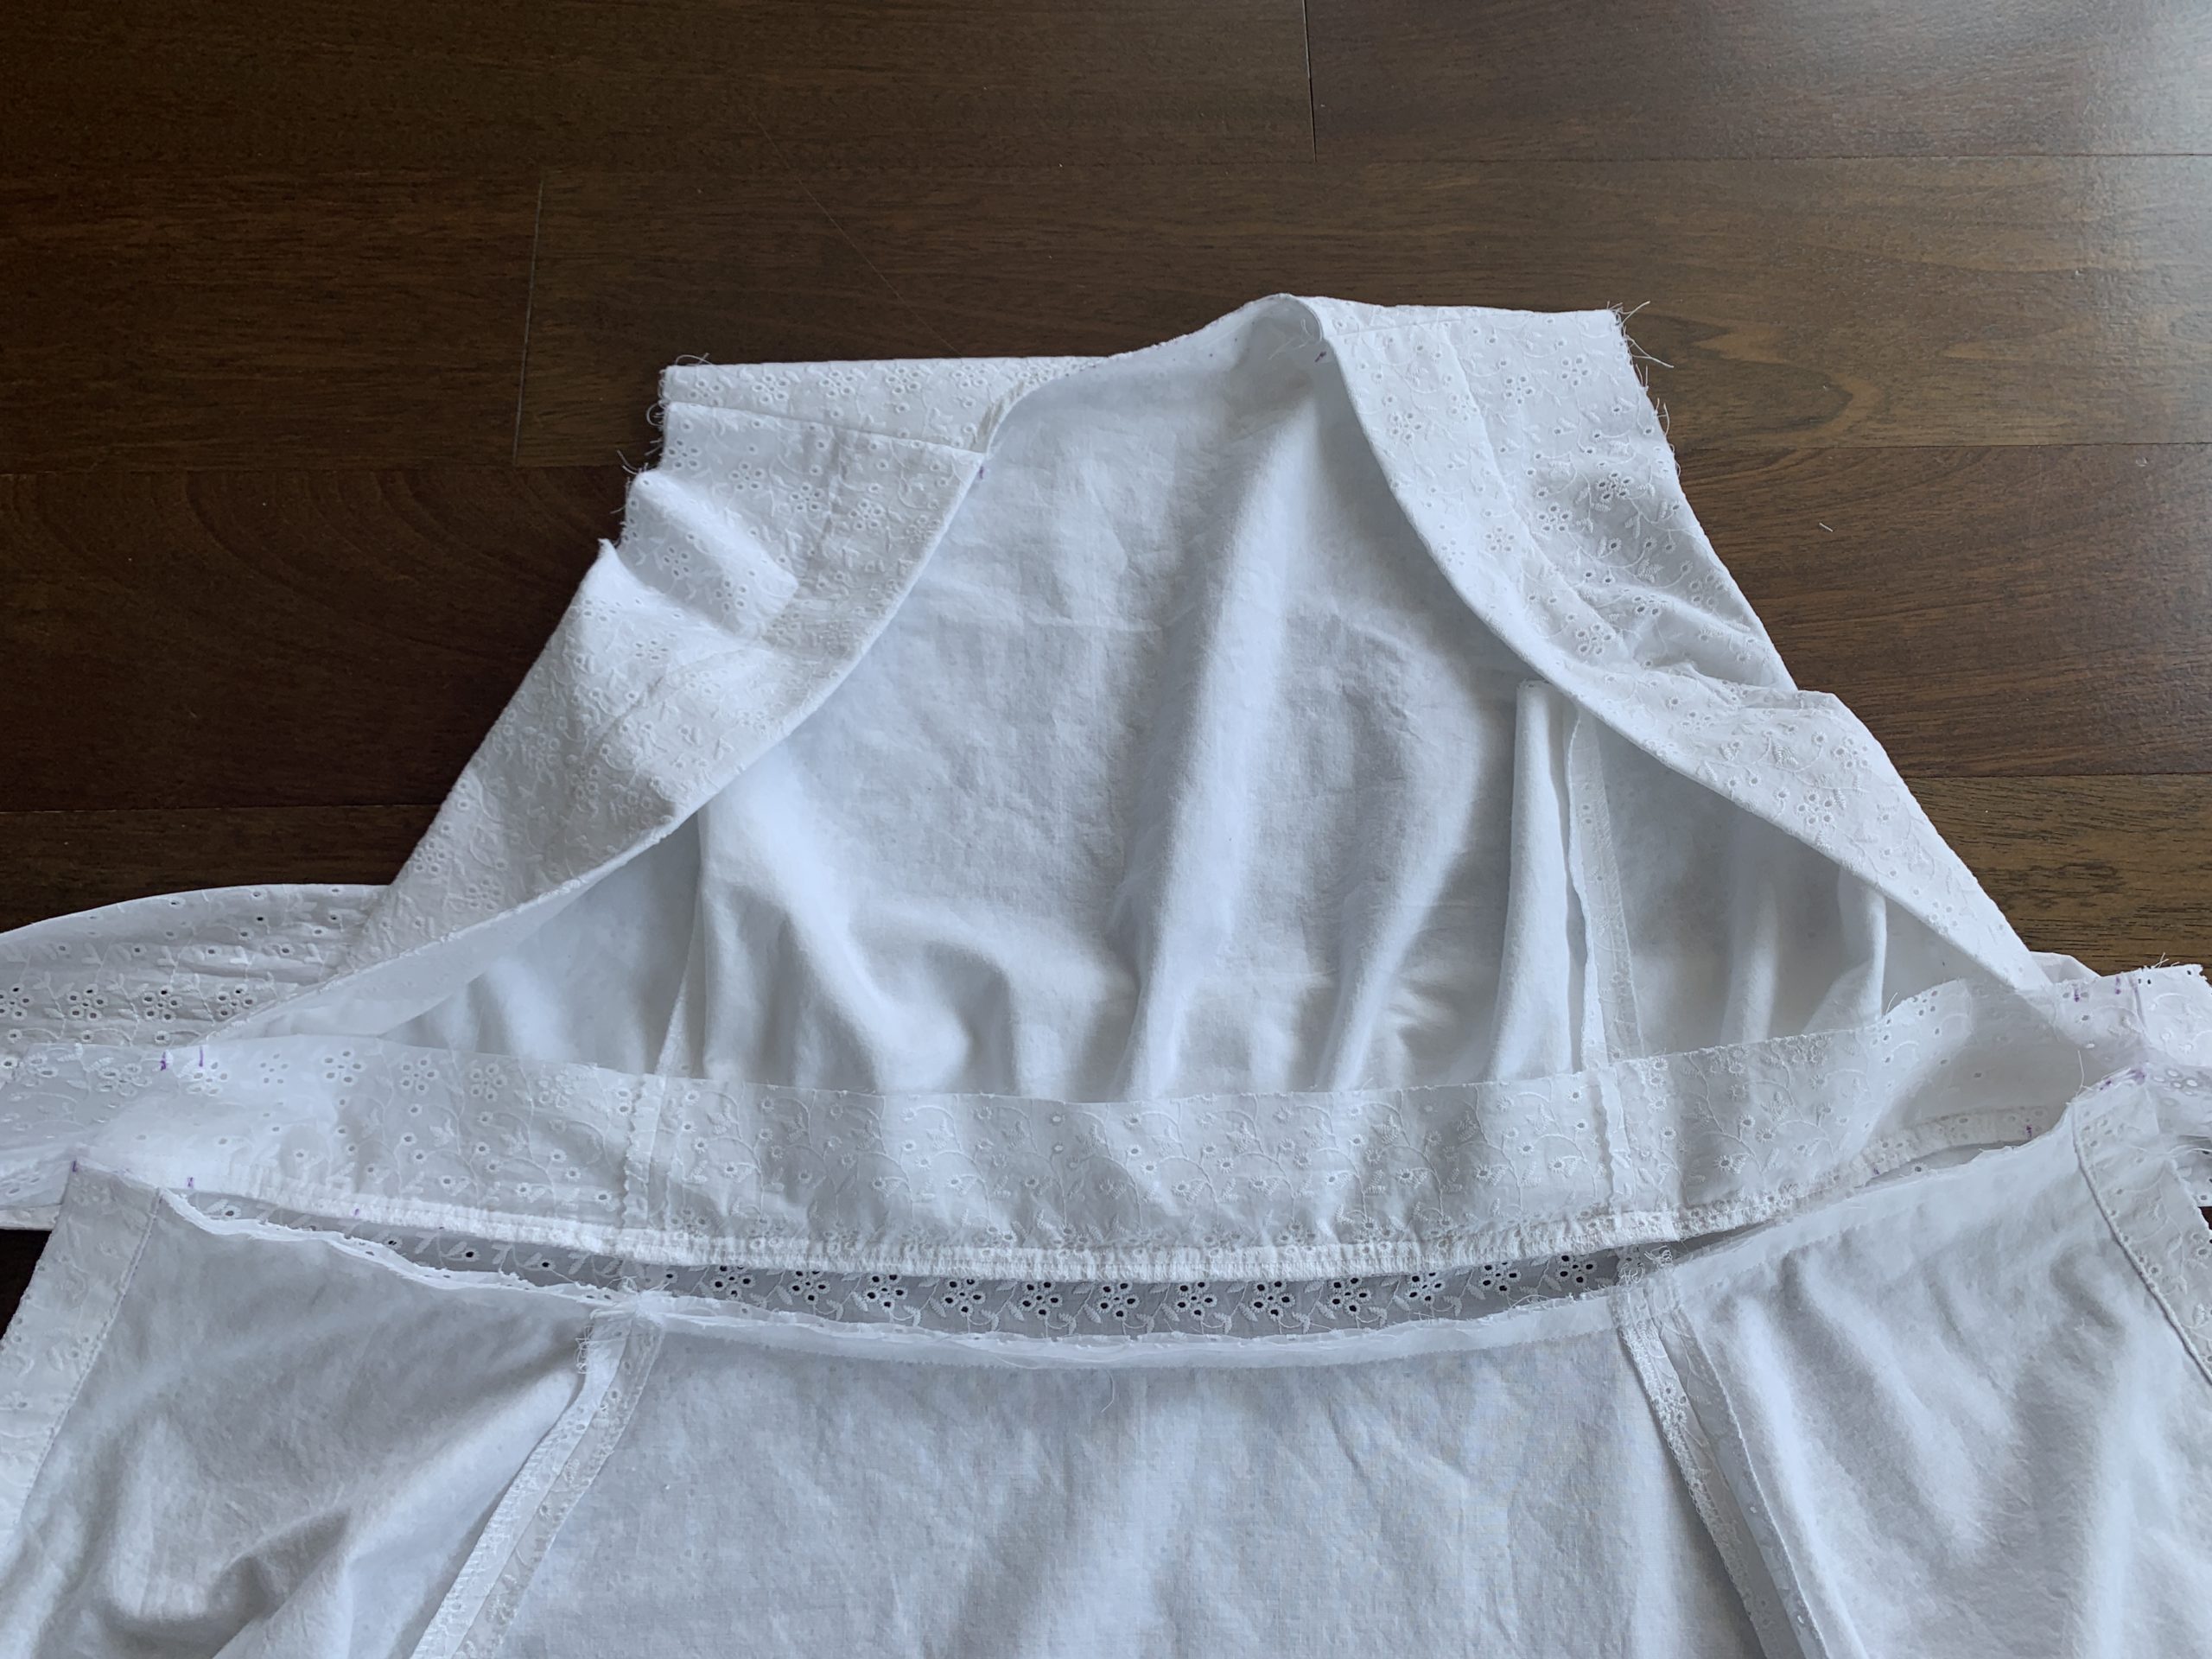
And here is a photo of the inside. As you can see, the inner waistband will need to be sewn down to sandwich in the raw edges. Note that I serged the raw edges for cleanliness.
The instructions stated to have a little flap hanging past the sides of the bodice, but I didn’t like the appearance of this (even though it would be covered by the belt). So instead, I made the waistband piece the same length as the bodice and skirt. I sewed the edge of the waistband closed, right sides together, which created a nice even and aligned waistband.
I basted down the inner waistband and then sewed carefully along the edge to finish off the waistband.
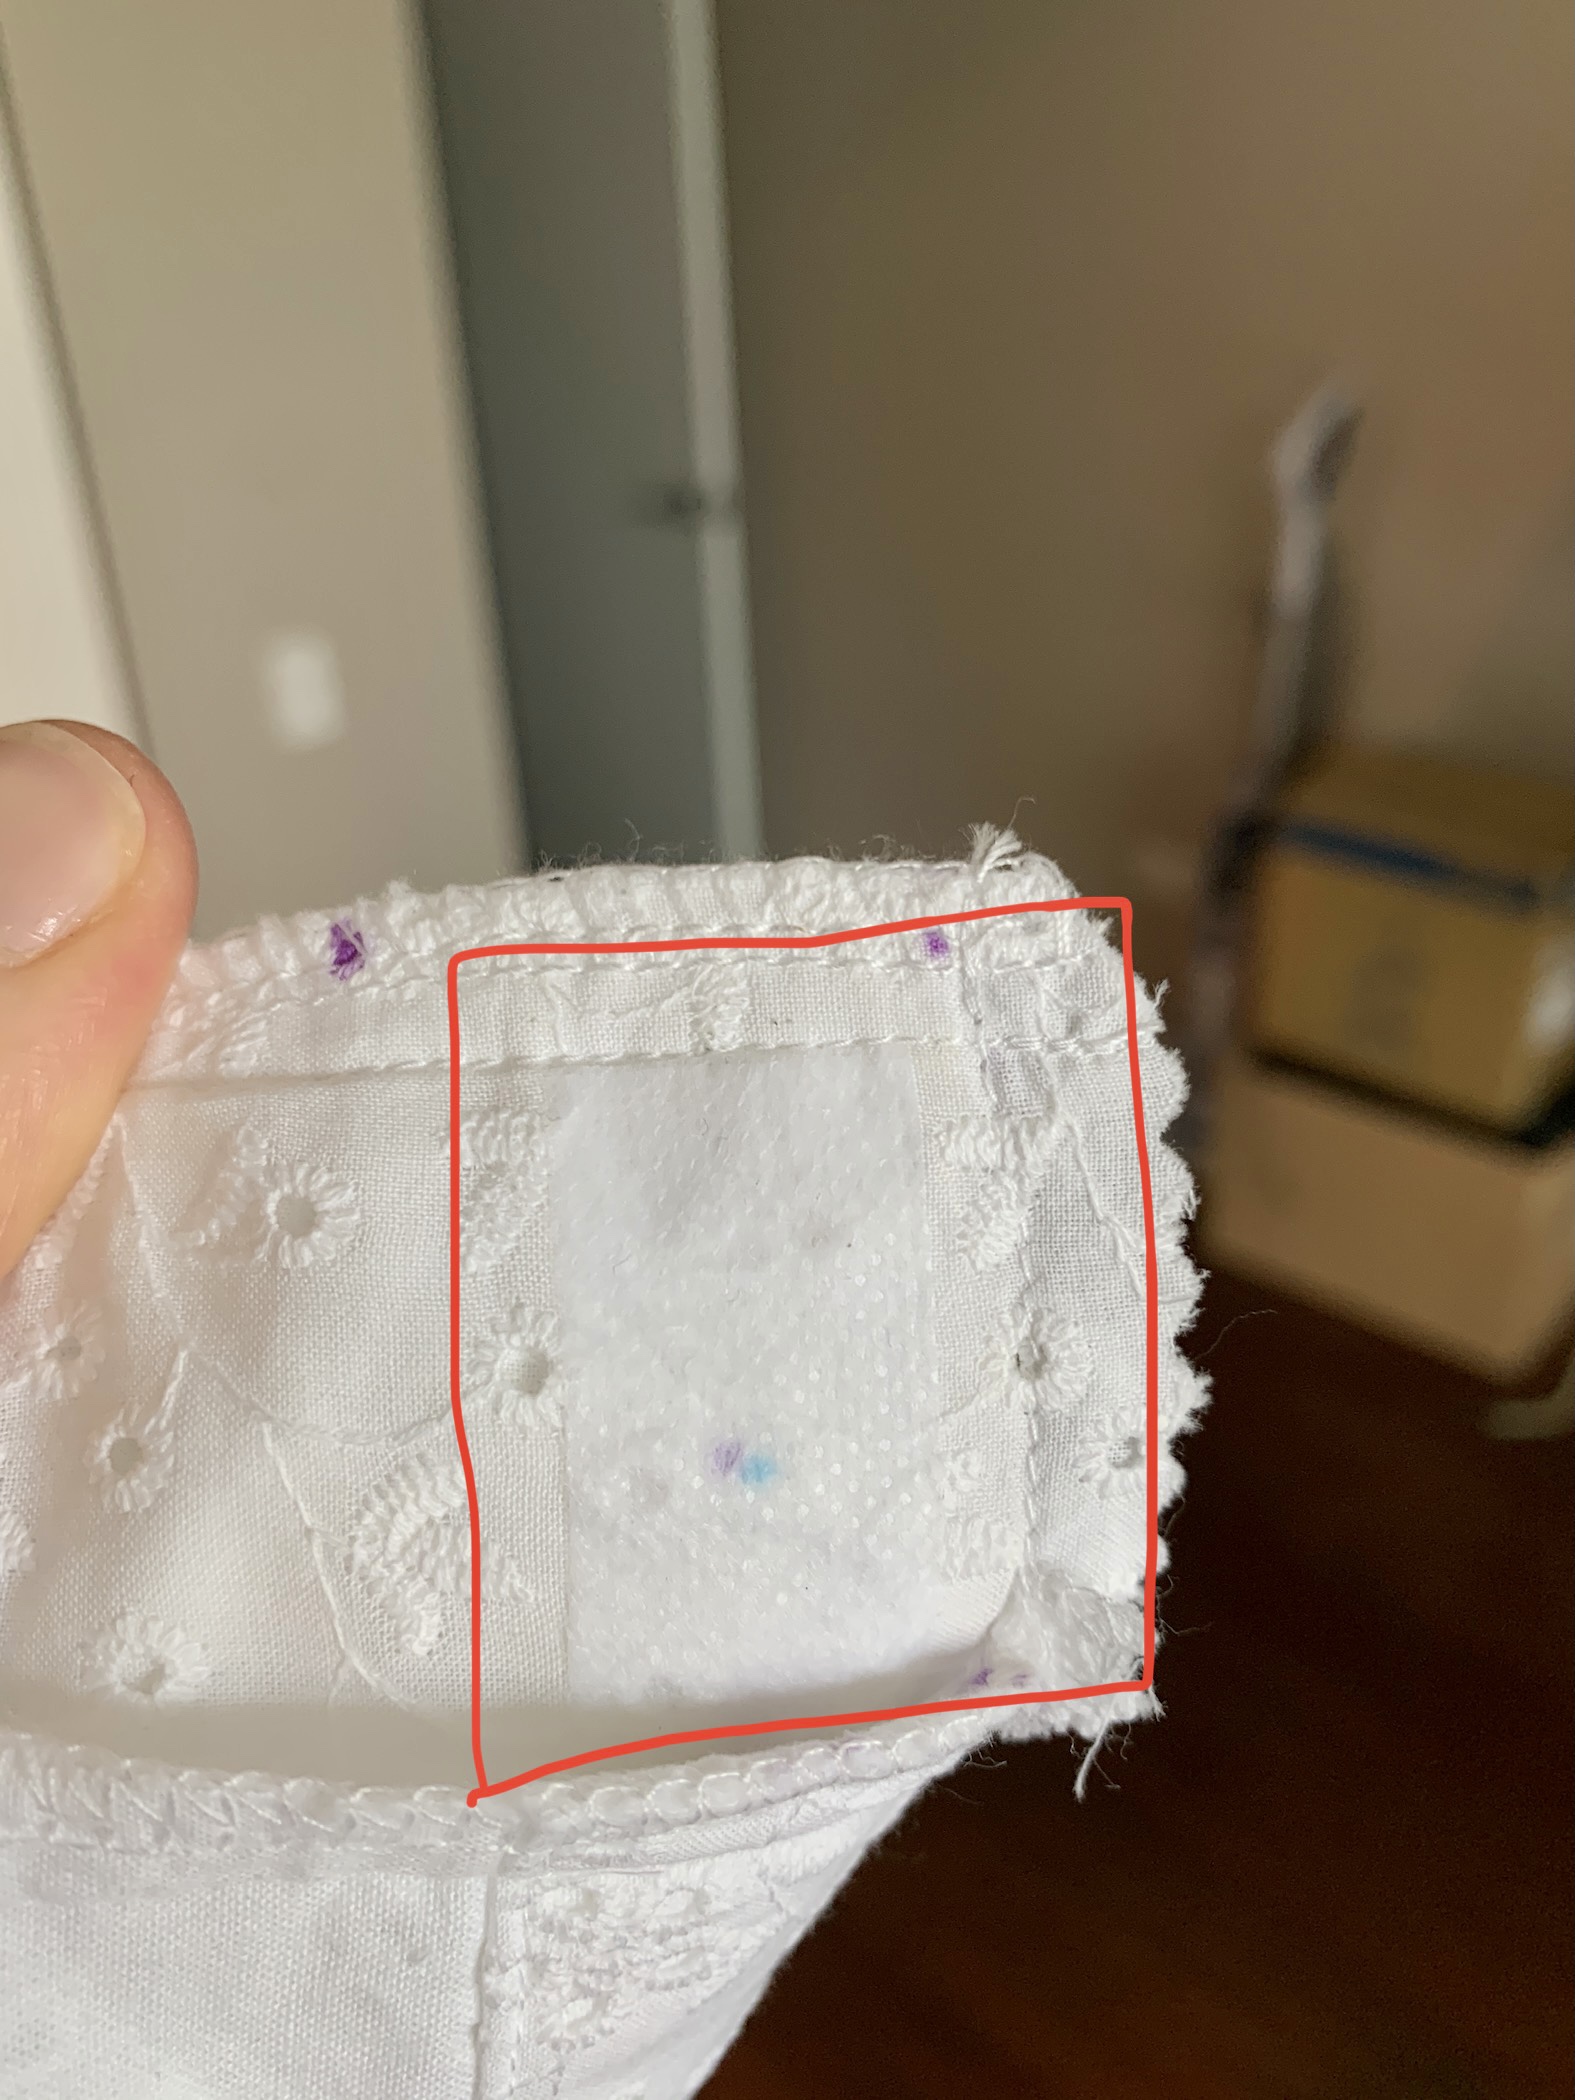
I ended up adding interfacing to the inside of the waistband where the button would be attached. This strengthens the thin cotton fabric to prevent it from pulling/ripping by the button. In retrospect I wish I flatlined the entire waistband with the cotton muslin as well, but hindsight is 20/20 right?!
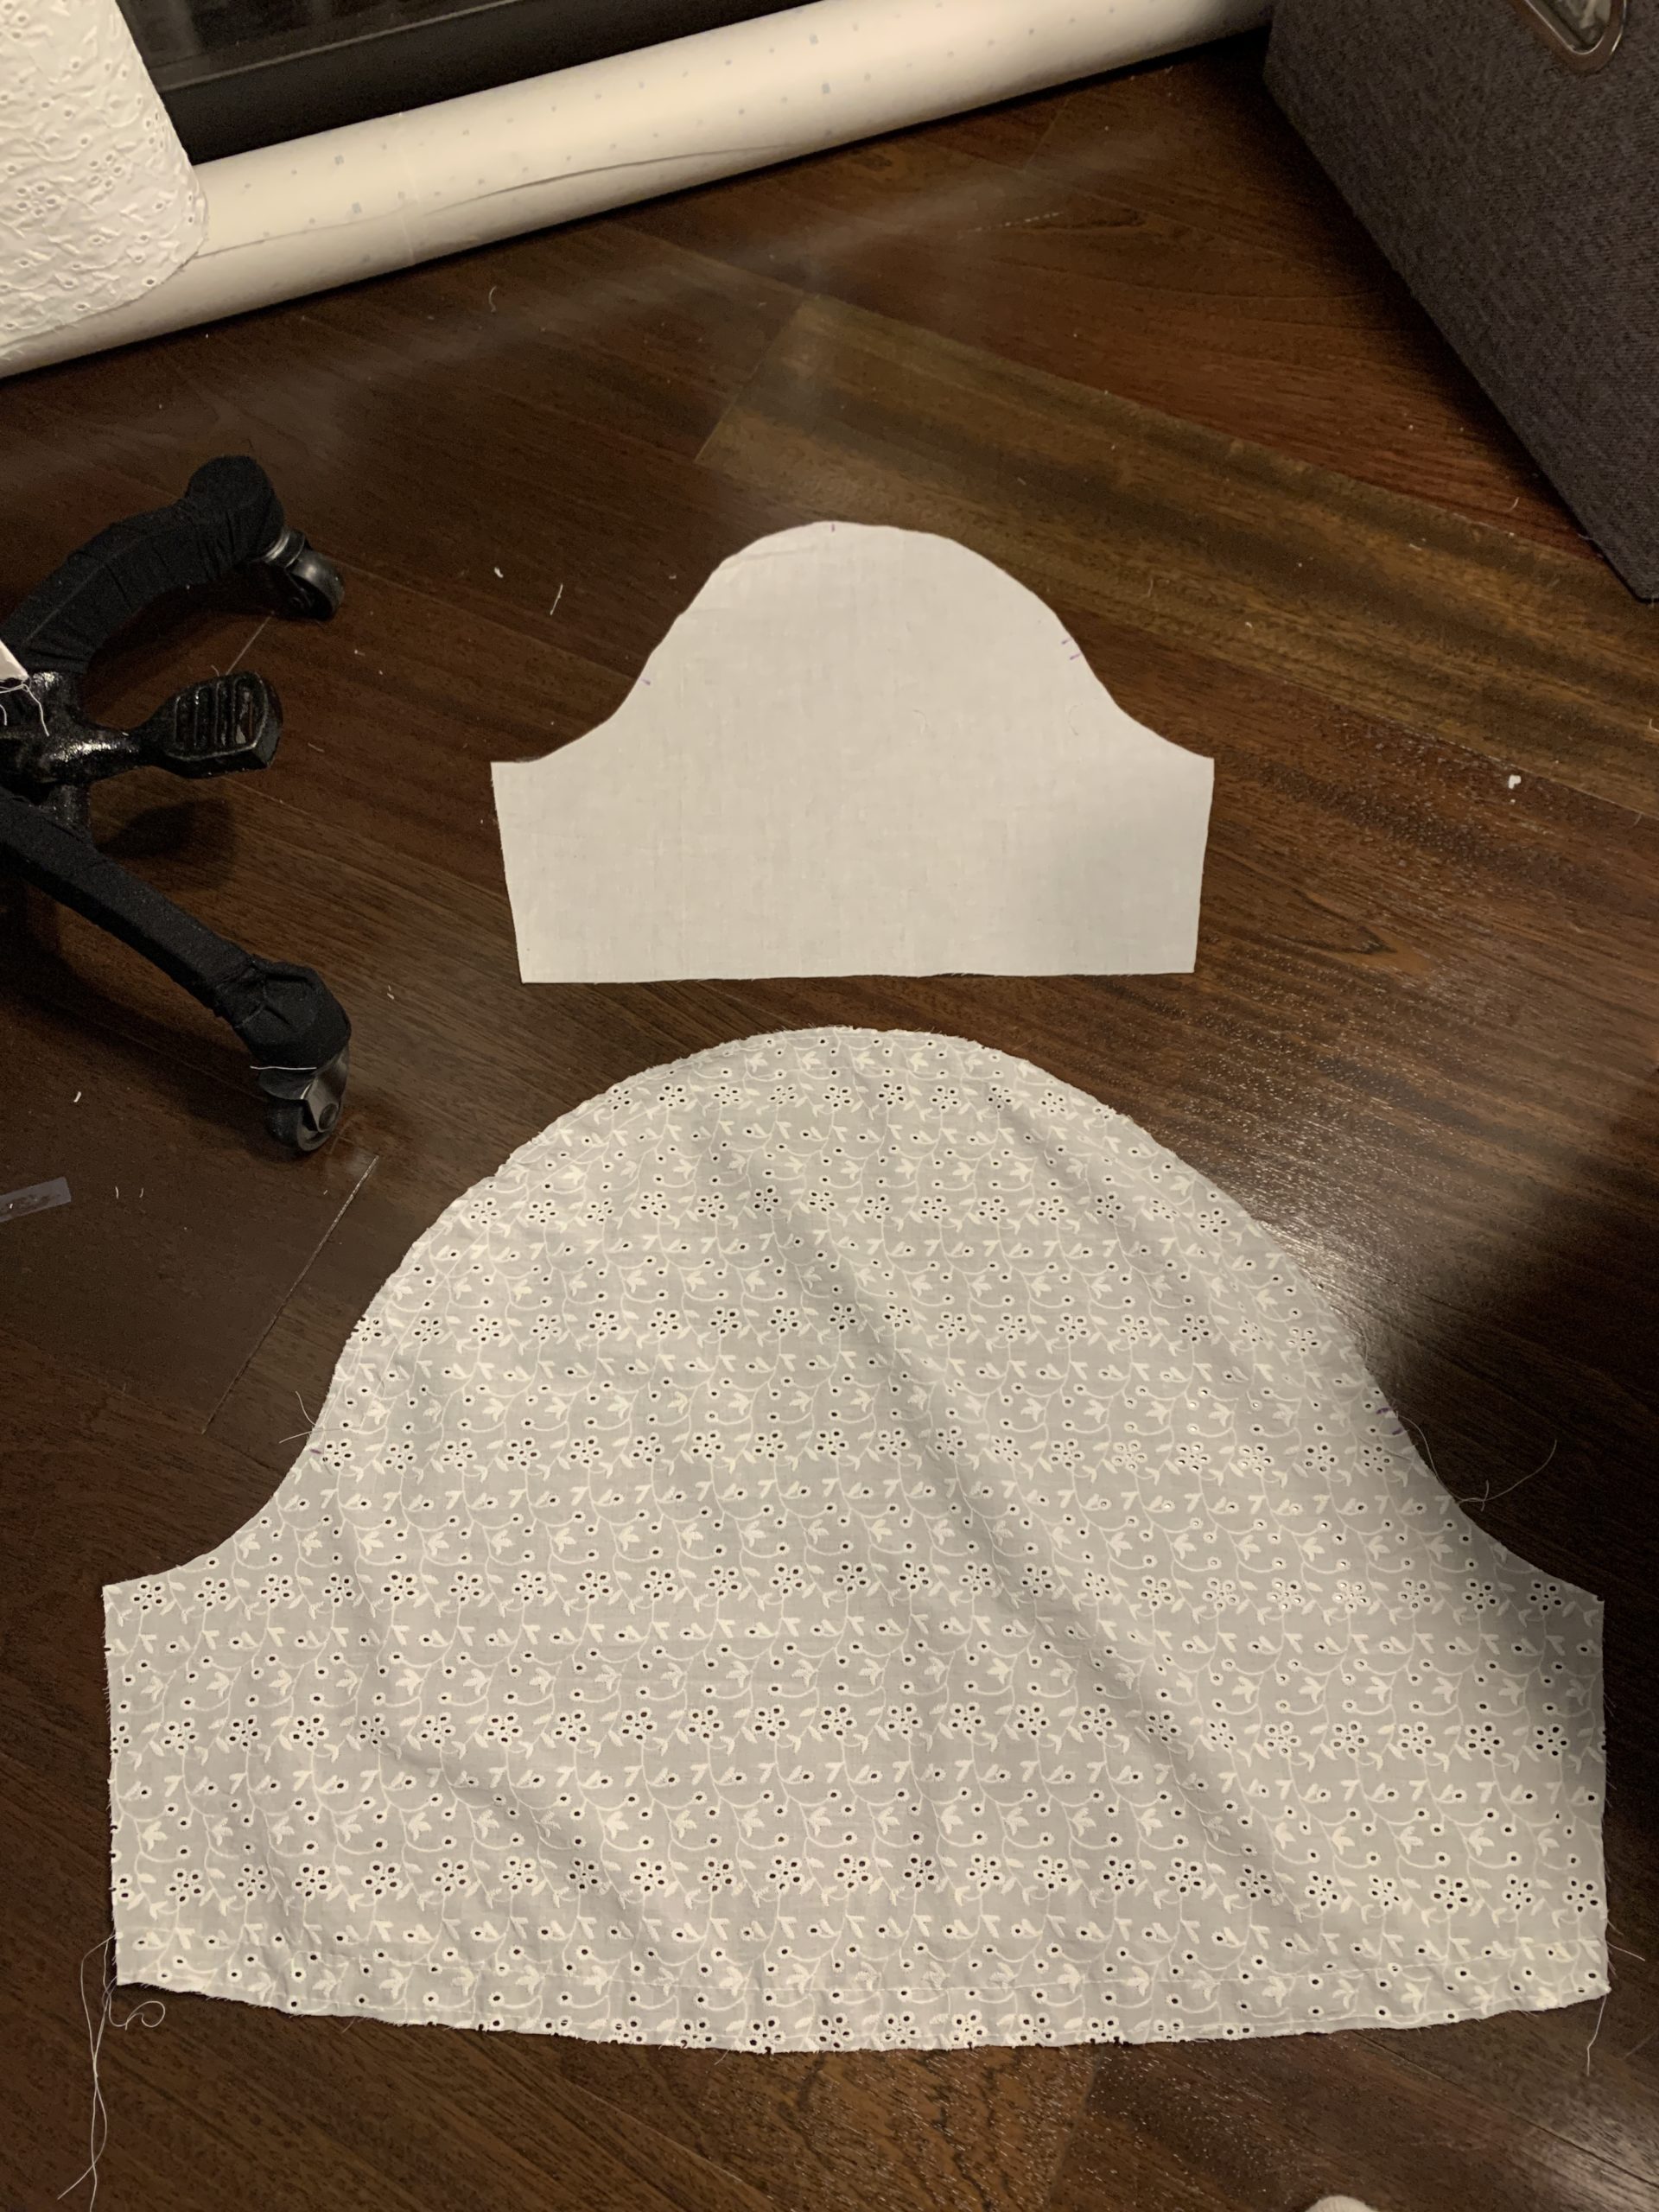
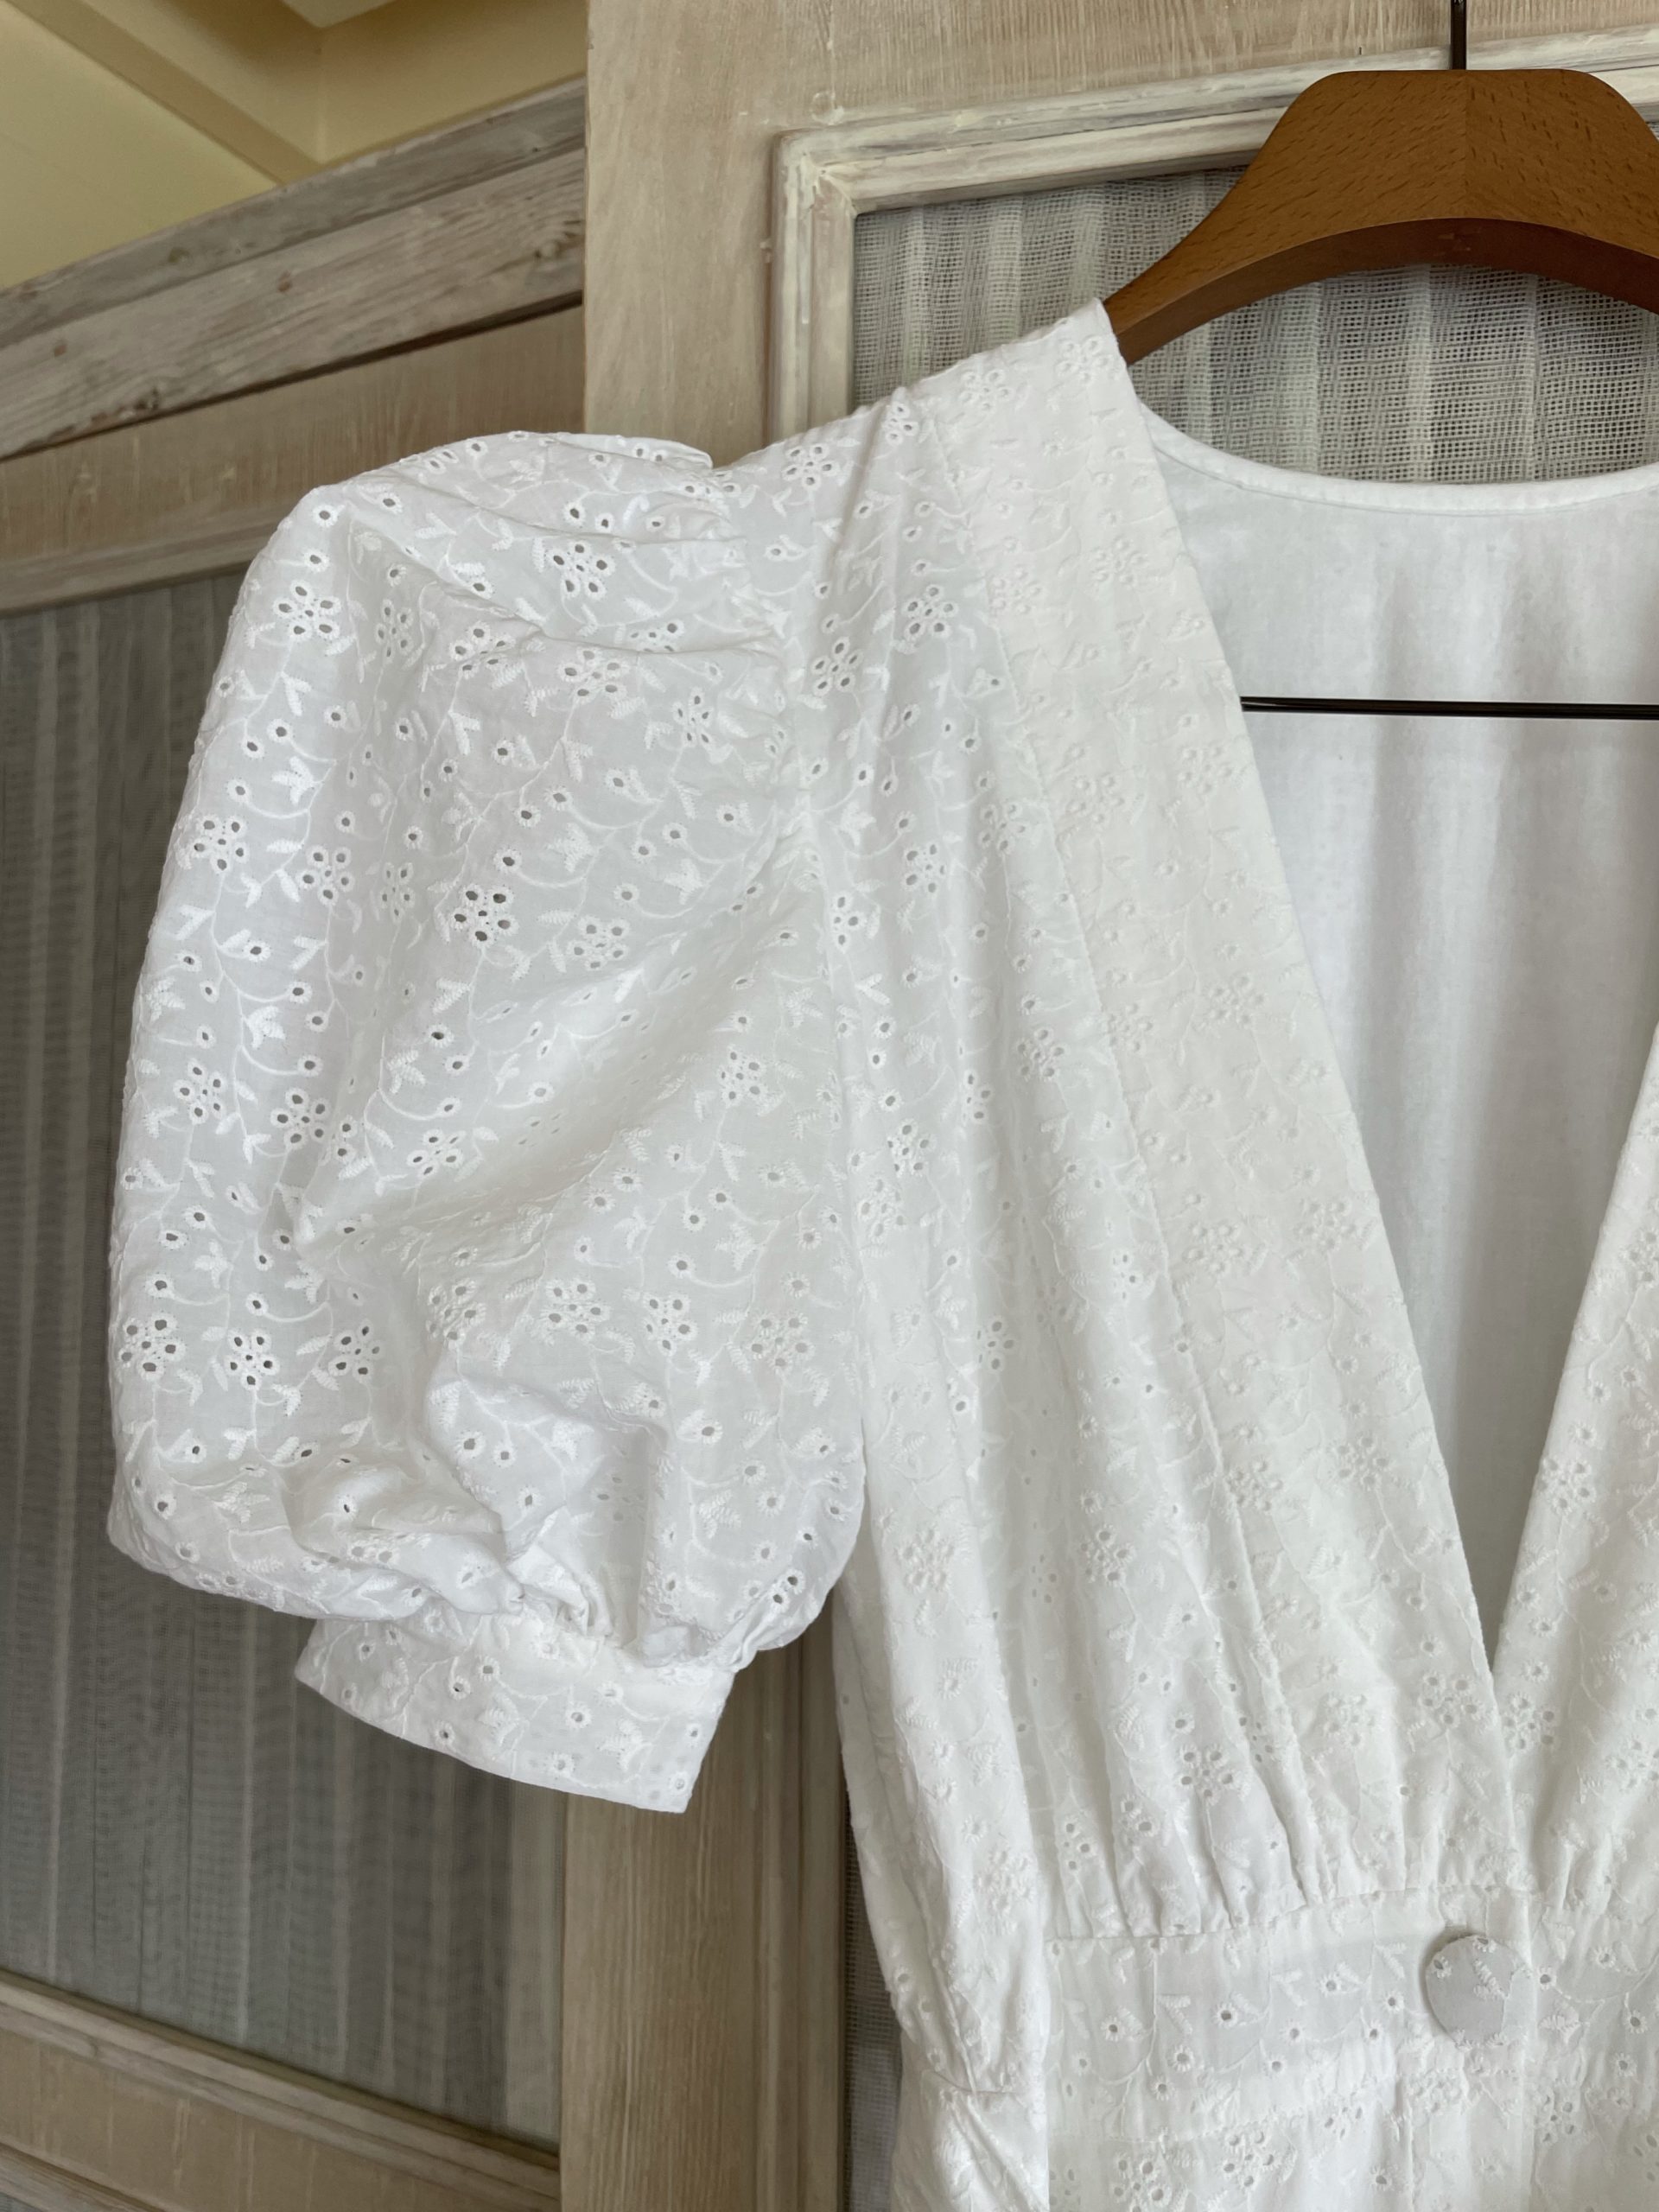
And then it was time to sew the lovely poofy sleeves! I didn’t practice these on the muslin and of course I ran into issues. For some reason my inner and outer sleeves didn’t match in length to the bodice…but I honestly think that’s a flaw with the pattern because I checked. Either way, I had to fix this by basically drafting a new sleeve pattern, and then I followed the rest of the instructions.
I sewed the sides of each sleeve together and used pinking shears to avoid fraying.
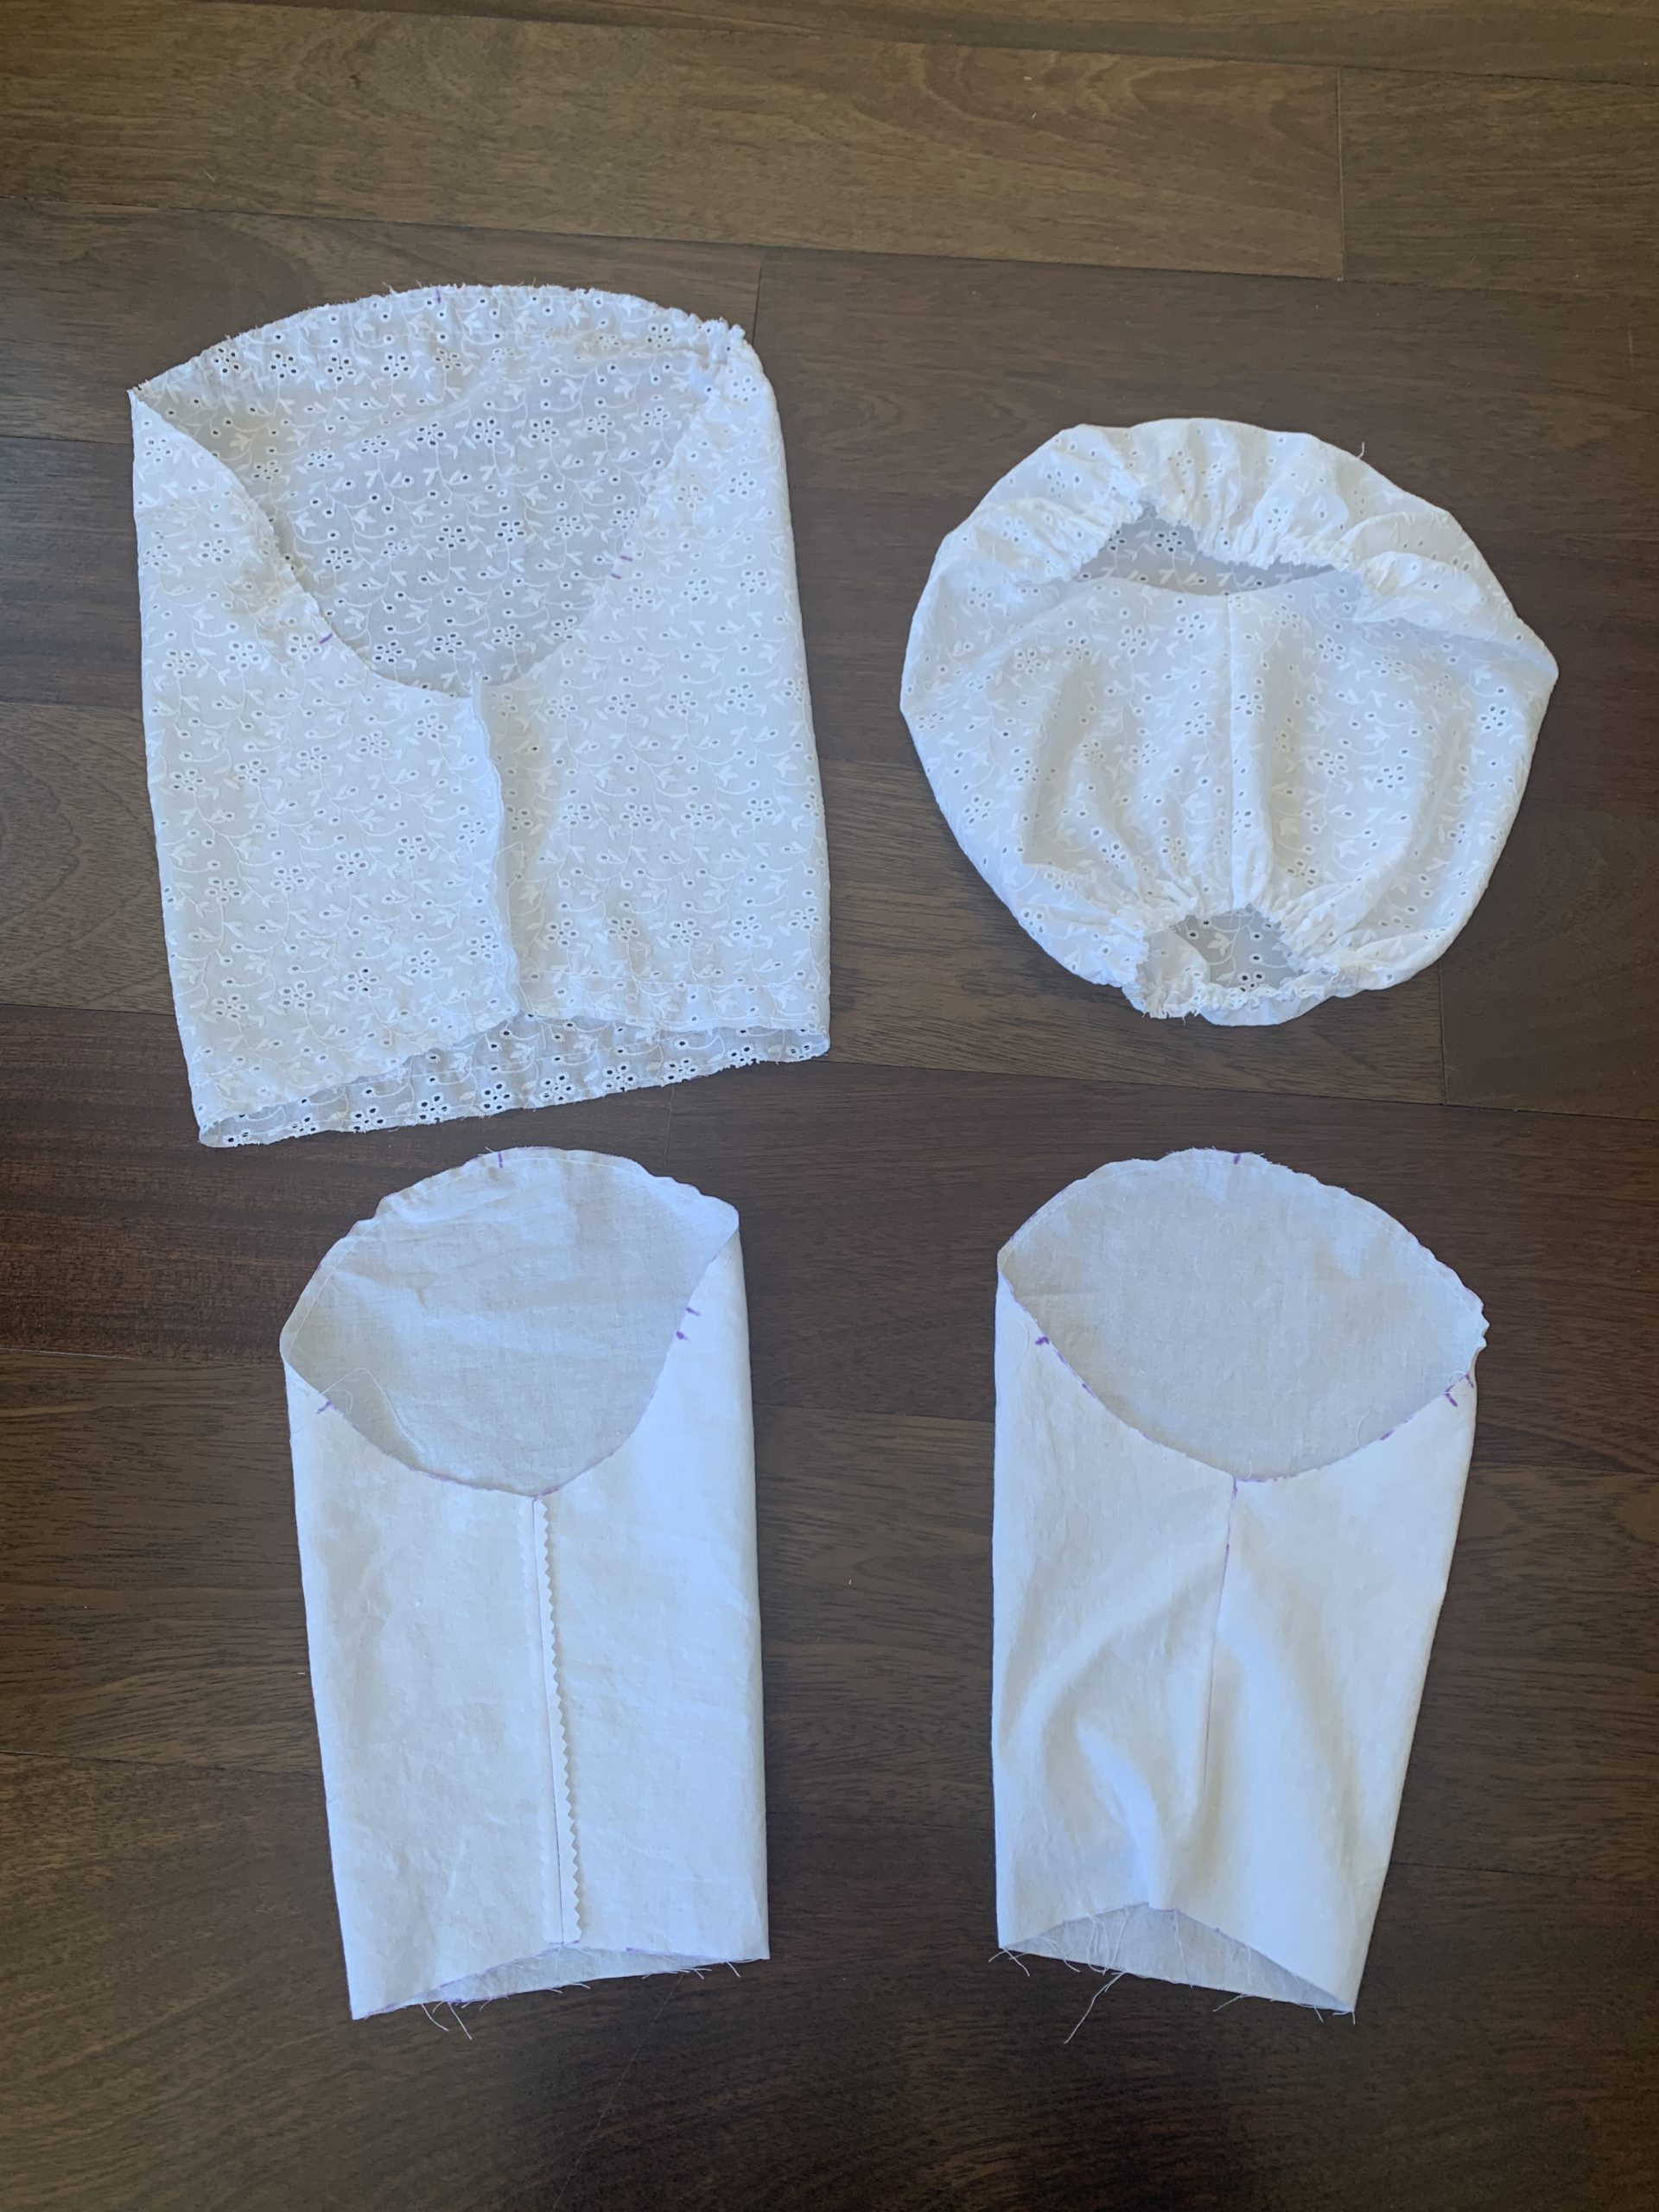
The pattern is designed to have a smaller inner sleeve that helps keep the sleeves nice and puffy. To achieve this, I basted along the top and bottom of the larger (outer) sleeve and gathered until the sleeve fit into the smaller inner/lining sleeve.
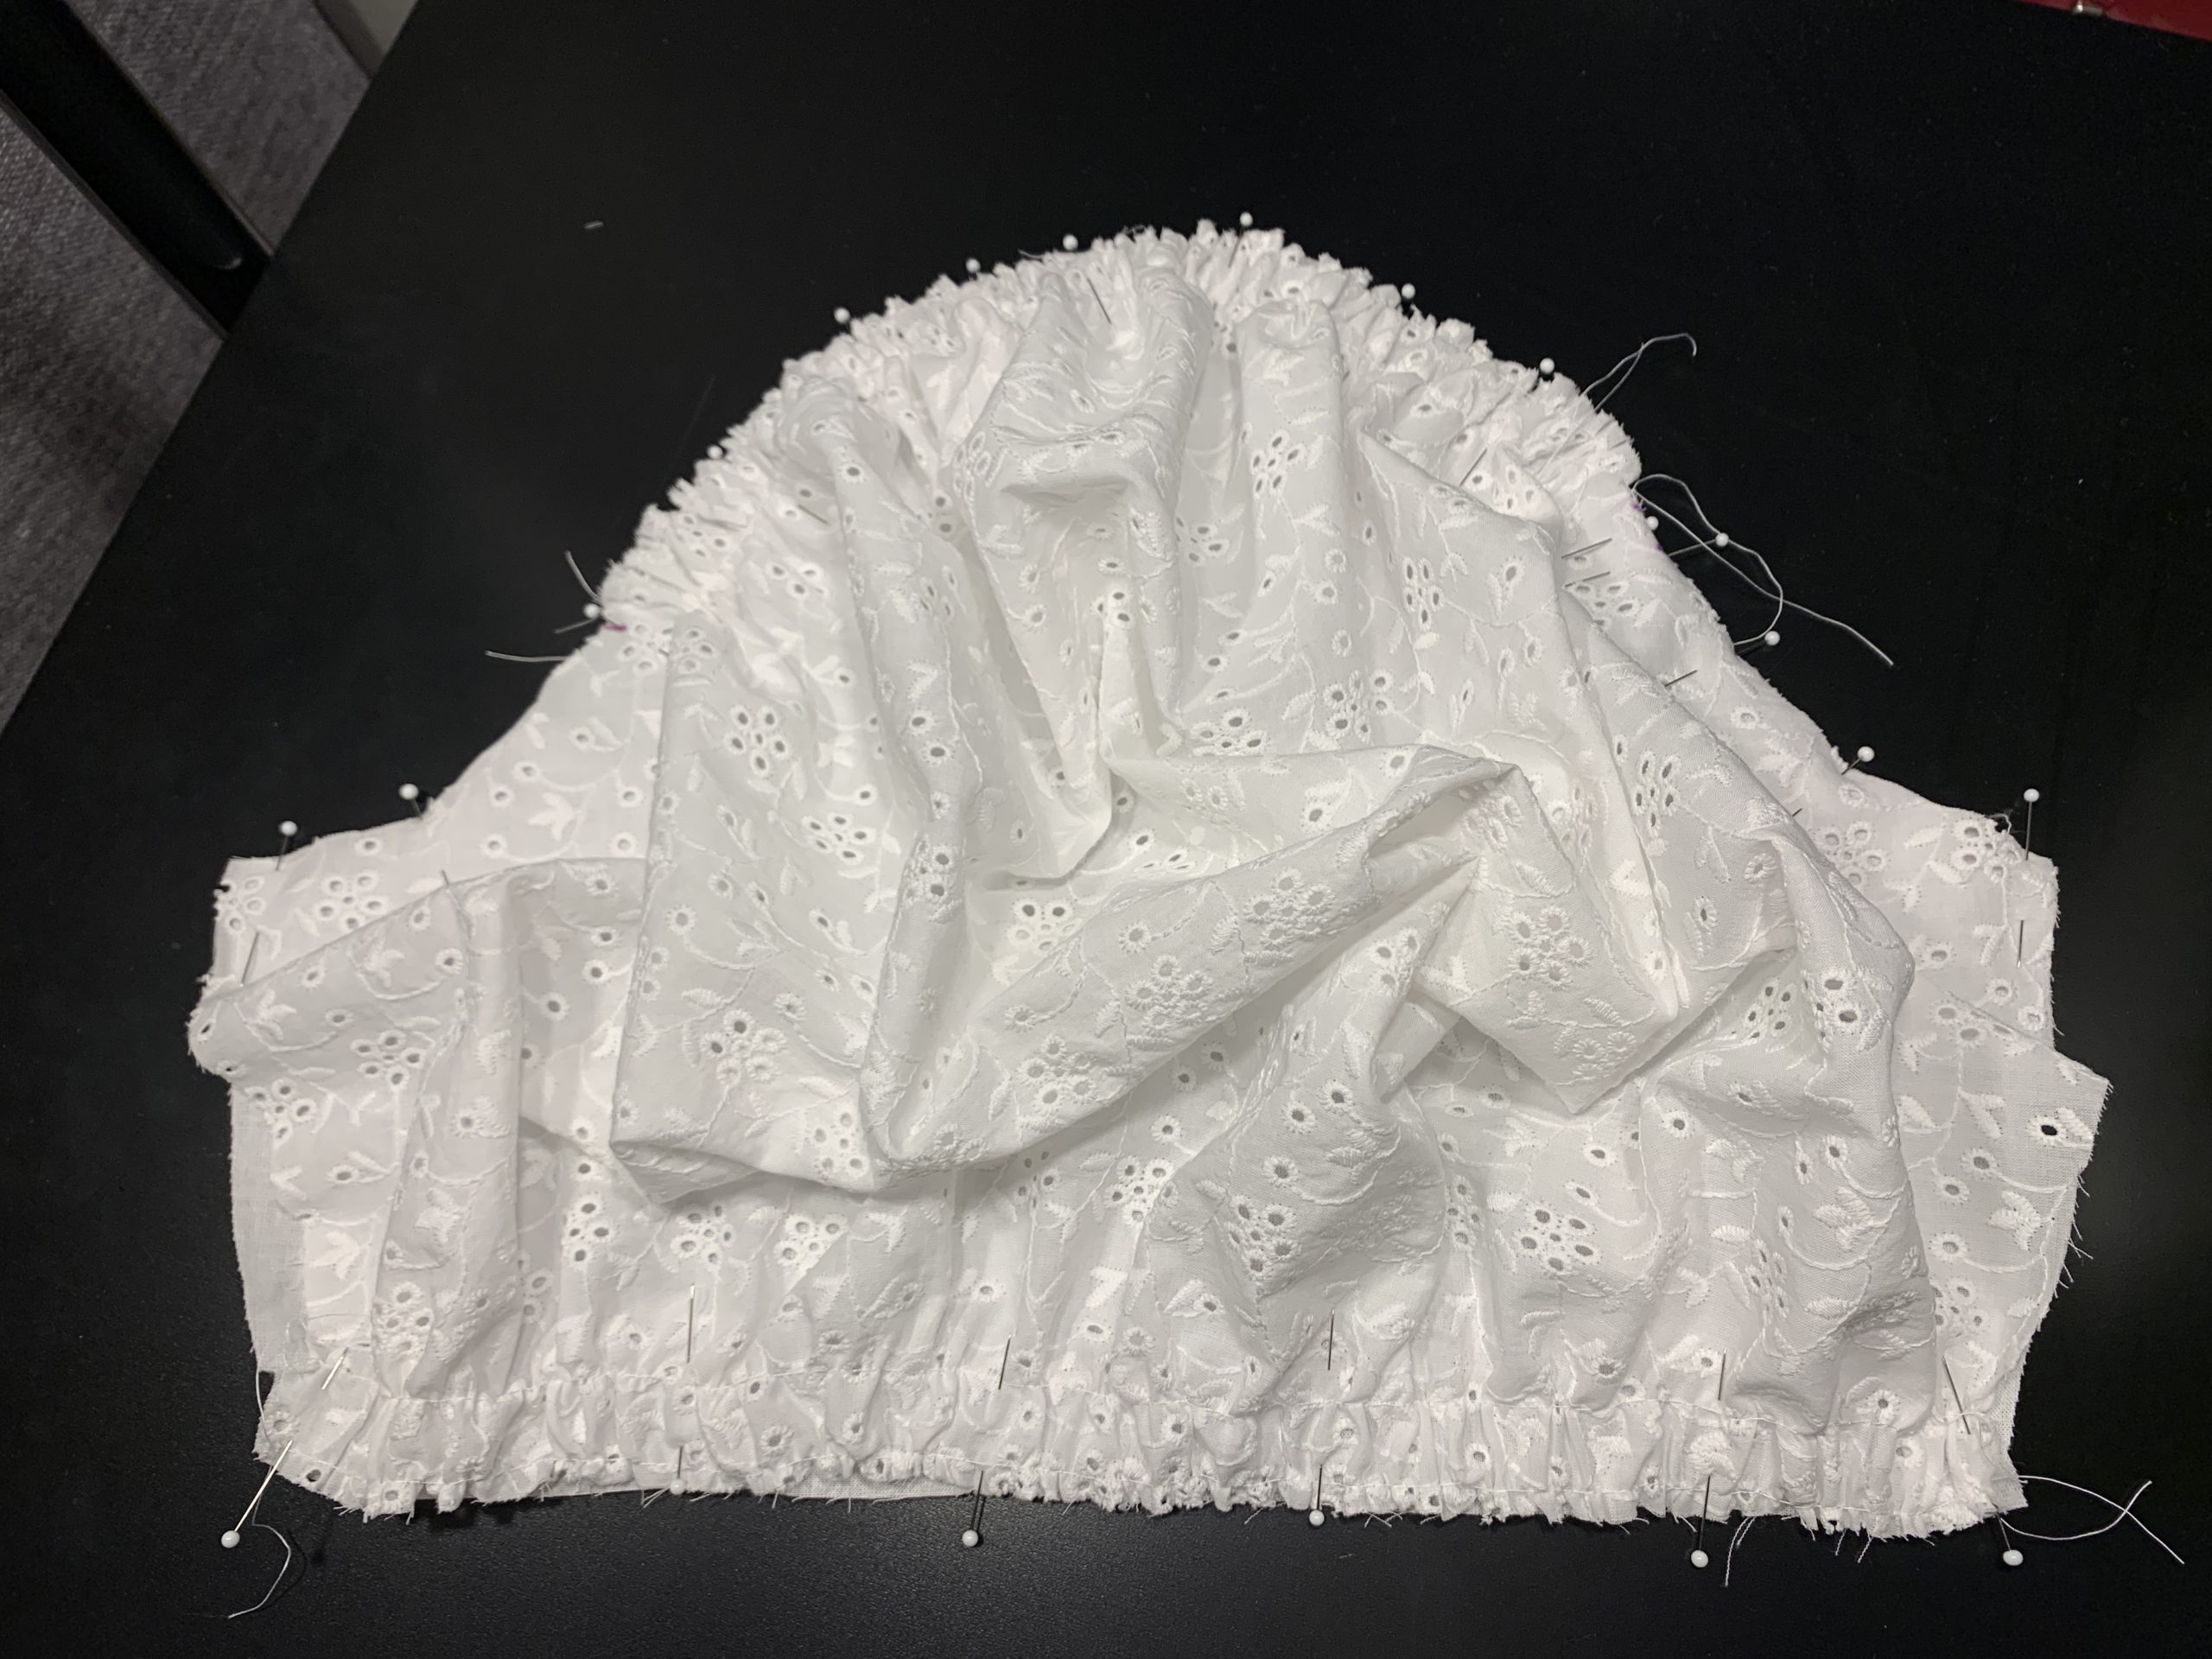
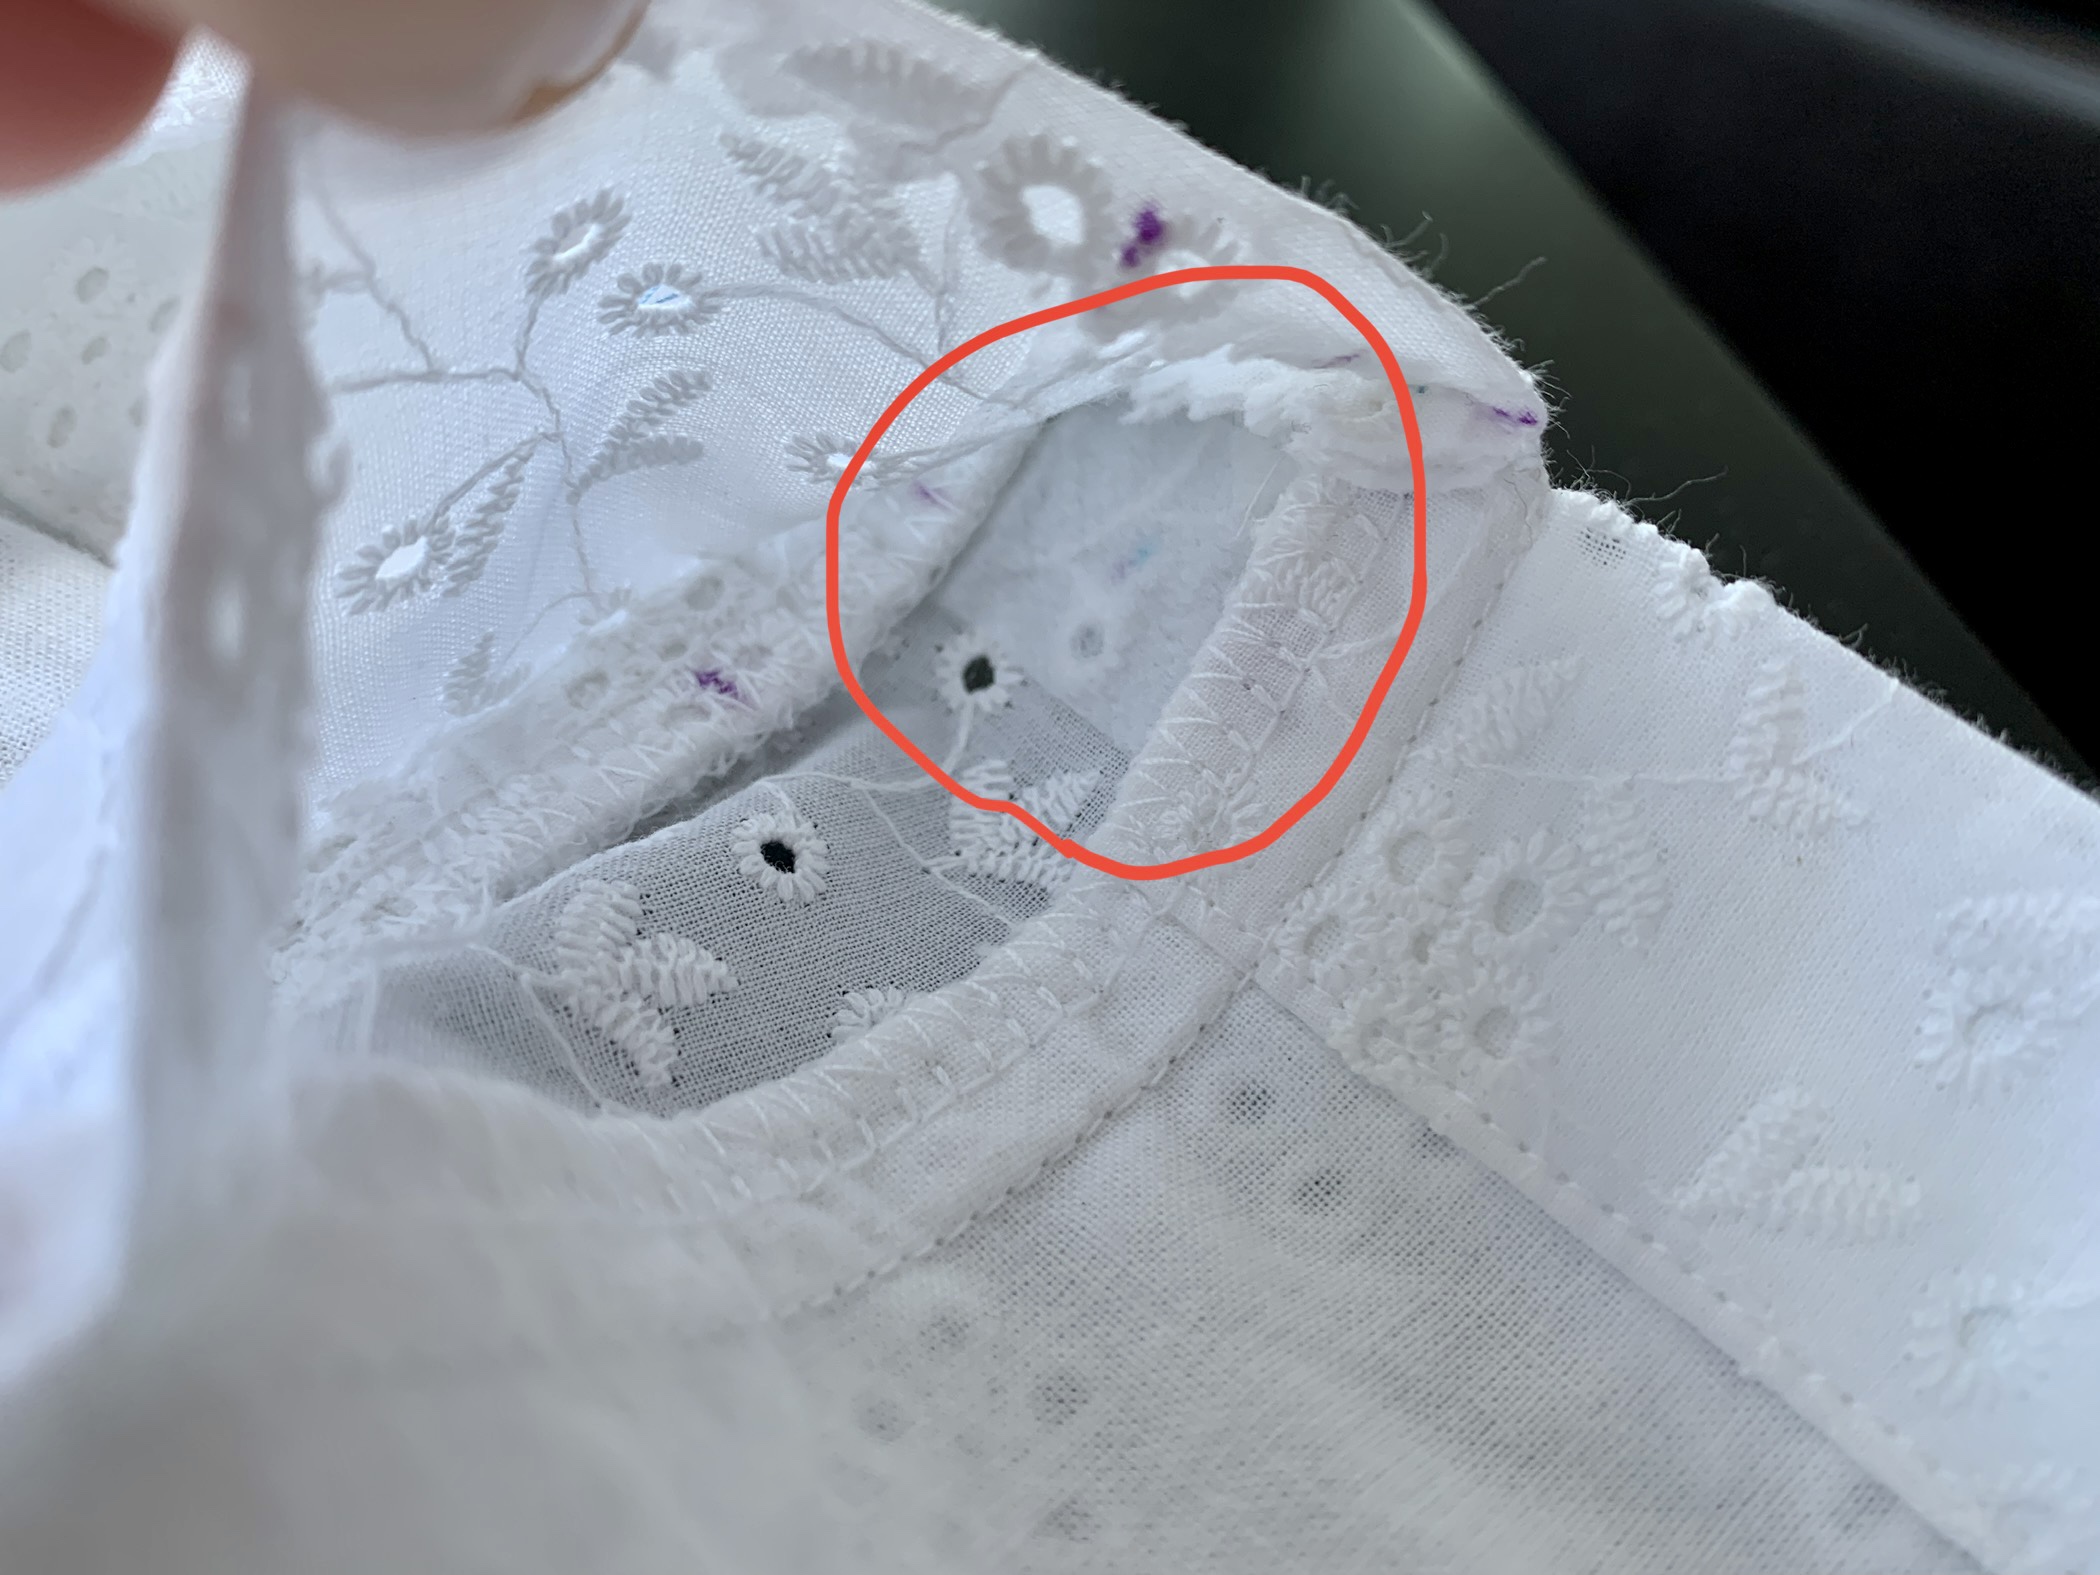
Here is where I got a bit creative and decided to sew the sleeves in a way where the raw fabric edges were sandwiched/hidden between the inner and outer sleeve. To do this, I did the following:
1) Pinned the right side of the main sleeve (the top of it…i.e. the shoulder part) to the right side of the bodice.
2) Pinned the right side of the lining sleeve to the wrong side of the bodice, which sandwiched in the bodice between the inner and outer sleeve.
3) Sewed the three pieces together and then serged the raw edges.
As you can see in the image below, the raw edges are hidden between the inner and outer sleeves.

I had to add cuffs to the sleeves to complete them. I ended up downsizing the cuff circumference to better fit my scrawny arms, although I wish I downsized even more. I pinned the right side of the cuff to the inner and outer sleeves (which are wrong sides together) and sewed. I then serged this raw edge to finish it off.
And finally, to complete the cuff I folded the fabric over and carefully hand-sewed the edge of it to the inner lining sleeve.
And the sleeves were done!
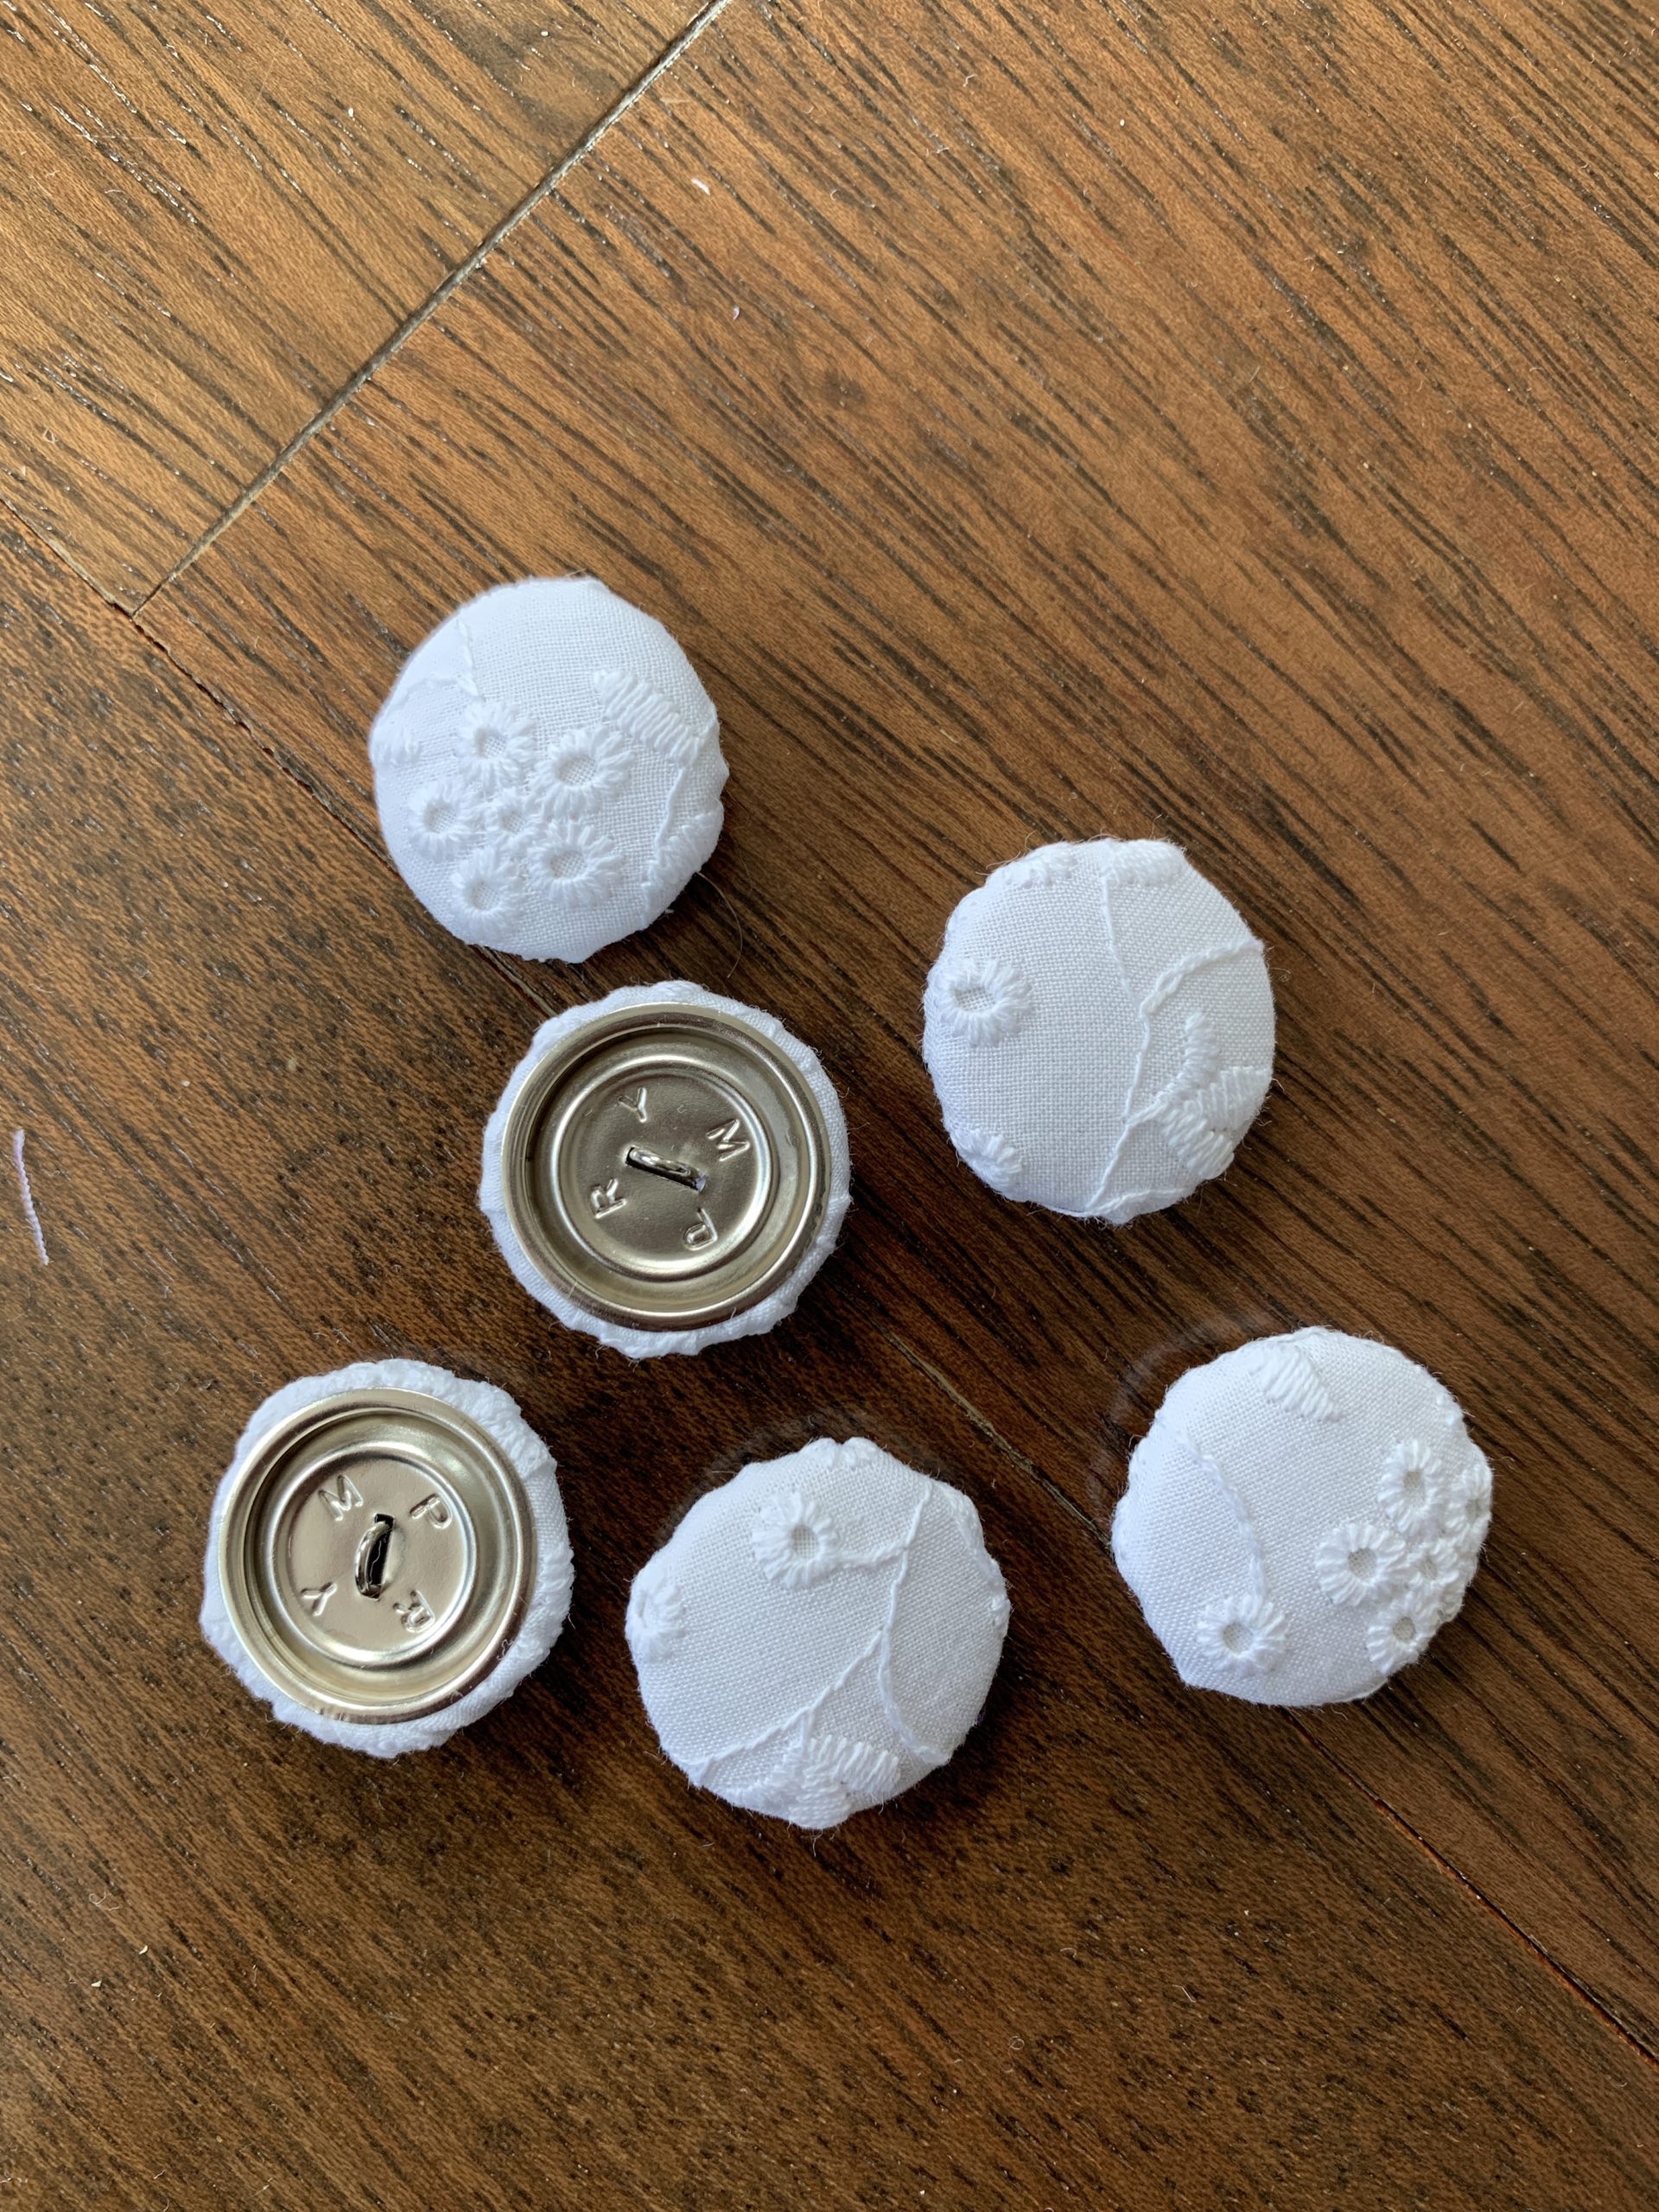
To create custom-made buttons, I bought half ball cover buttons and used the cotton eyelet fabric lined with the cotton muslin to make seven 7/8” buttons. This was super fun, and now I want to custom make my own buttons for every project! I absolutely love how they turned out.
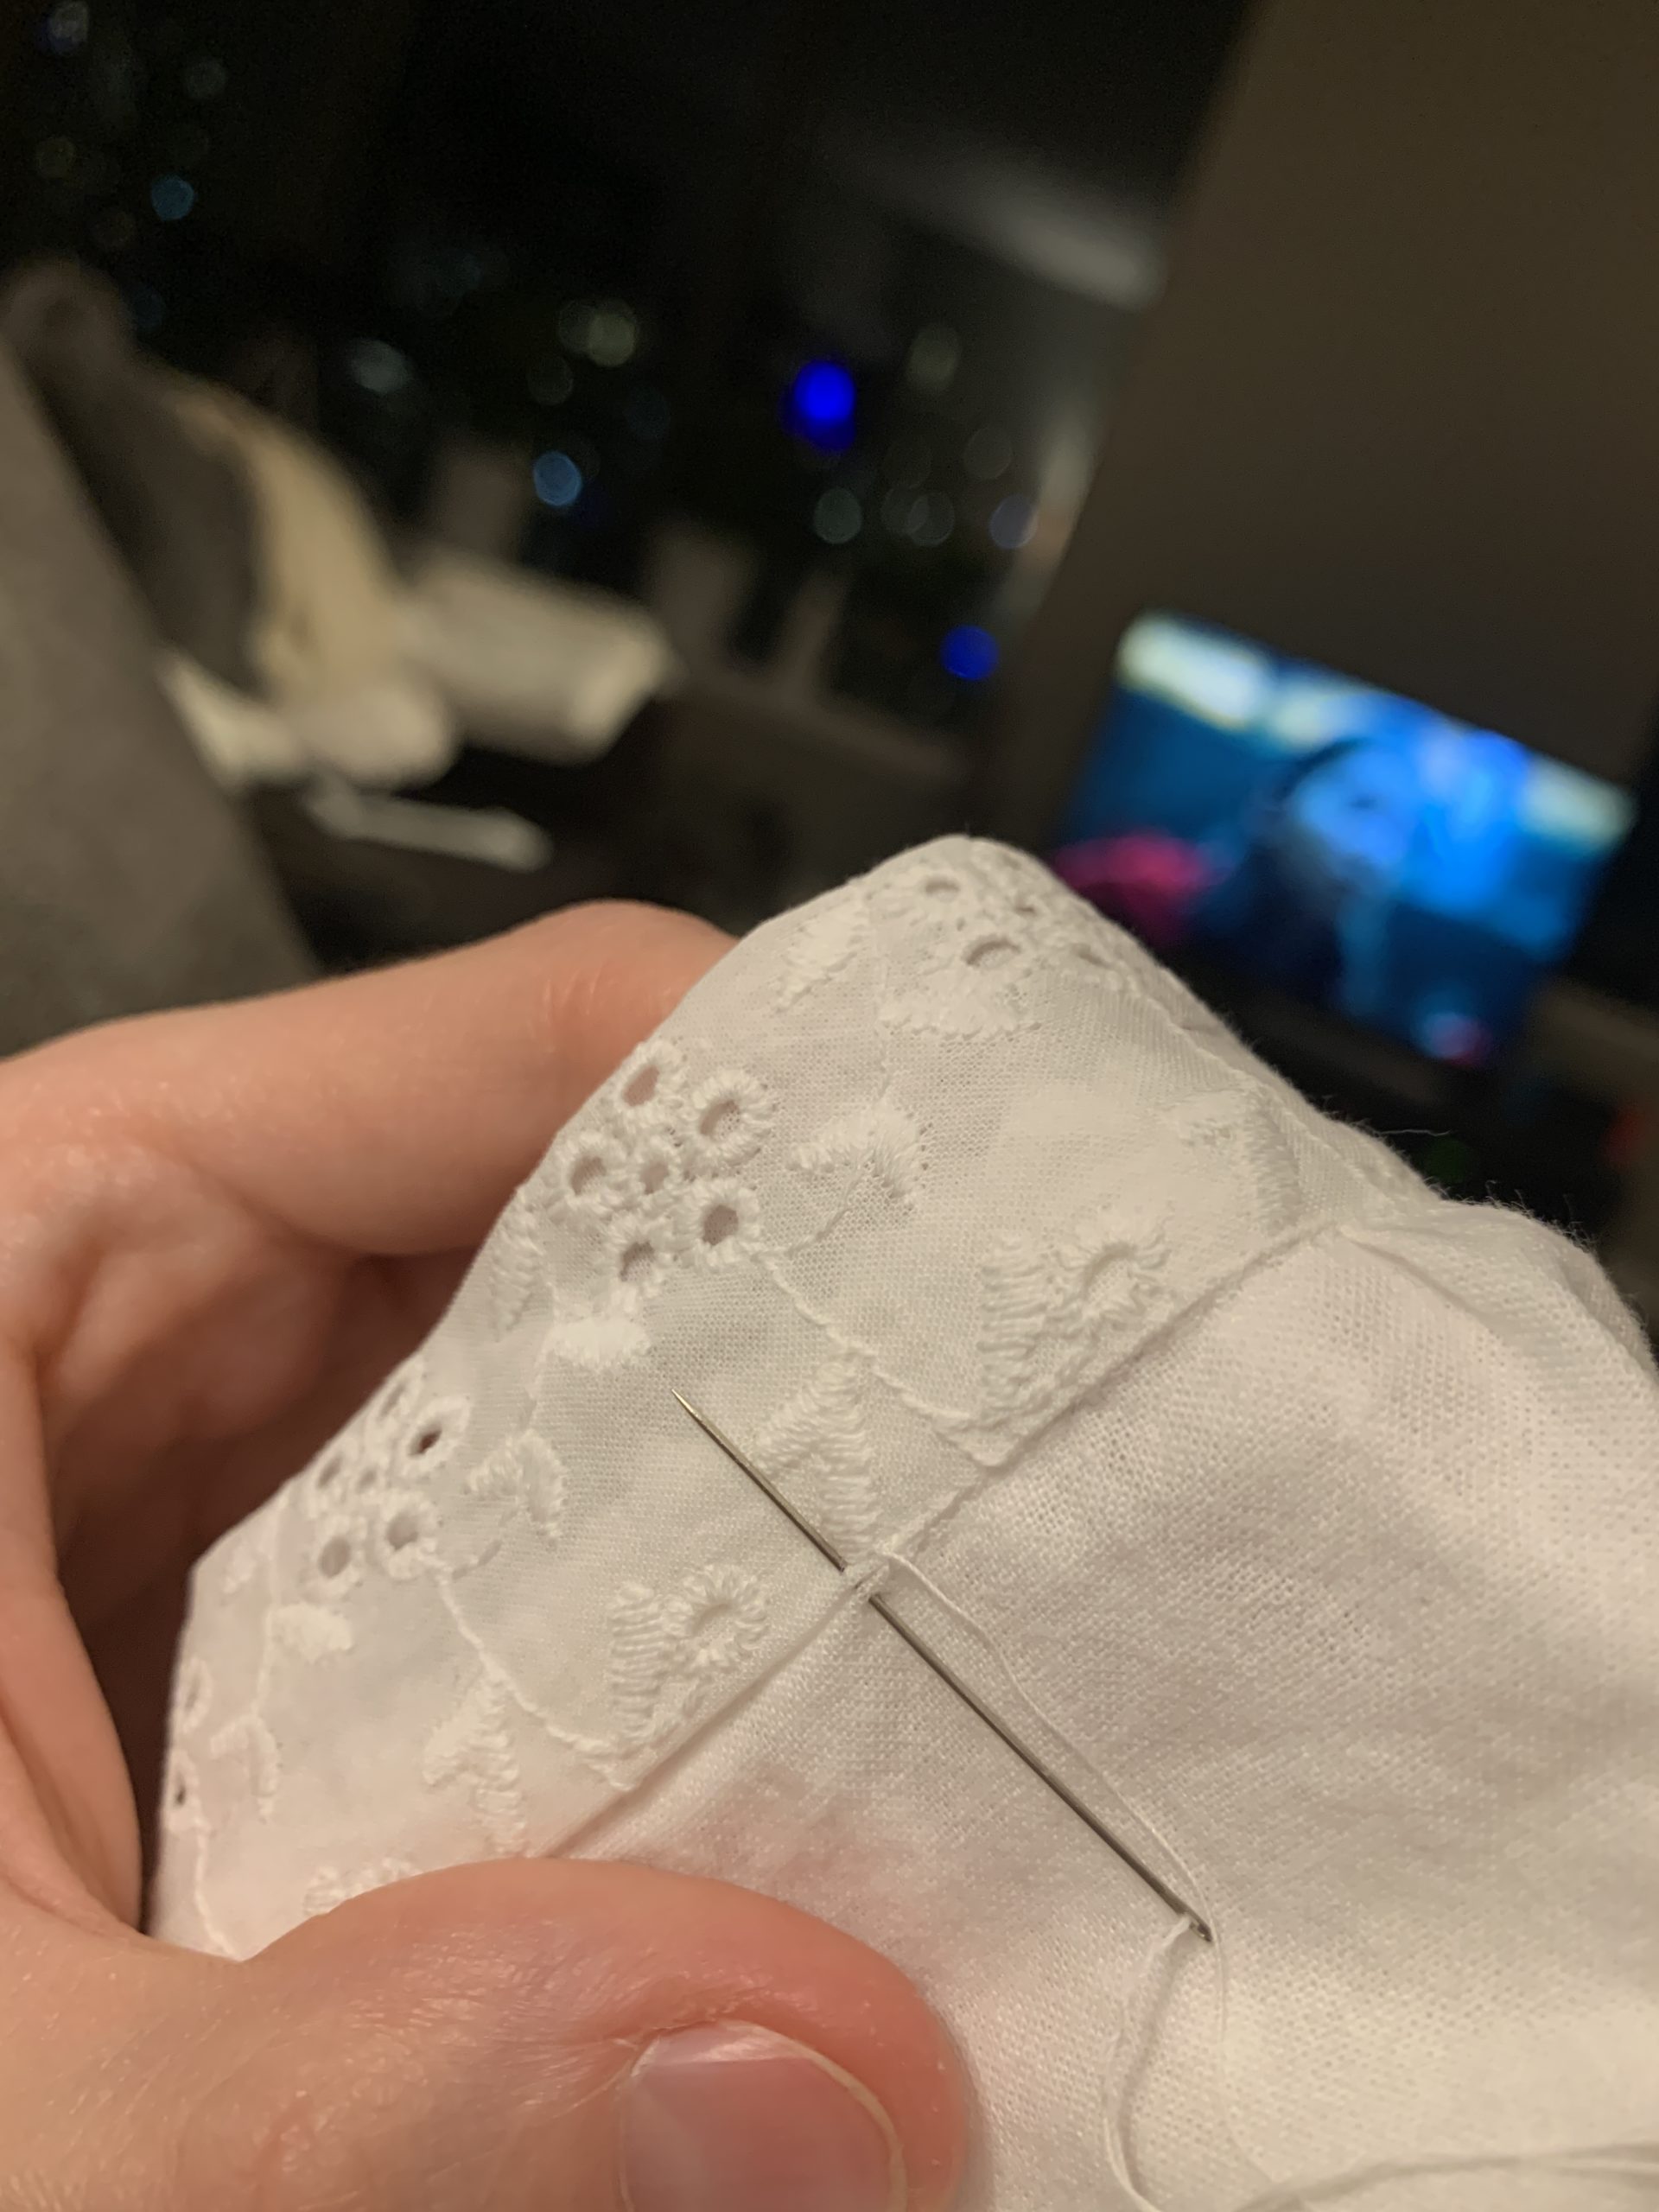
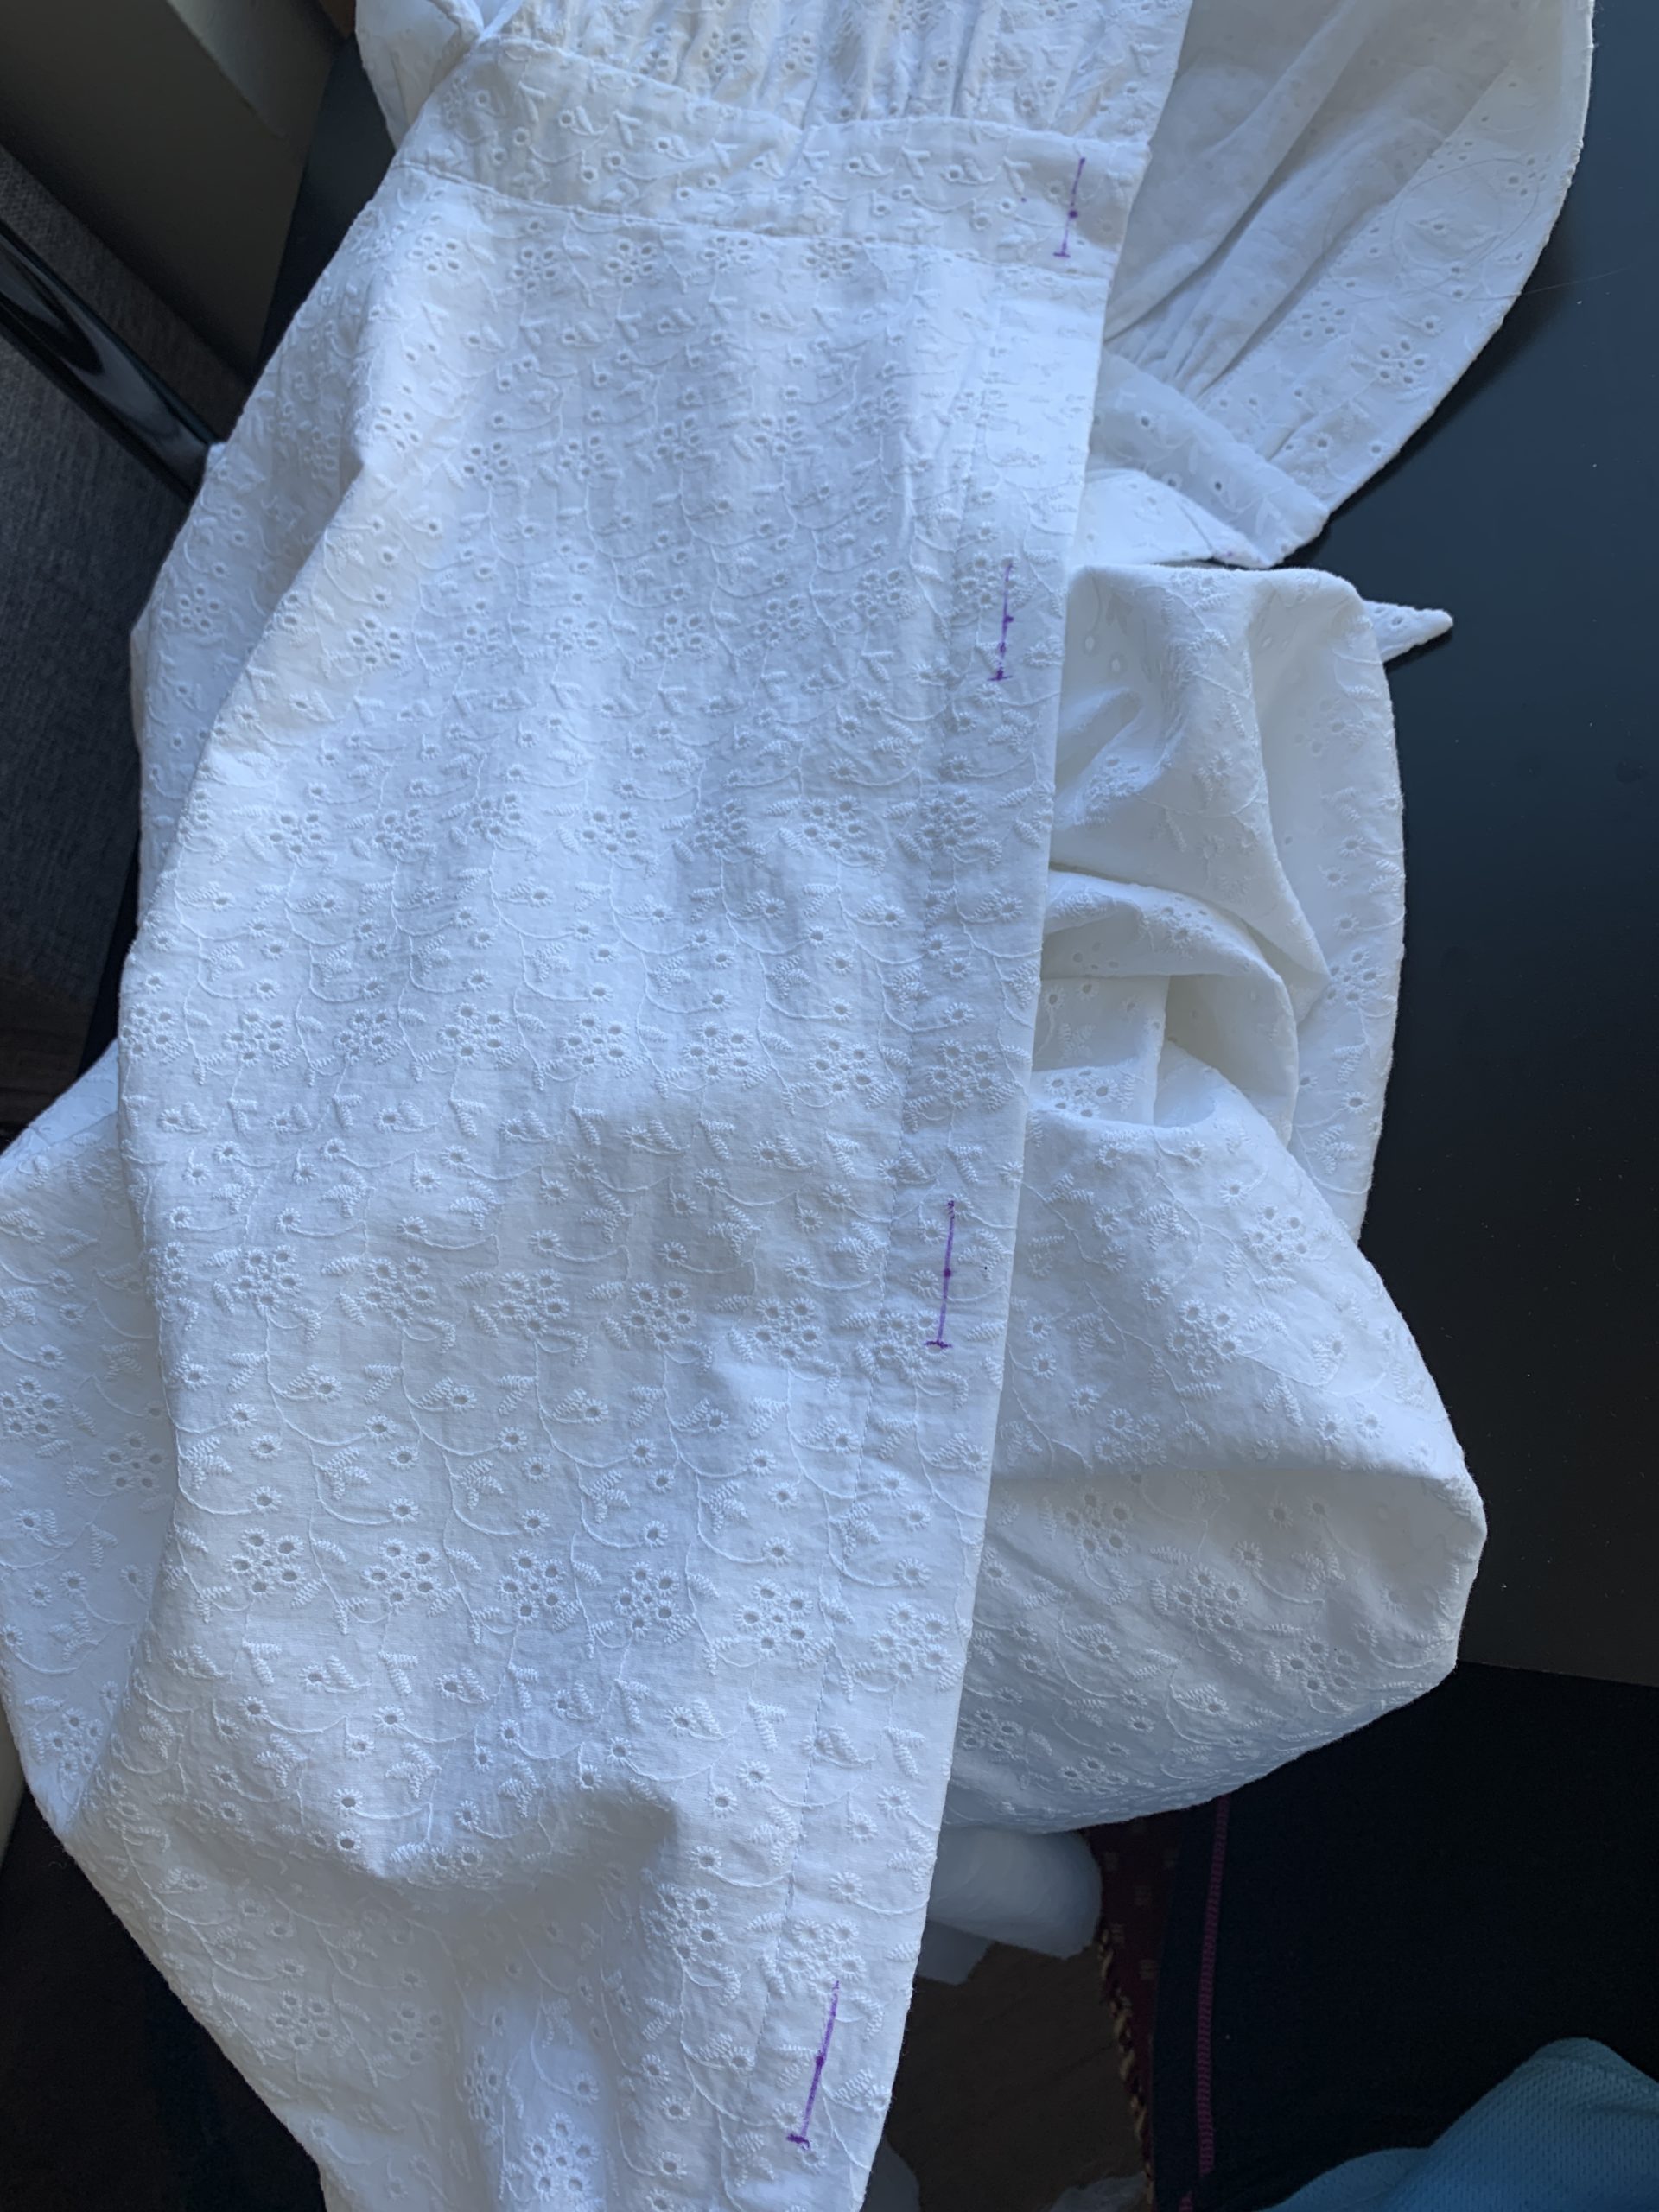
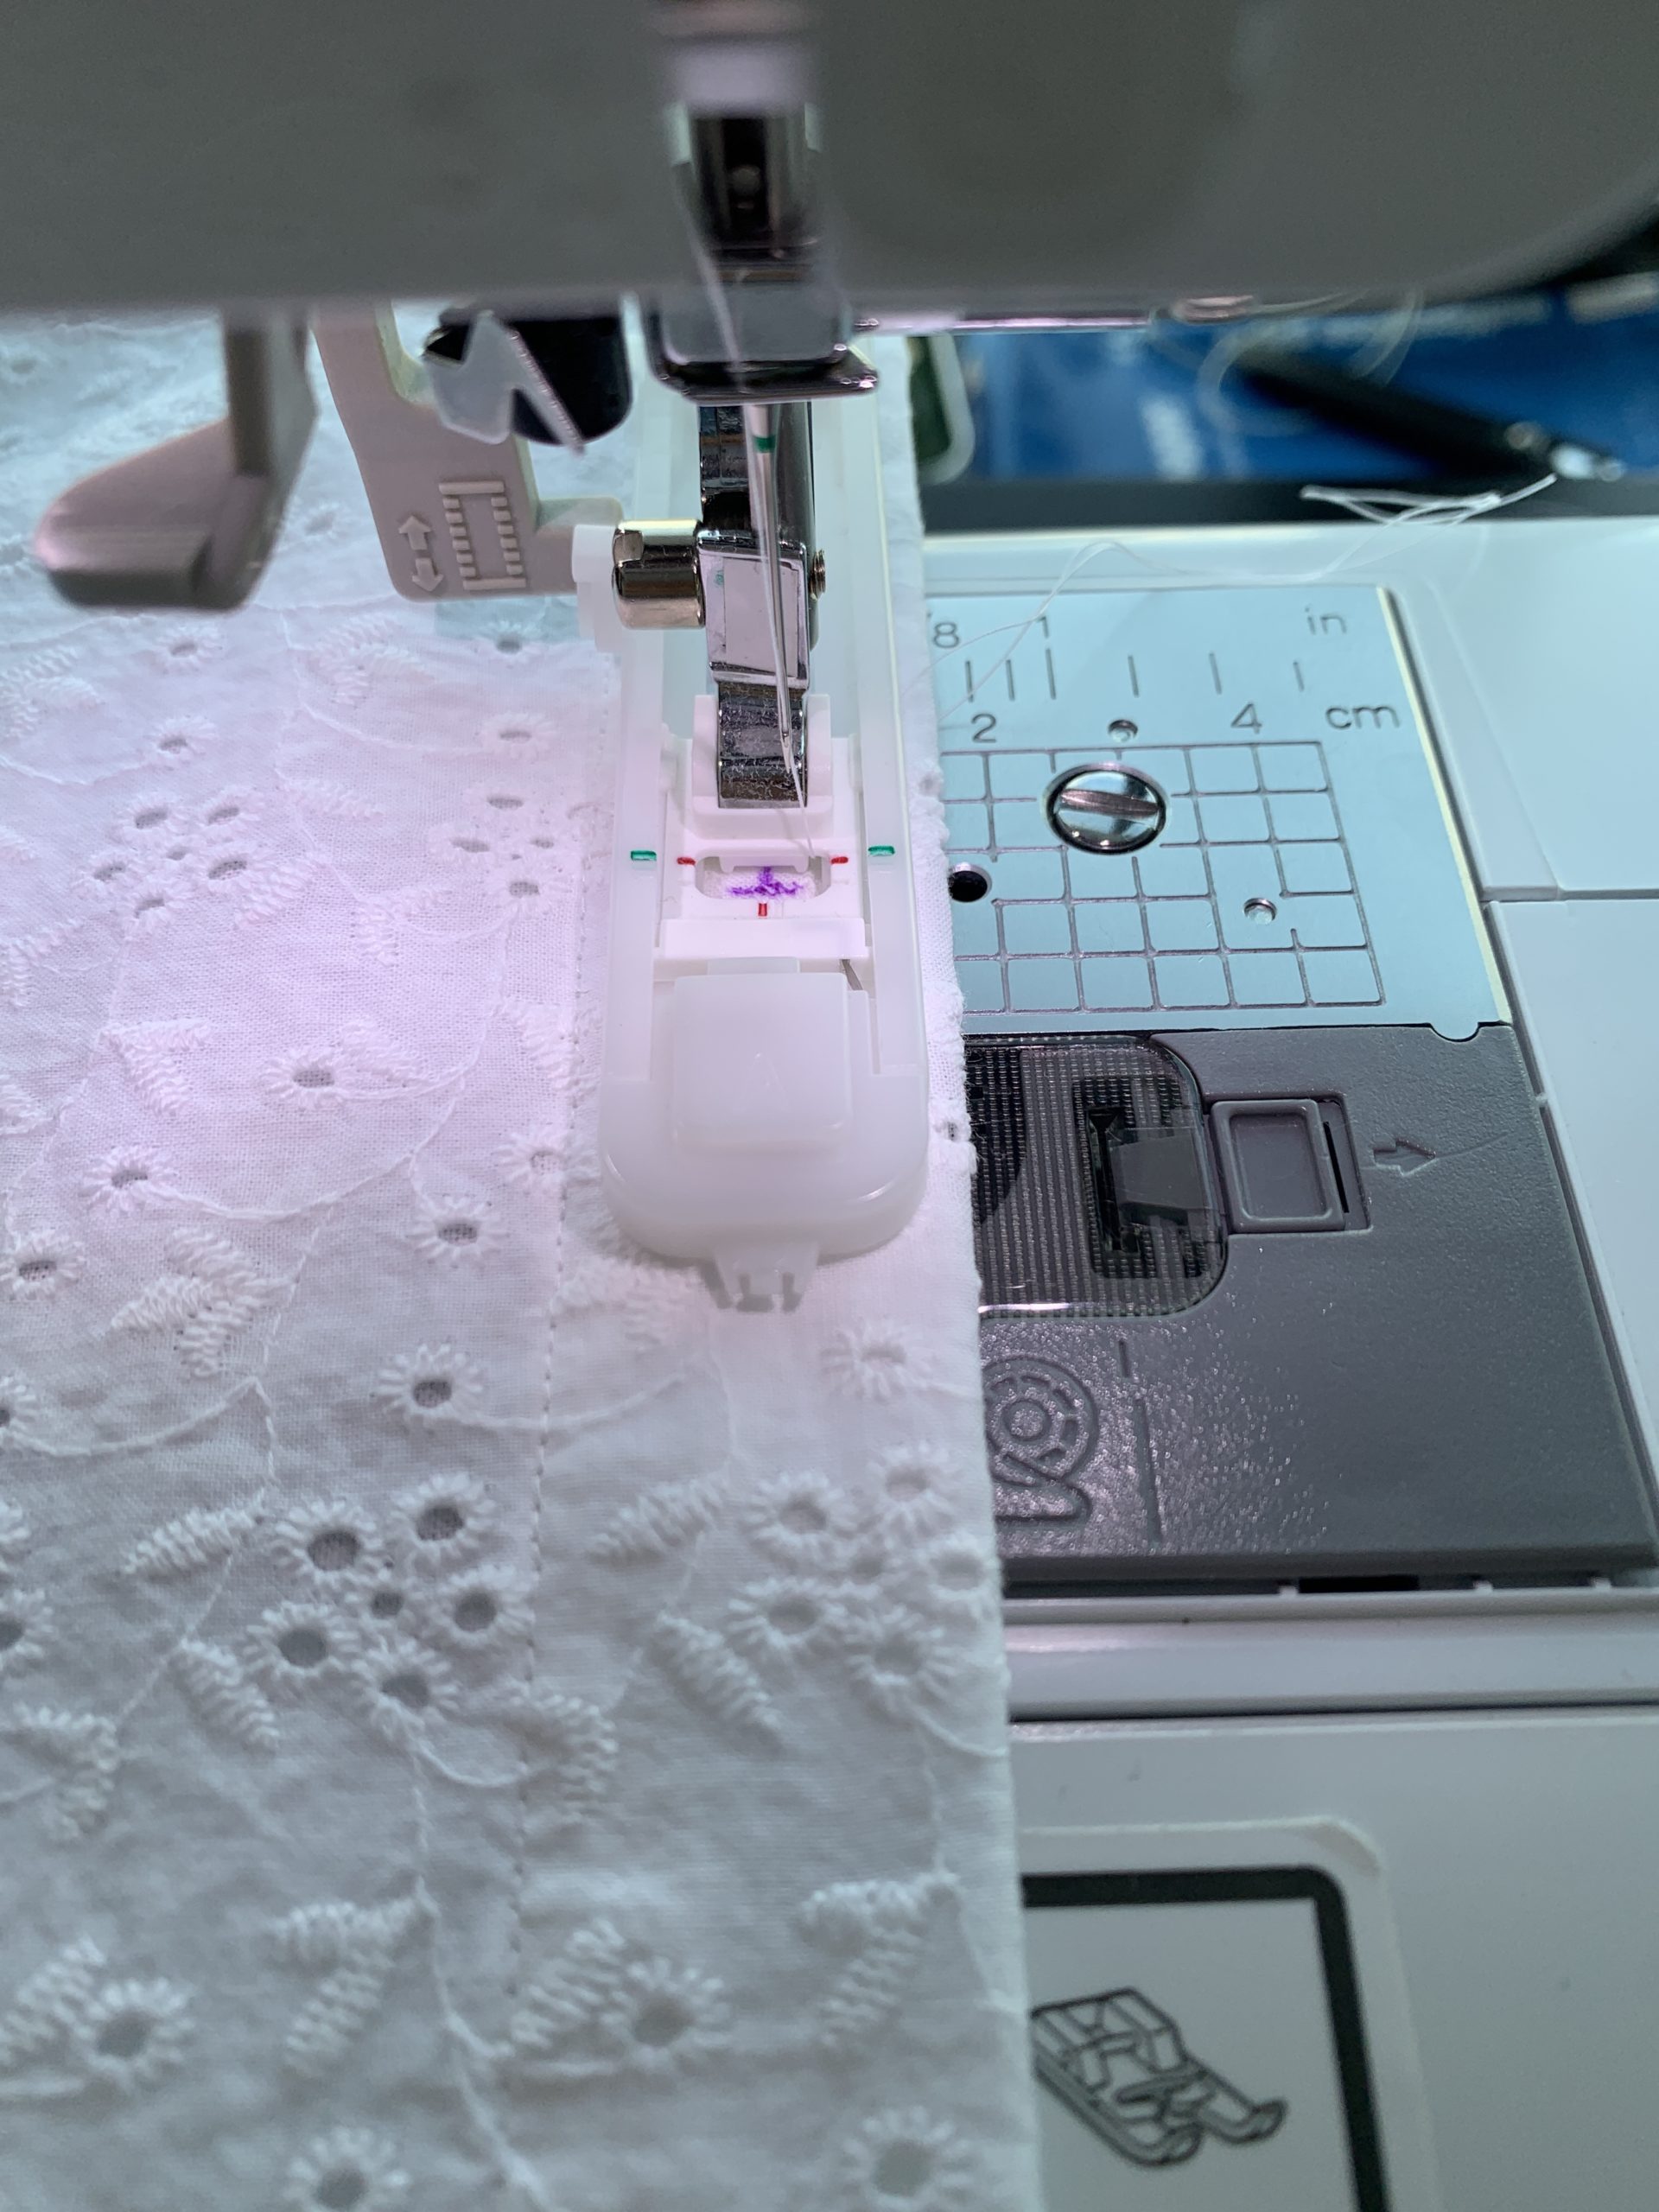
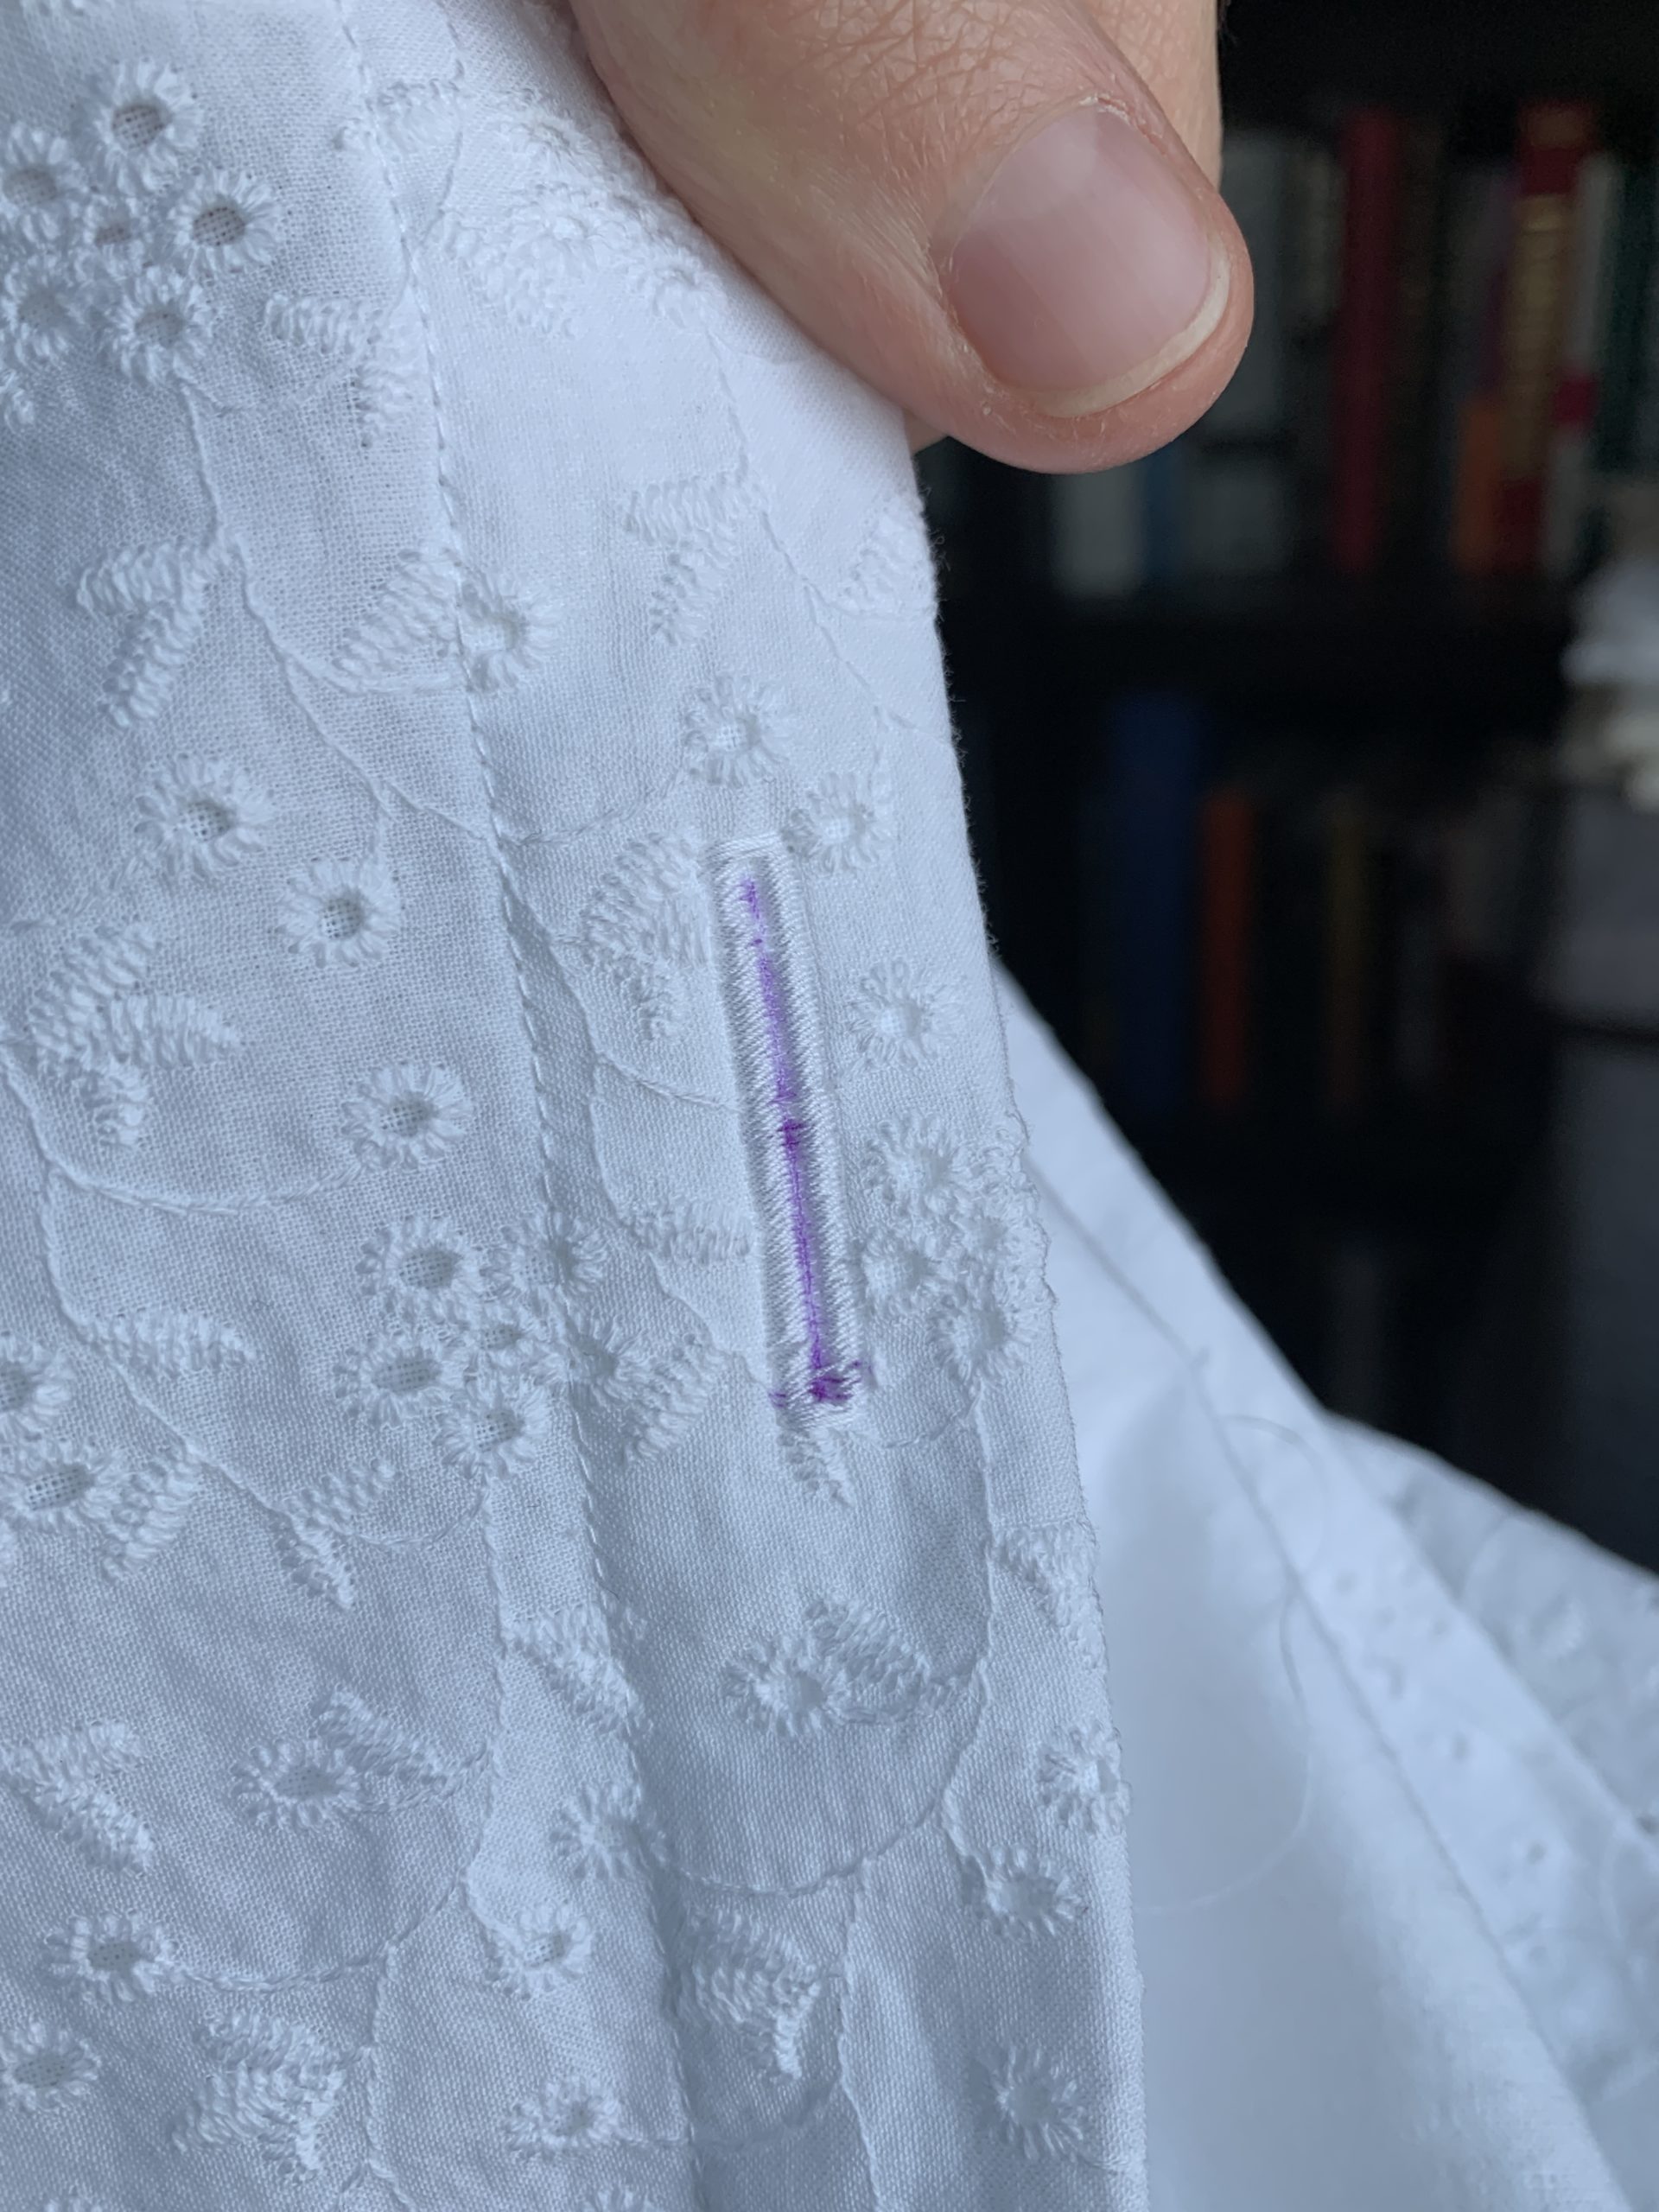
It was time for my least favorite part…buttonholes. Carefully measured out the buttonholes using the 7/8” buttons, and used the buttonhole setting on my machine to create them.
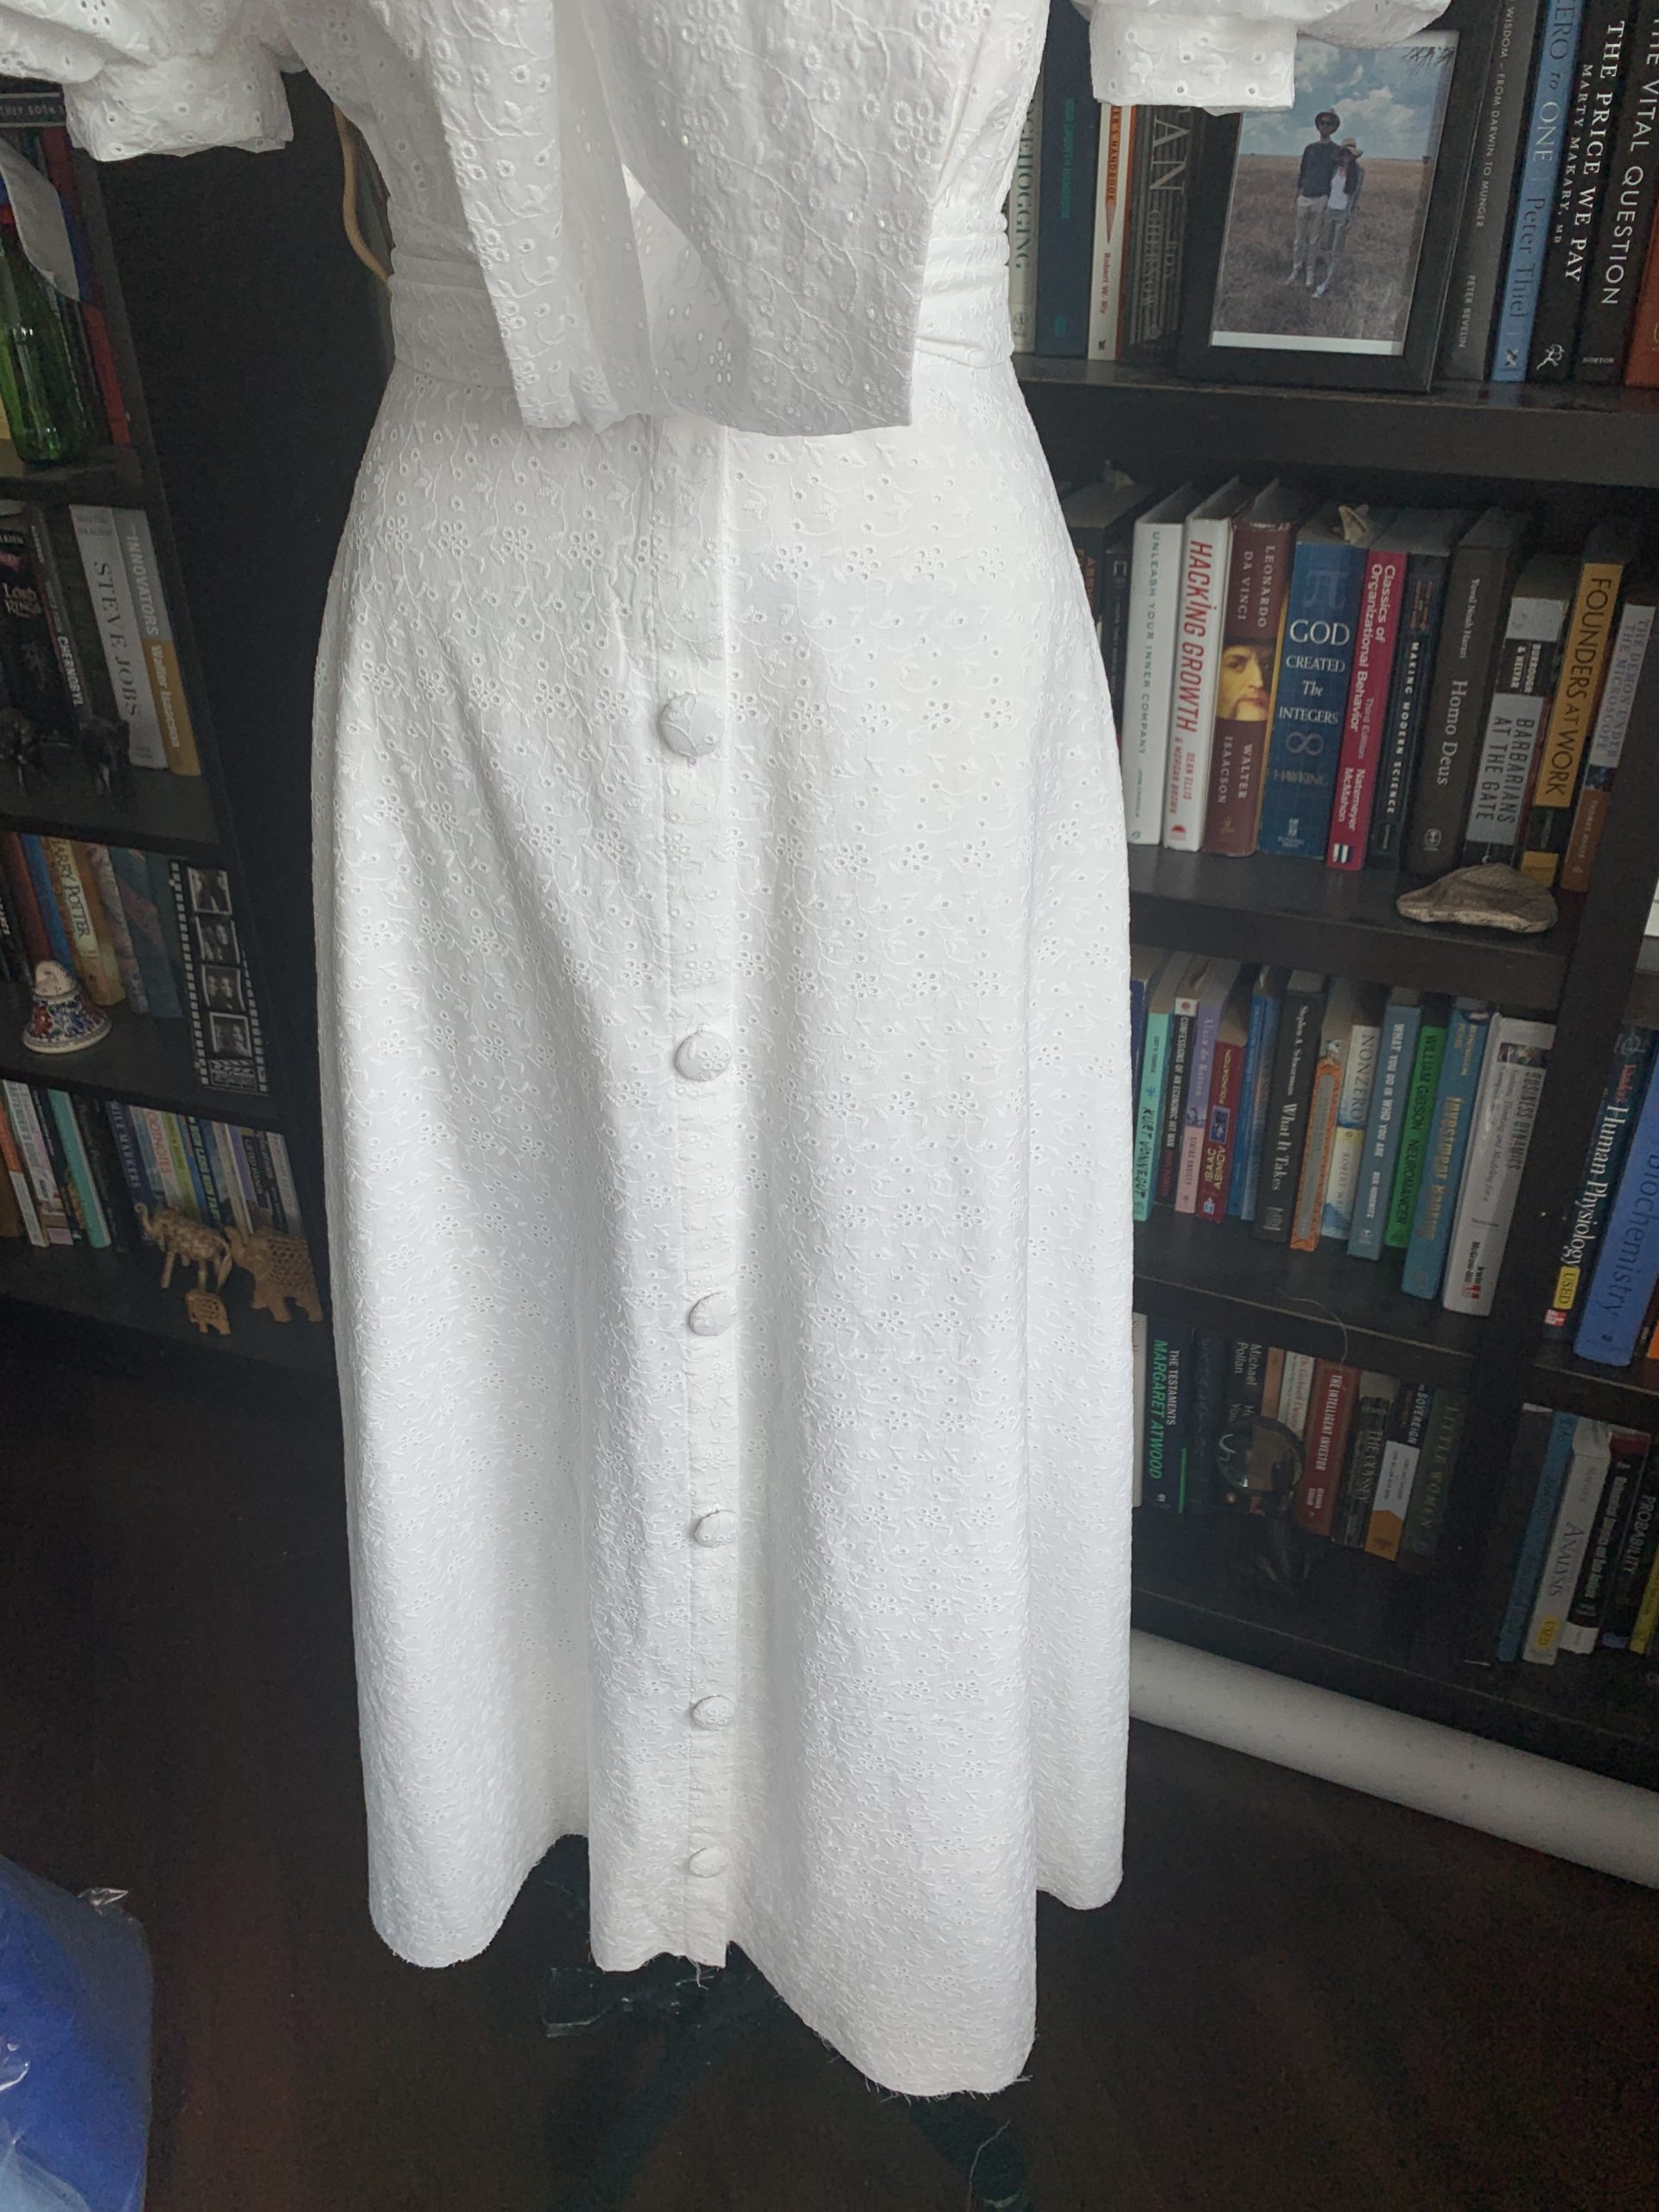
I should’ve re-watched the Mood Fabrics Instagram video follow-along to see how they arranged the buttons…but I didn’t and that was a mistake. Because I ended up distributing them down the entire length of the skirt without leaving any of the skirt open at the bottom. And now I don’t love how it looks, but it’s ok. I can always unbutton the last two buttons for a sassy leggy look.
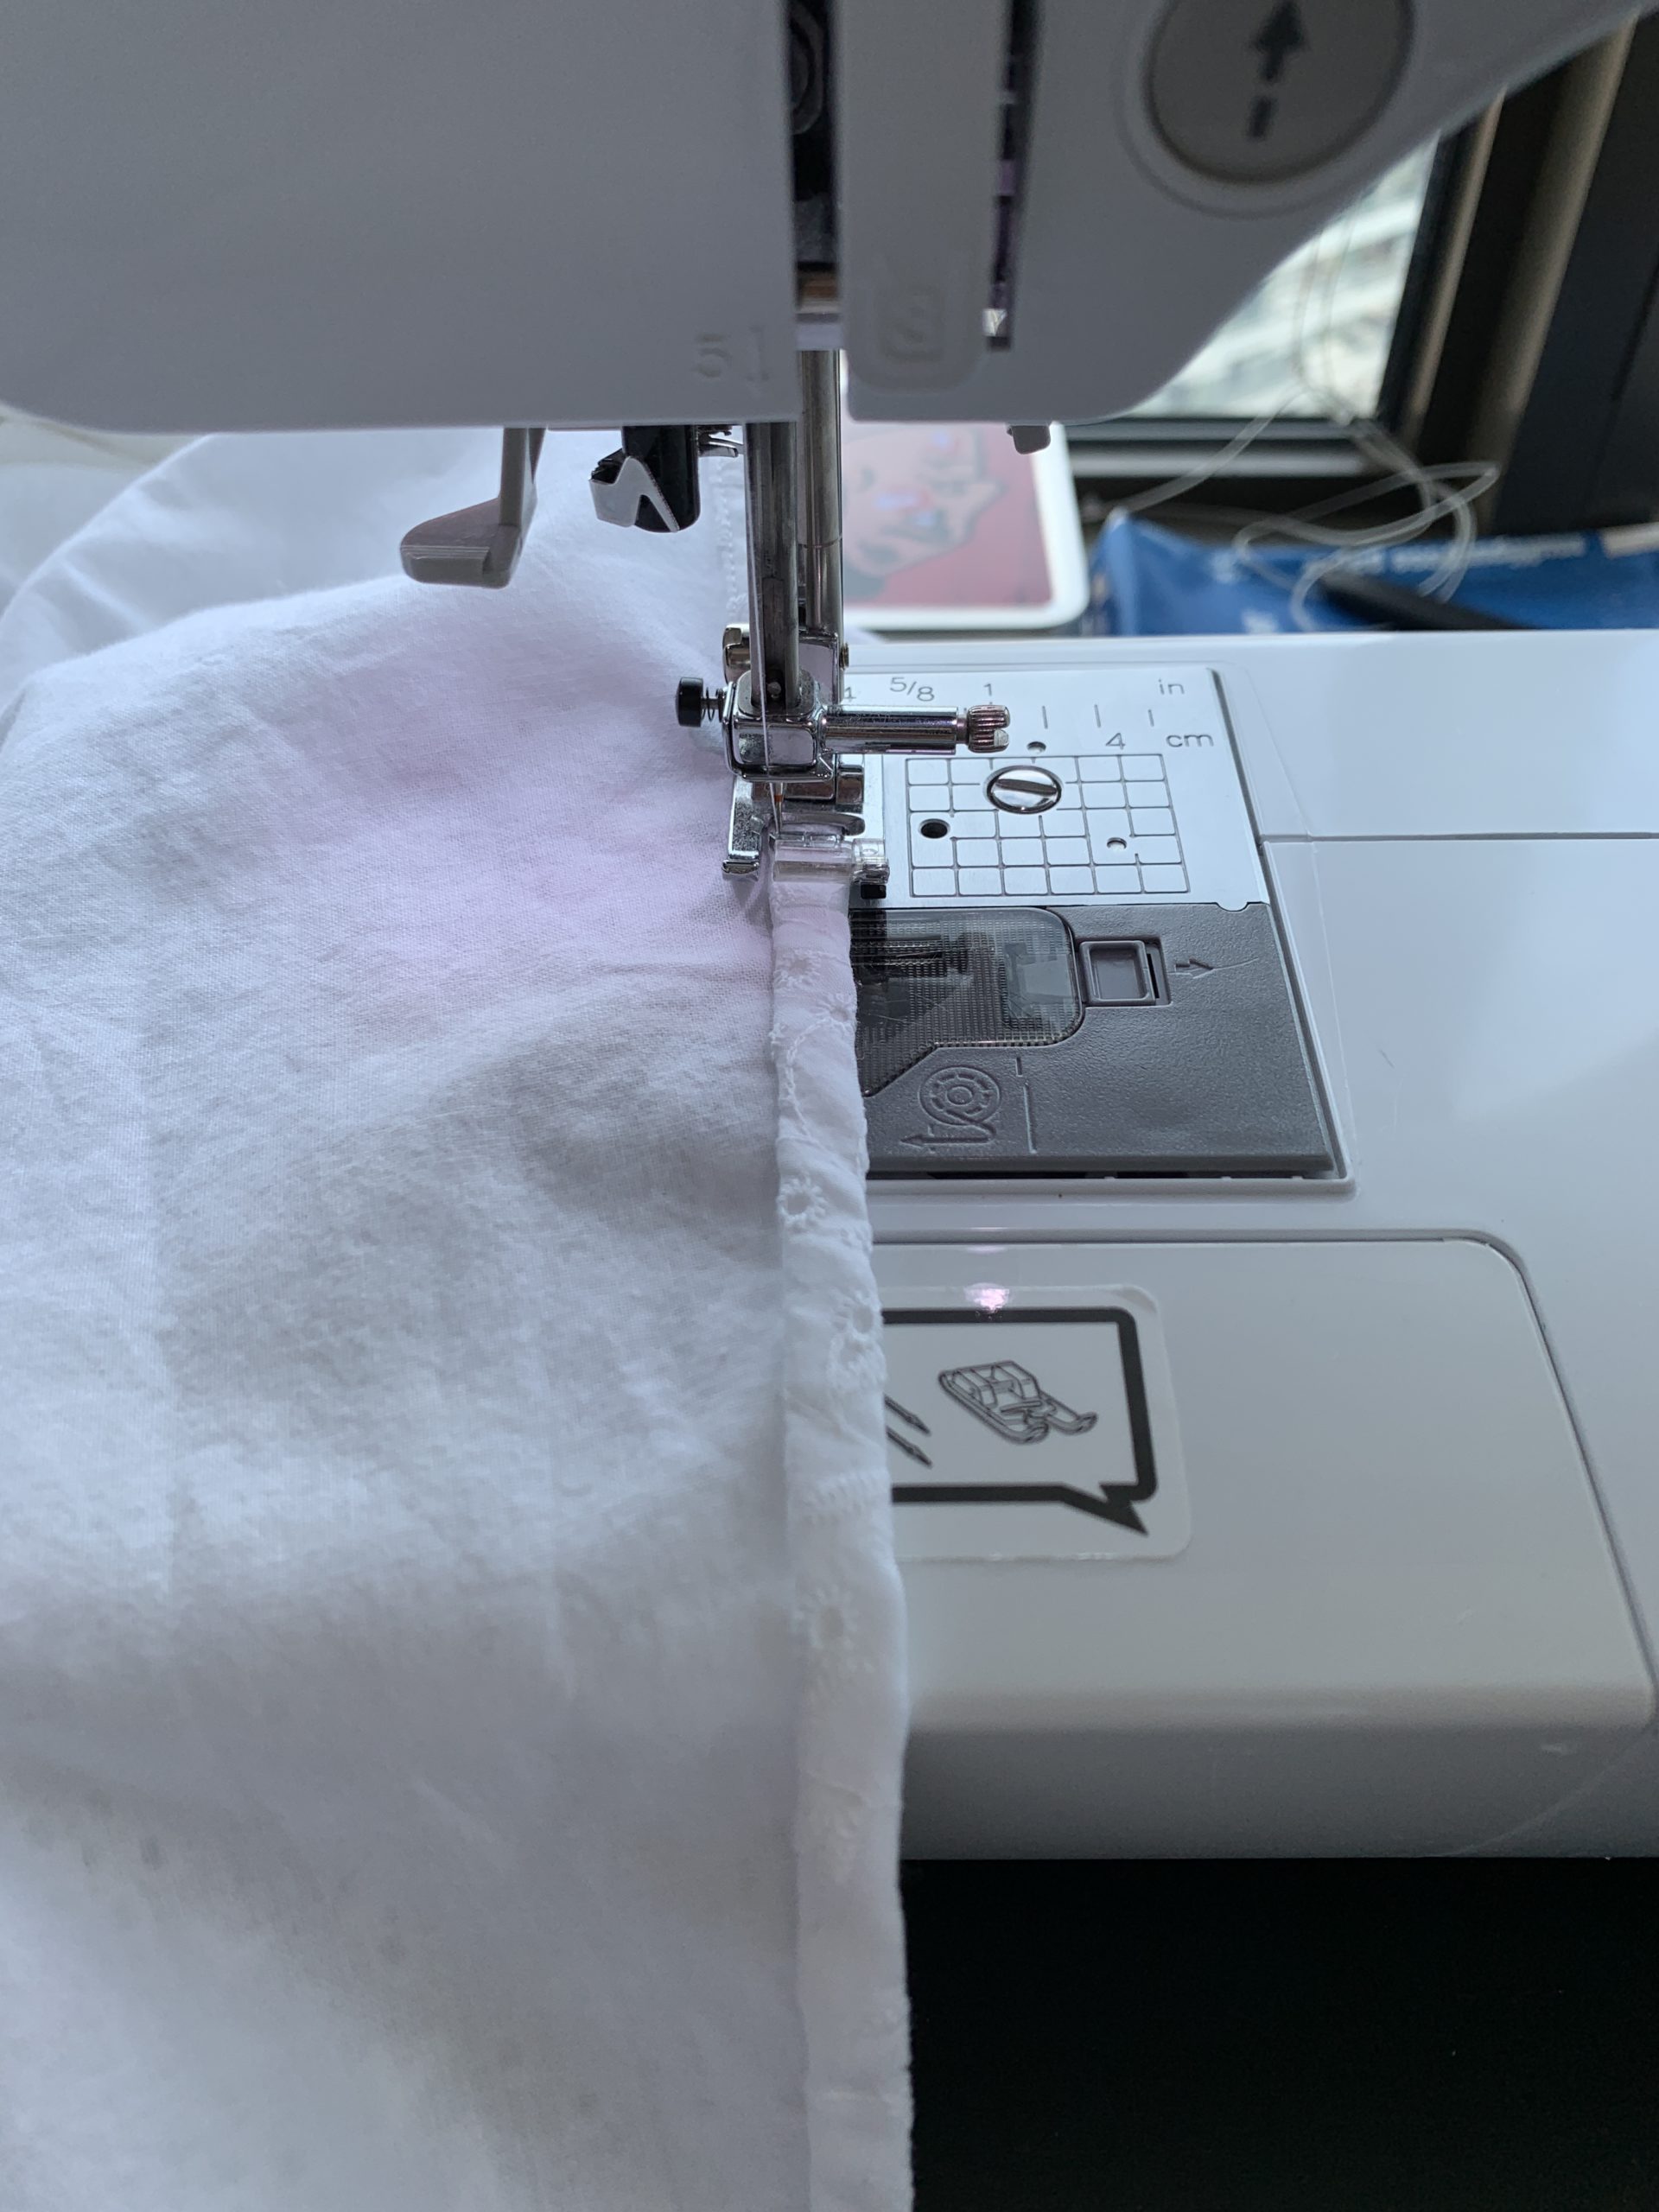
All that was left was hemming the bottom with a narrow hem.
And the dress was done! Love love love. This was such a fun project, albeit quite involved and one of the more elaborate pieces I’ve sewn. I honestly couldn’t have done it without Mood’s sew-along on Instagram, so I’m super glad they created it!
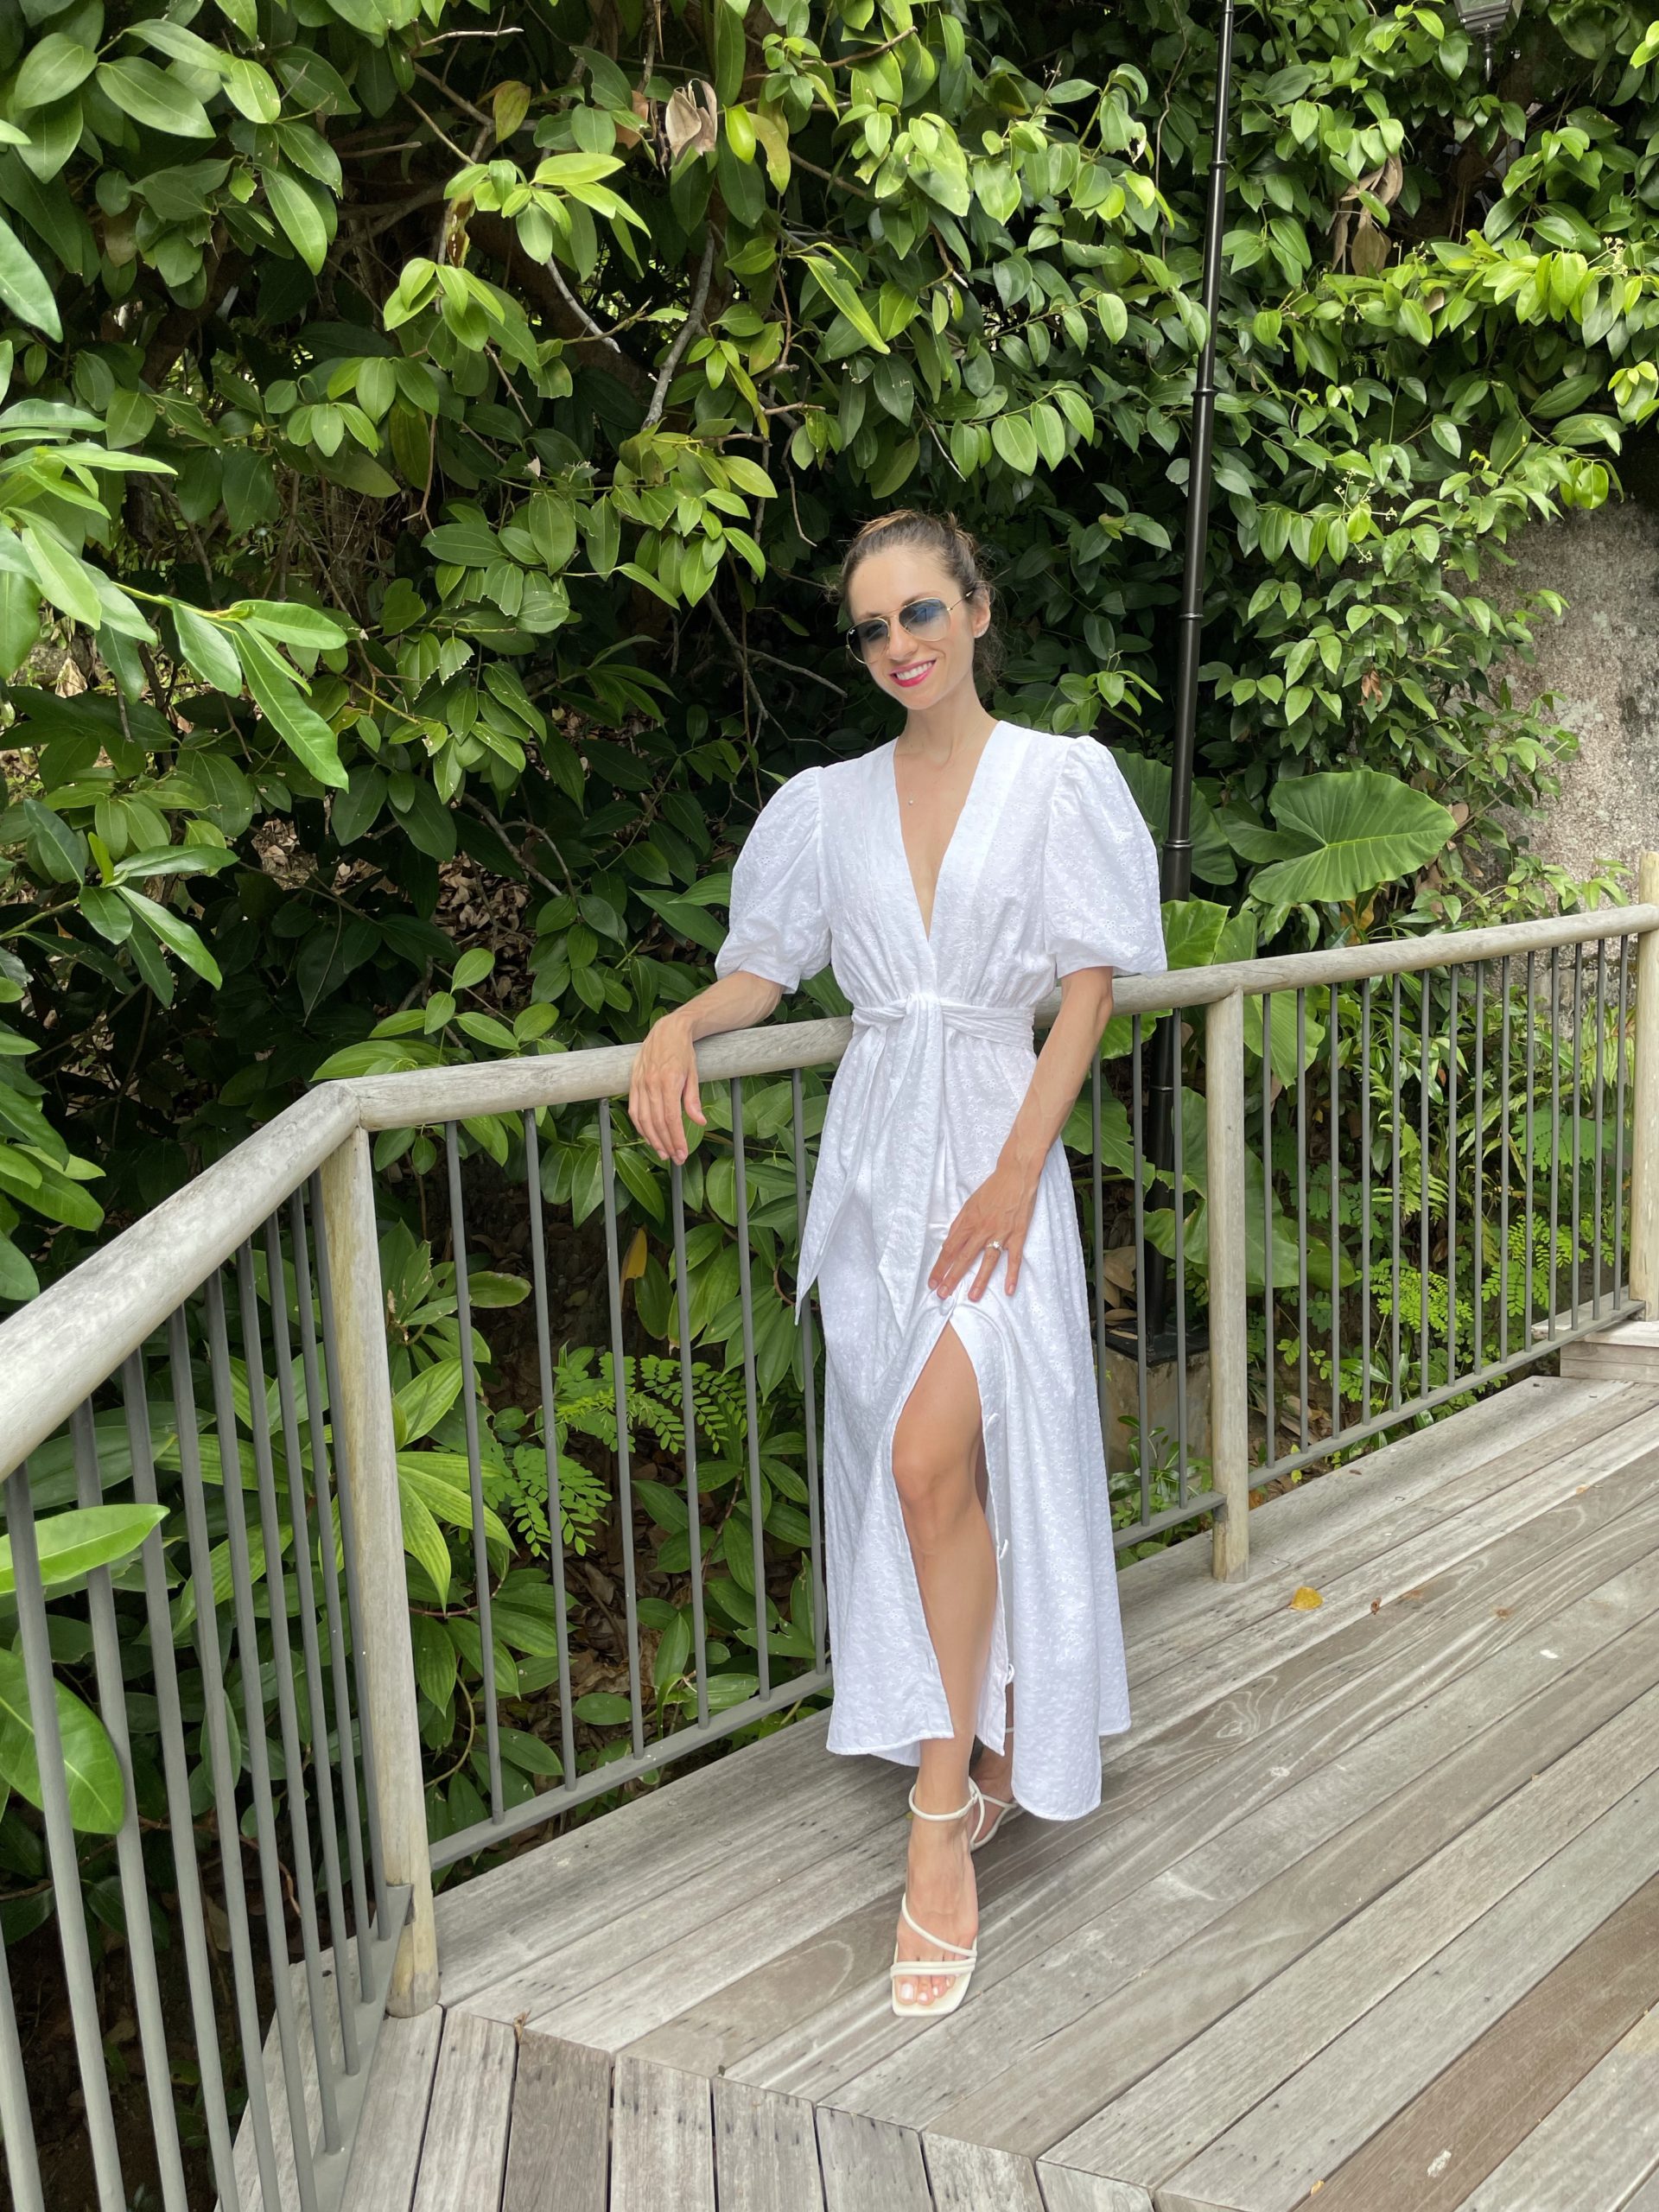
Without further delay, below is the final result, complete with the stunning scenery of the Seychelles!


I wore this dress during our time staying at the glamorous Four Seasons resort on the main island of Mahé.
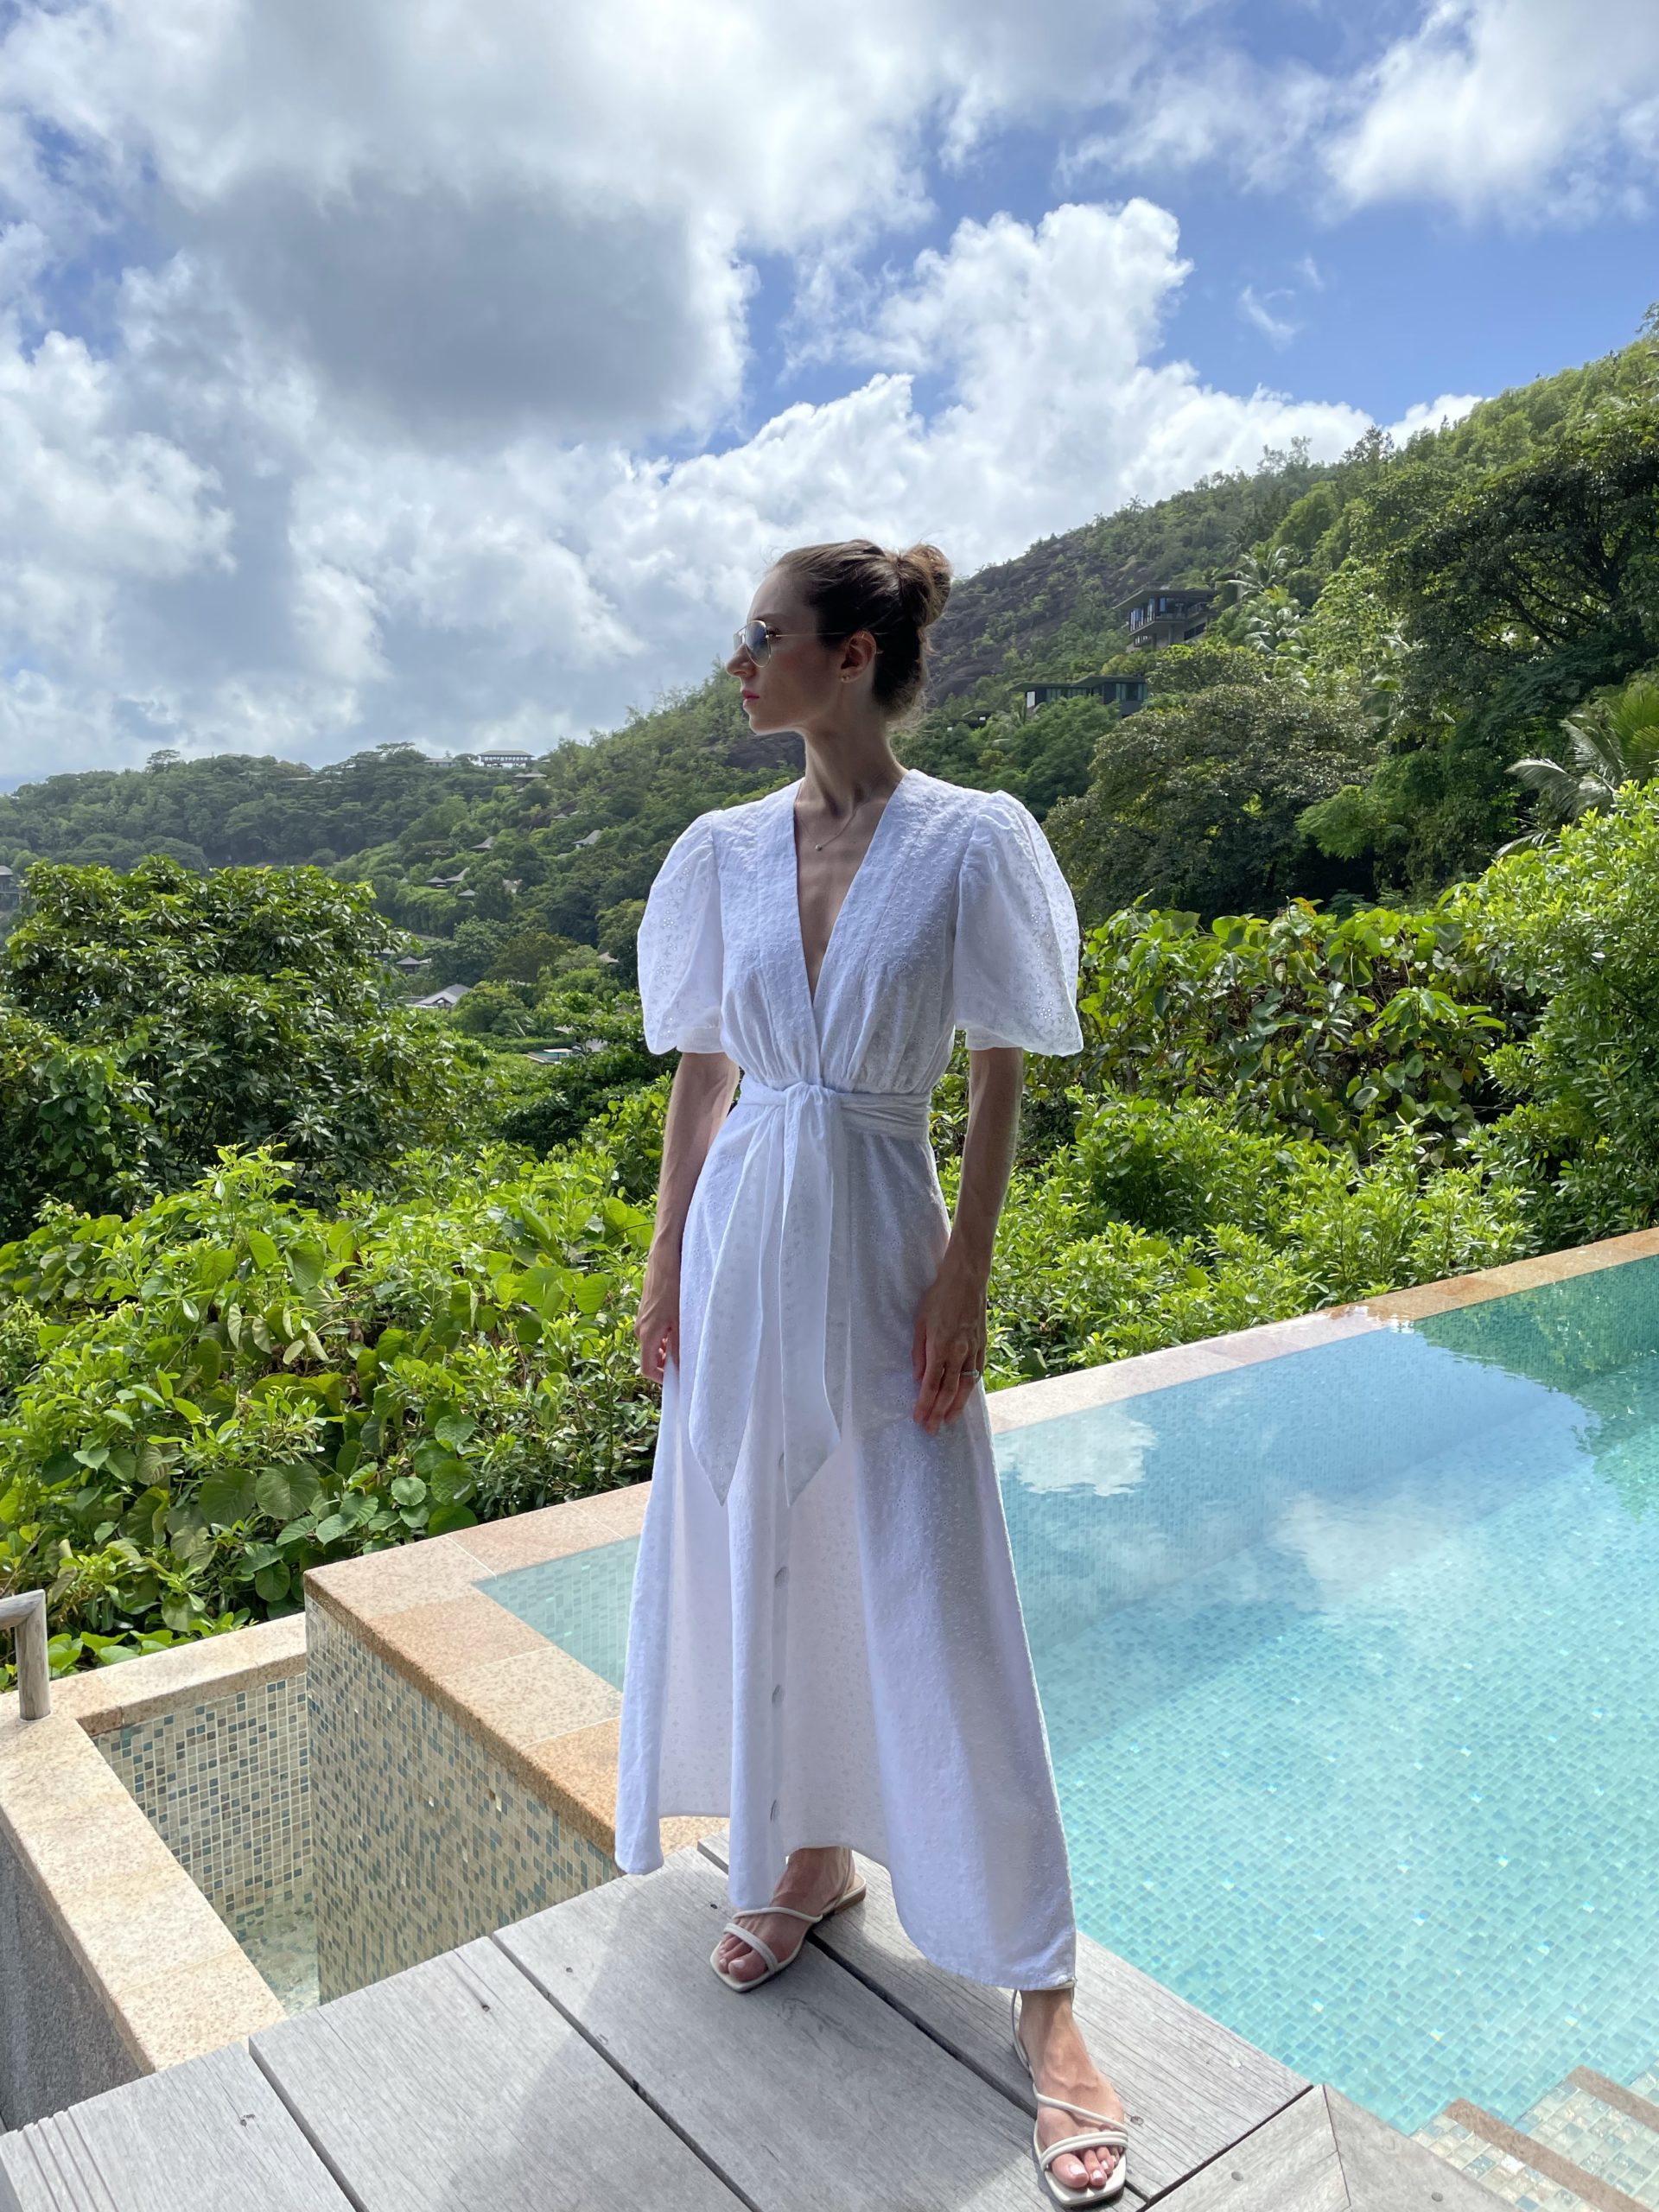
Our private villa overlooked the beautiful hillside and turquoise blue Indian Ocean. And yes, it had the infinity pool of my dreams!

Since I flatlined the cotton eyelet fabric with a cotton muslin to make it less transparent, the dress was a bit too thick for the hot and humid tropical climate in the Seychelles.
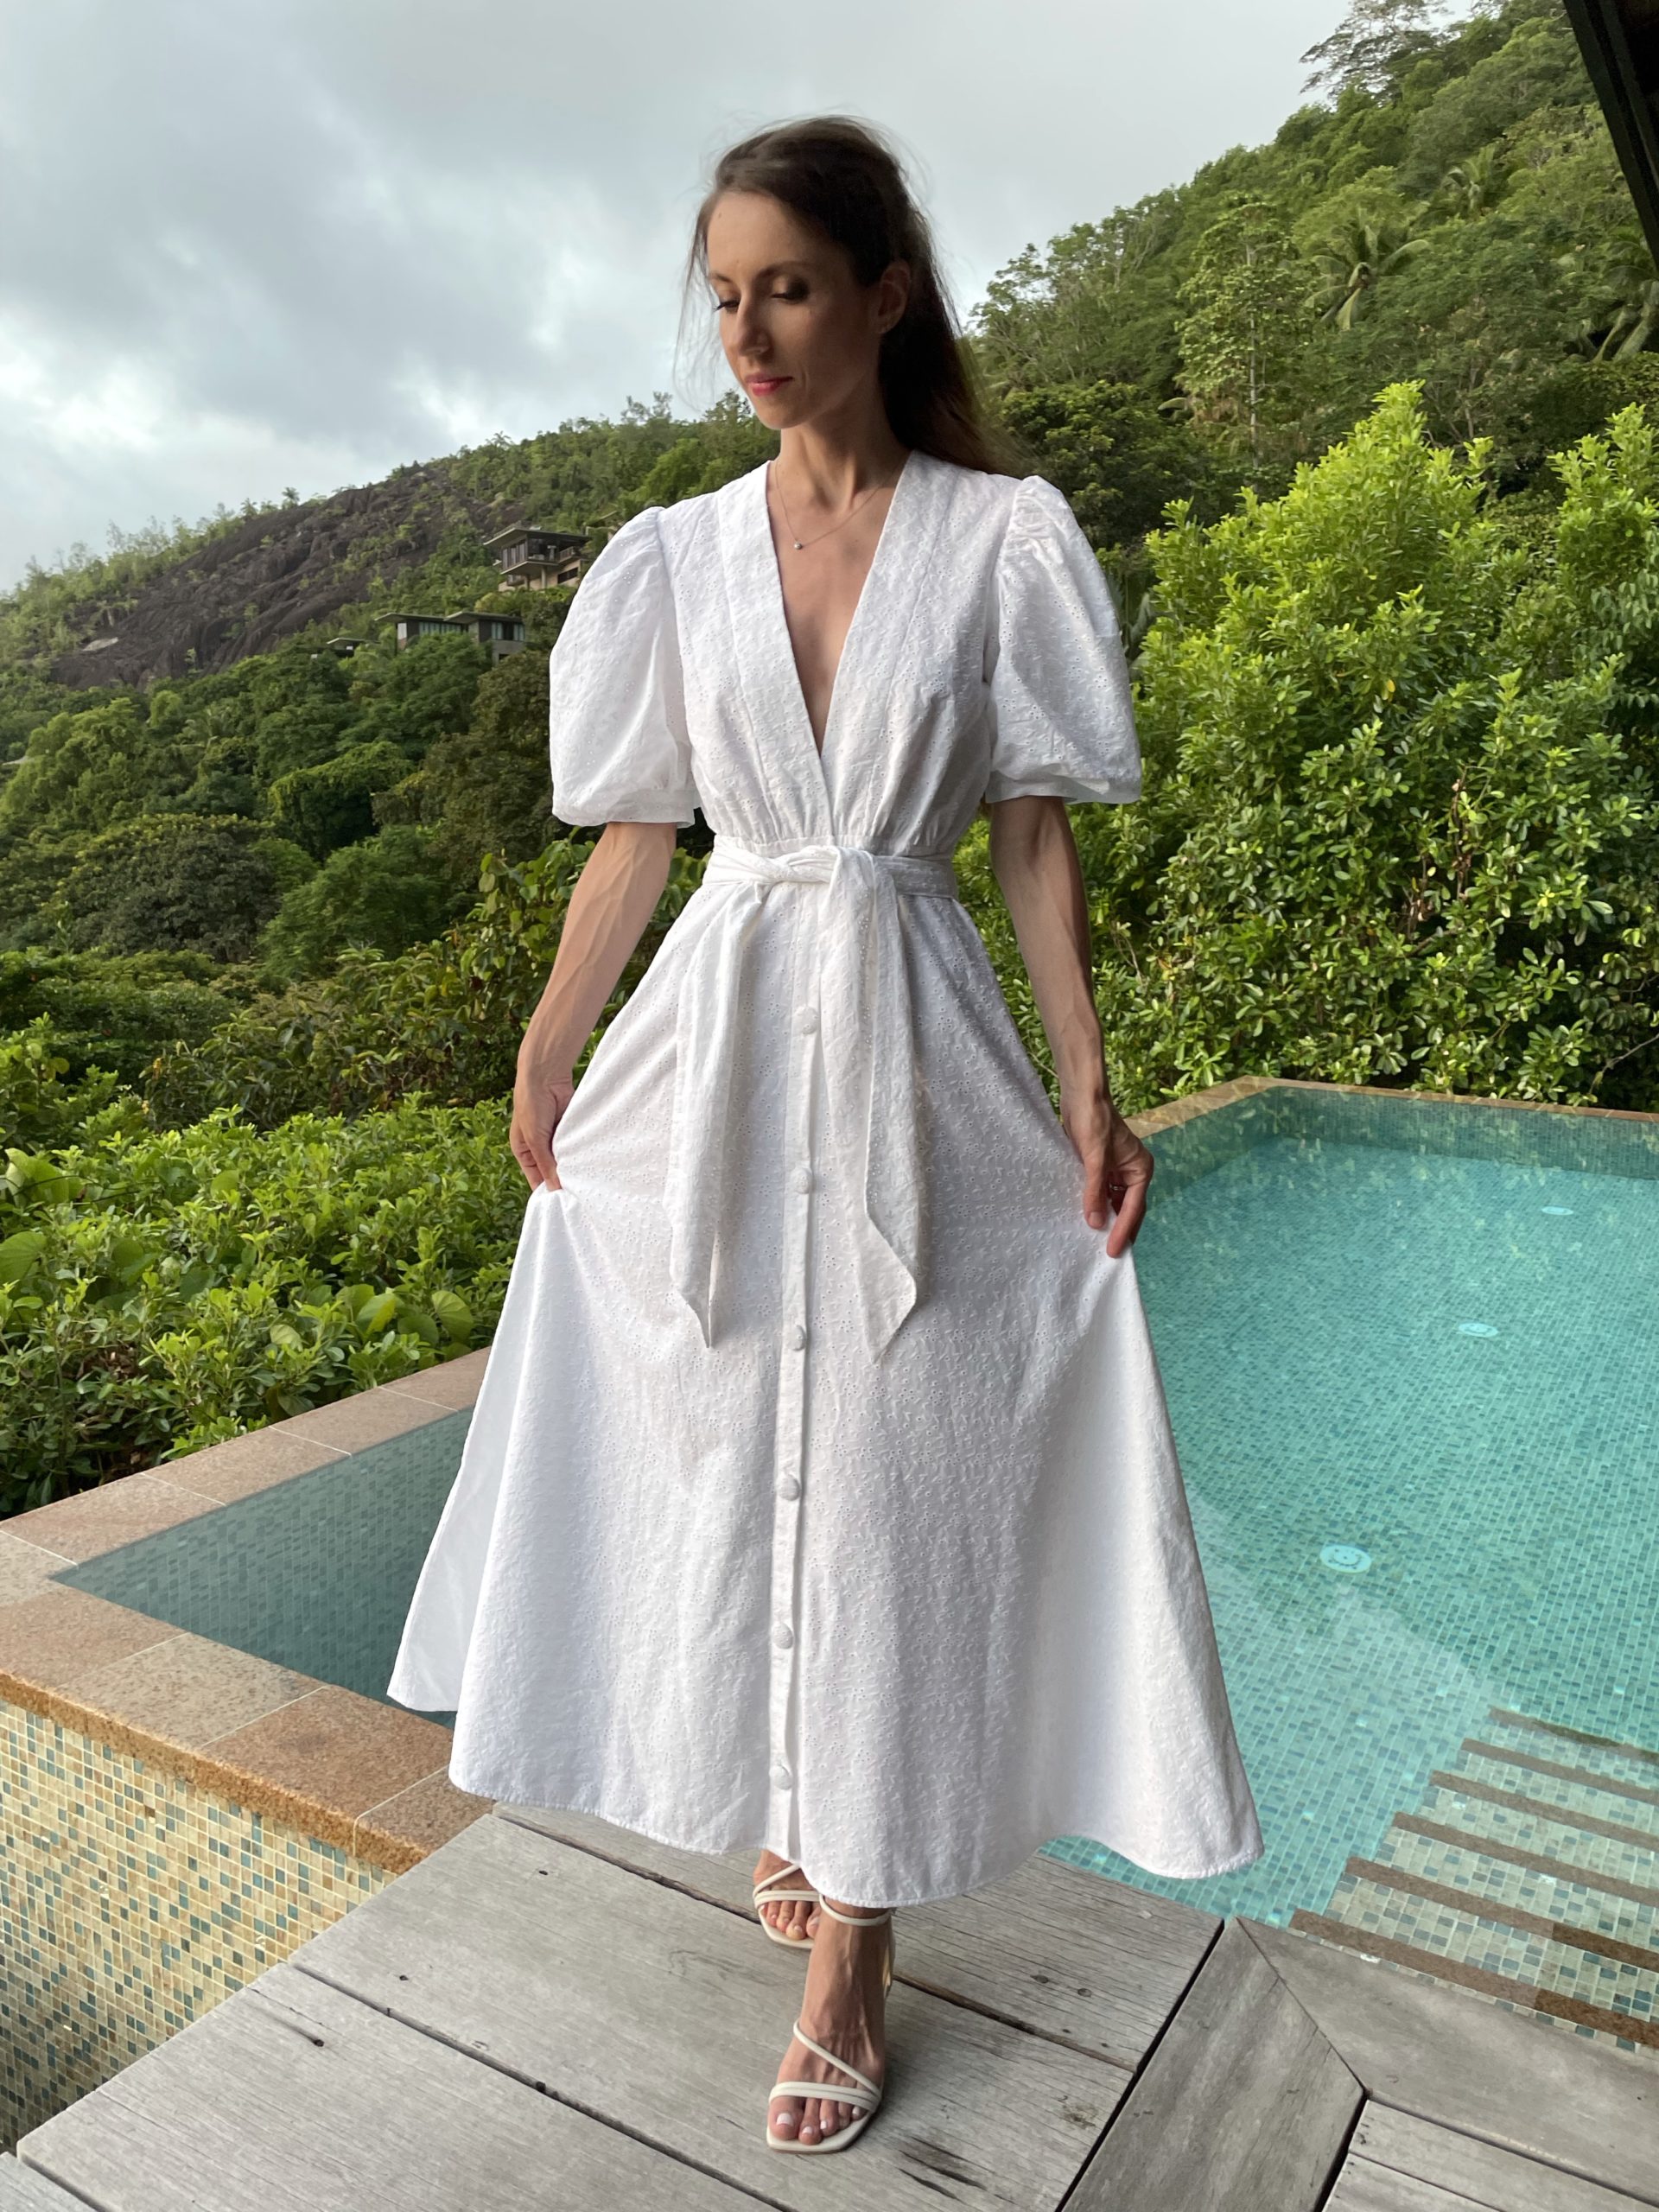
But it was too glamorous and romantic to not wear for such a special occasion like a honeymoon.
Isn’t it beautiful? I adore it and feel lovely in it.
I highly recommend going to Mood Fabrics and making the Poppy Dress. It’s the perfect addition to any wardrobe!
♥ Irina